
How to Repair a Hole in Clothing
Is there anything worse than going to throw on your favourite shirt and discovering it’s got a hole in it? Too embarrassed to be seen out and about with a gape in your garment, you might just retire it to your pyjama collection or reserve of clothes destined for DIY and decorating, or even worse… get rid of it completely! Instead, why not show your well-worn garment the love it deserves by patching it up yourself? Repairing a hole isn’t all that complicated – it just requires a few minutes of your time. In return, you’ll be able to wear your favoured fashion staple on repeat, and you’ll save a few pennies in the process – not to mention the positive impact you’ll be making on the environment. So, if we’ve convinced you to dig out your old shirt, pair of jeans, or any other imperfect item confined to the back of your wardrobe, then keep reading to discover our tips on repairing a hole.
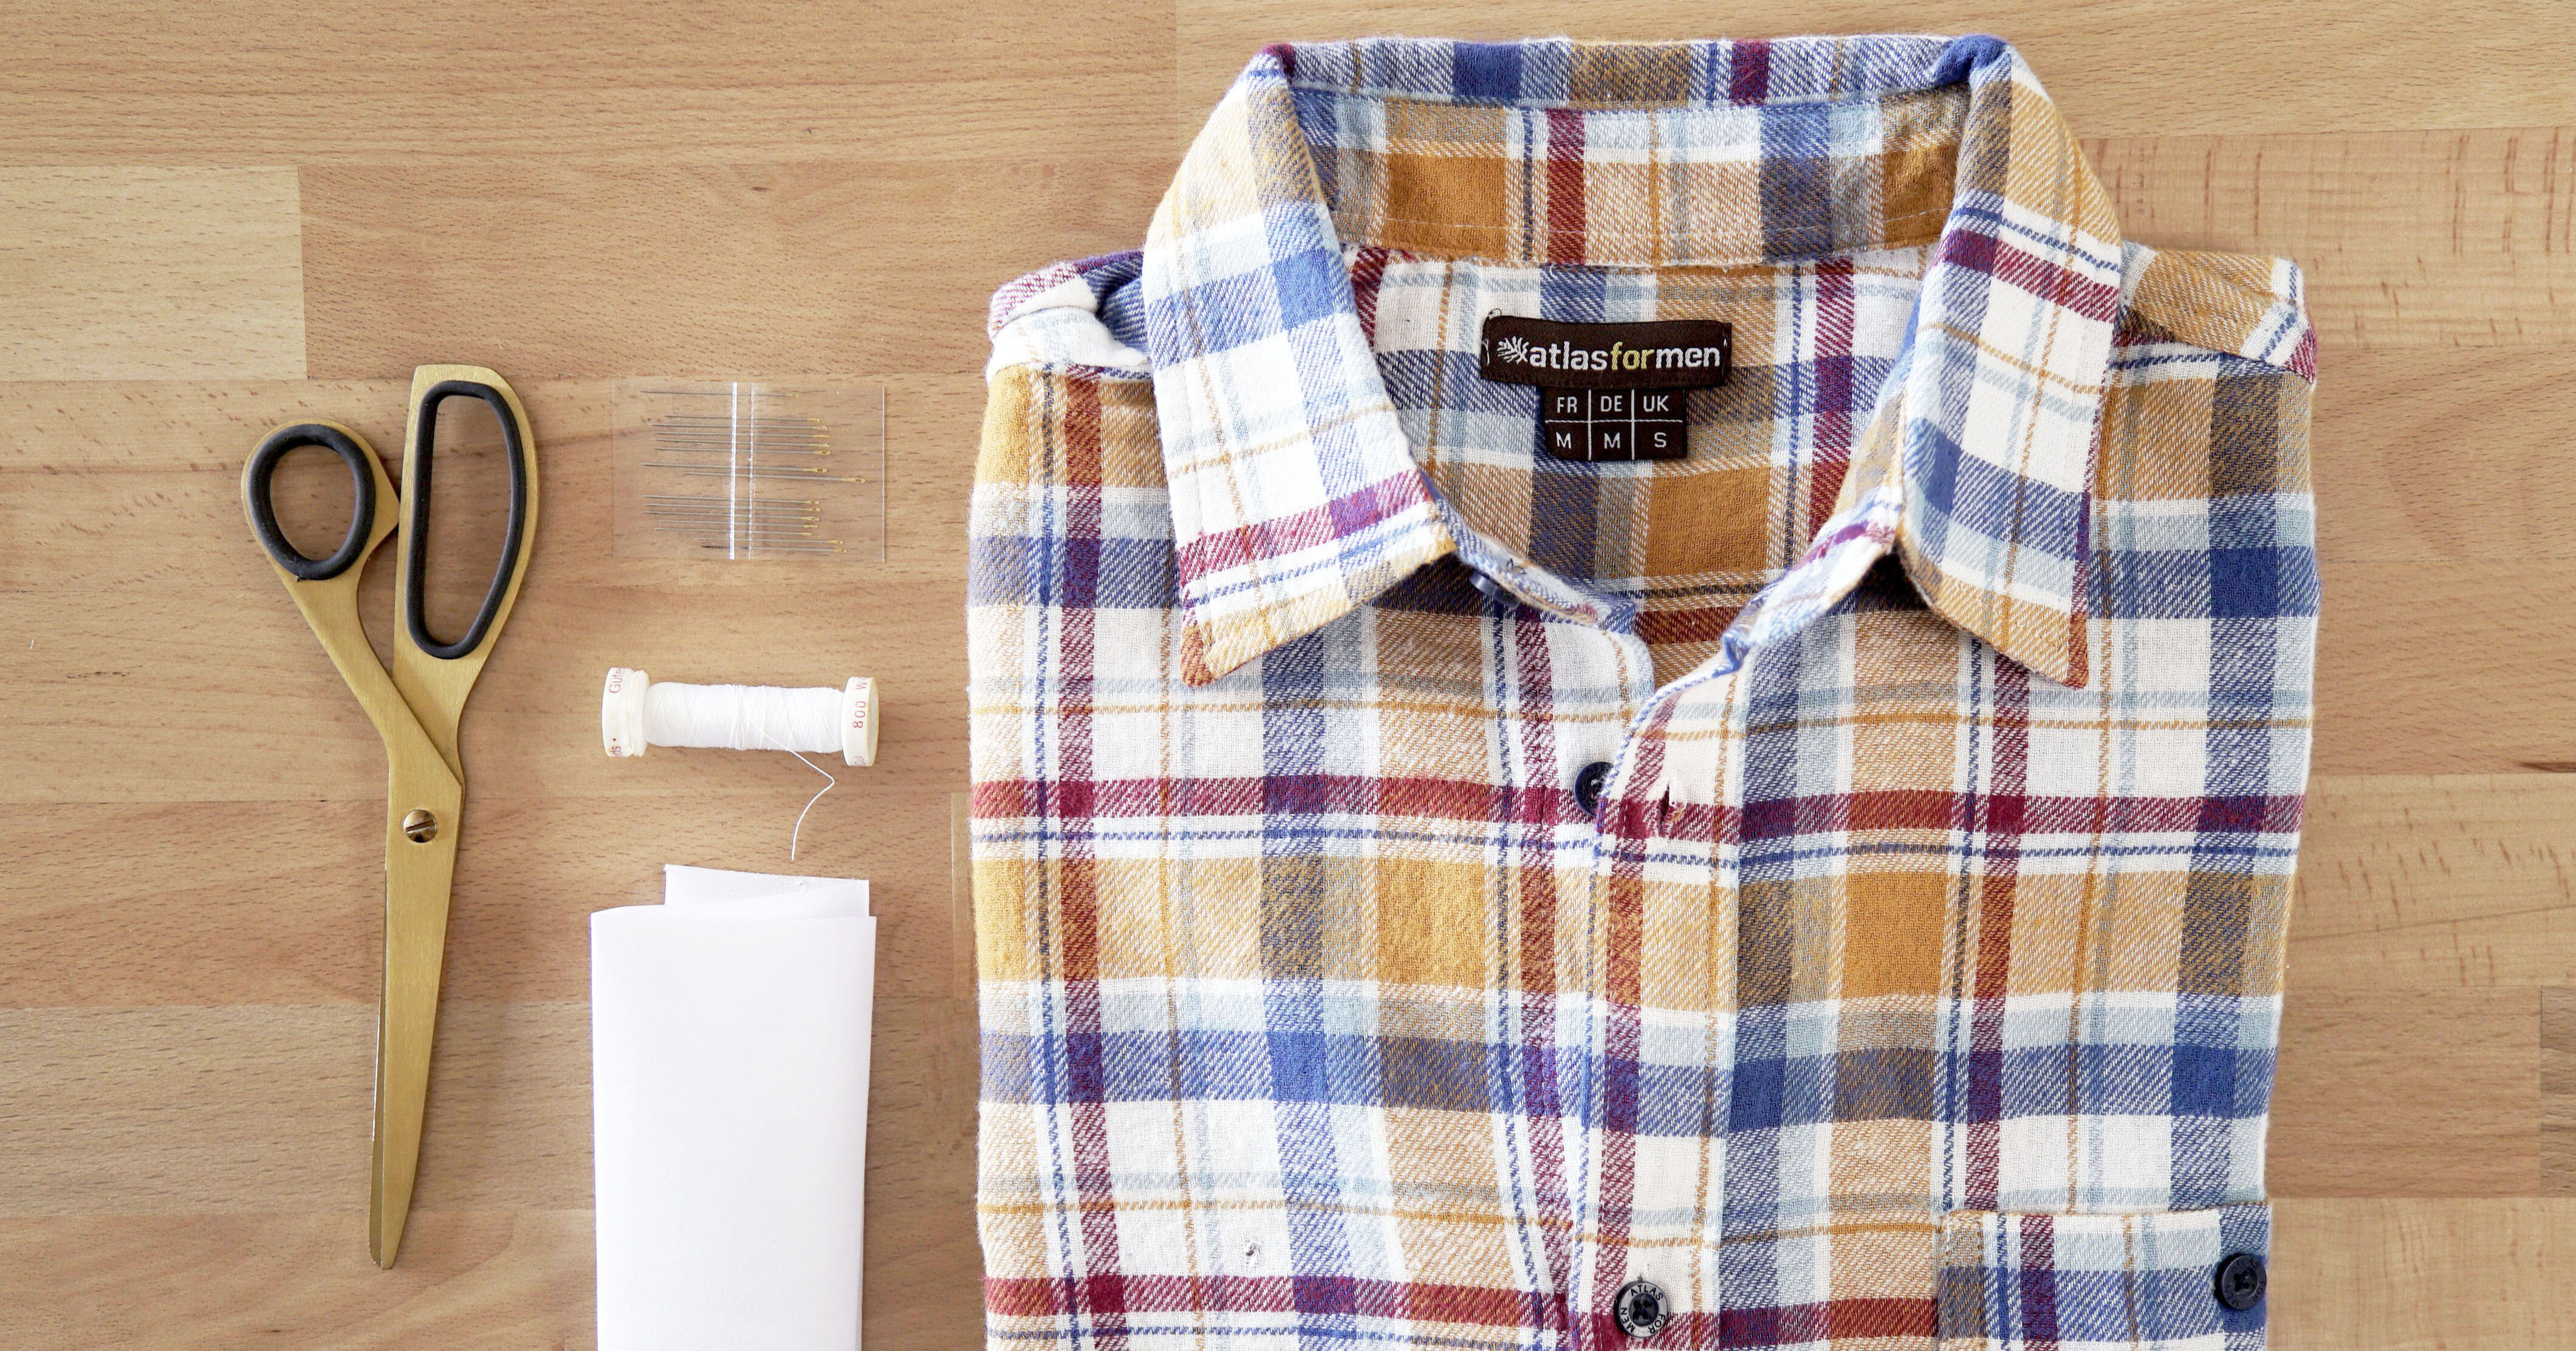
What you’ll need:
• Thread (preferably in the same colour as the garment you are repairing)
• A needle
• Scissors
• An iron-on patch
• An iron
Repairing the hole
.jpg)
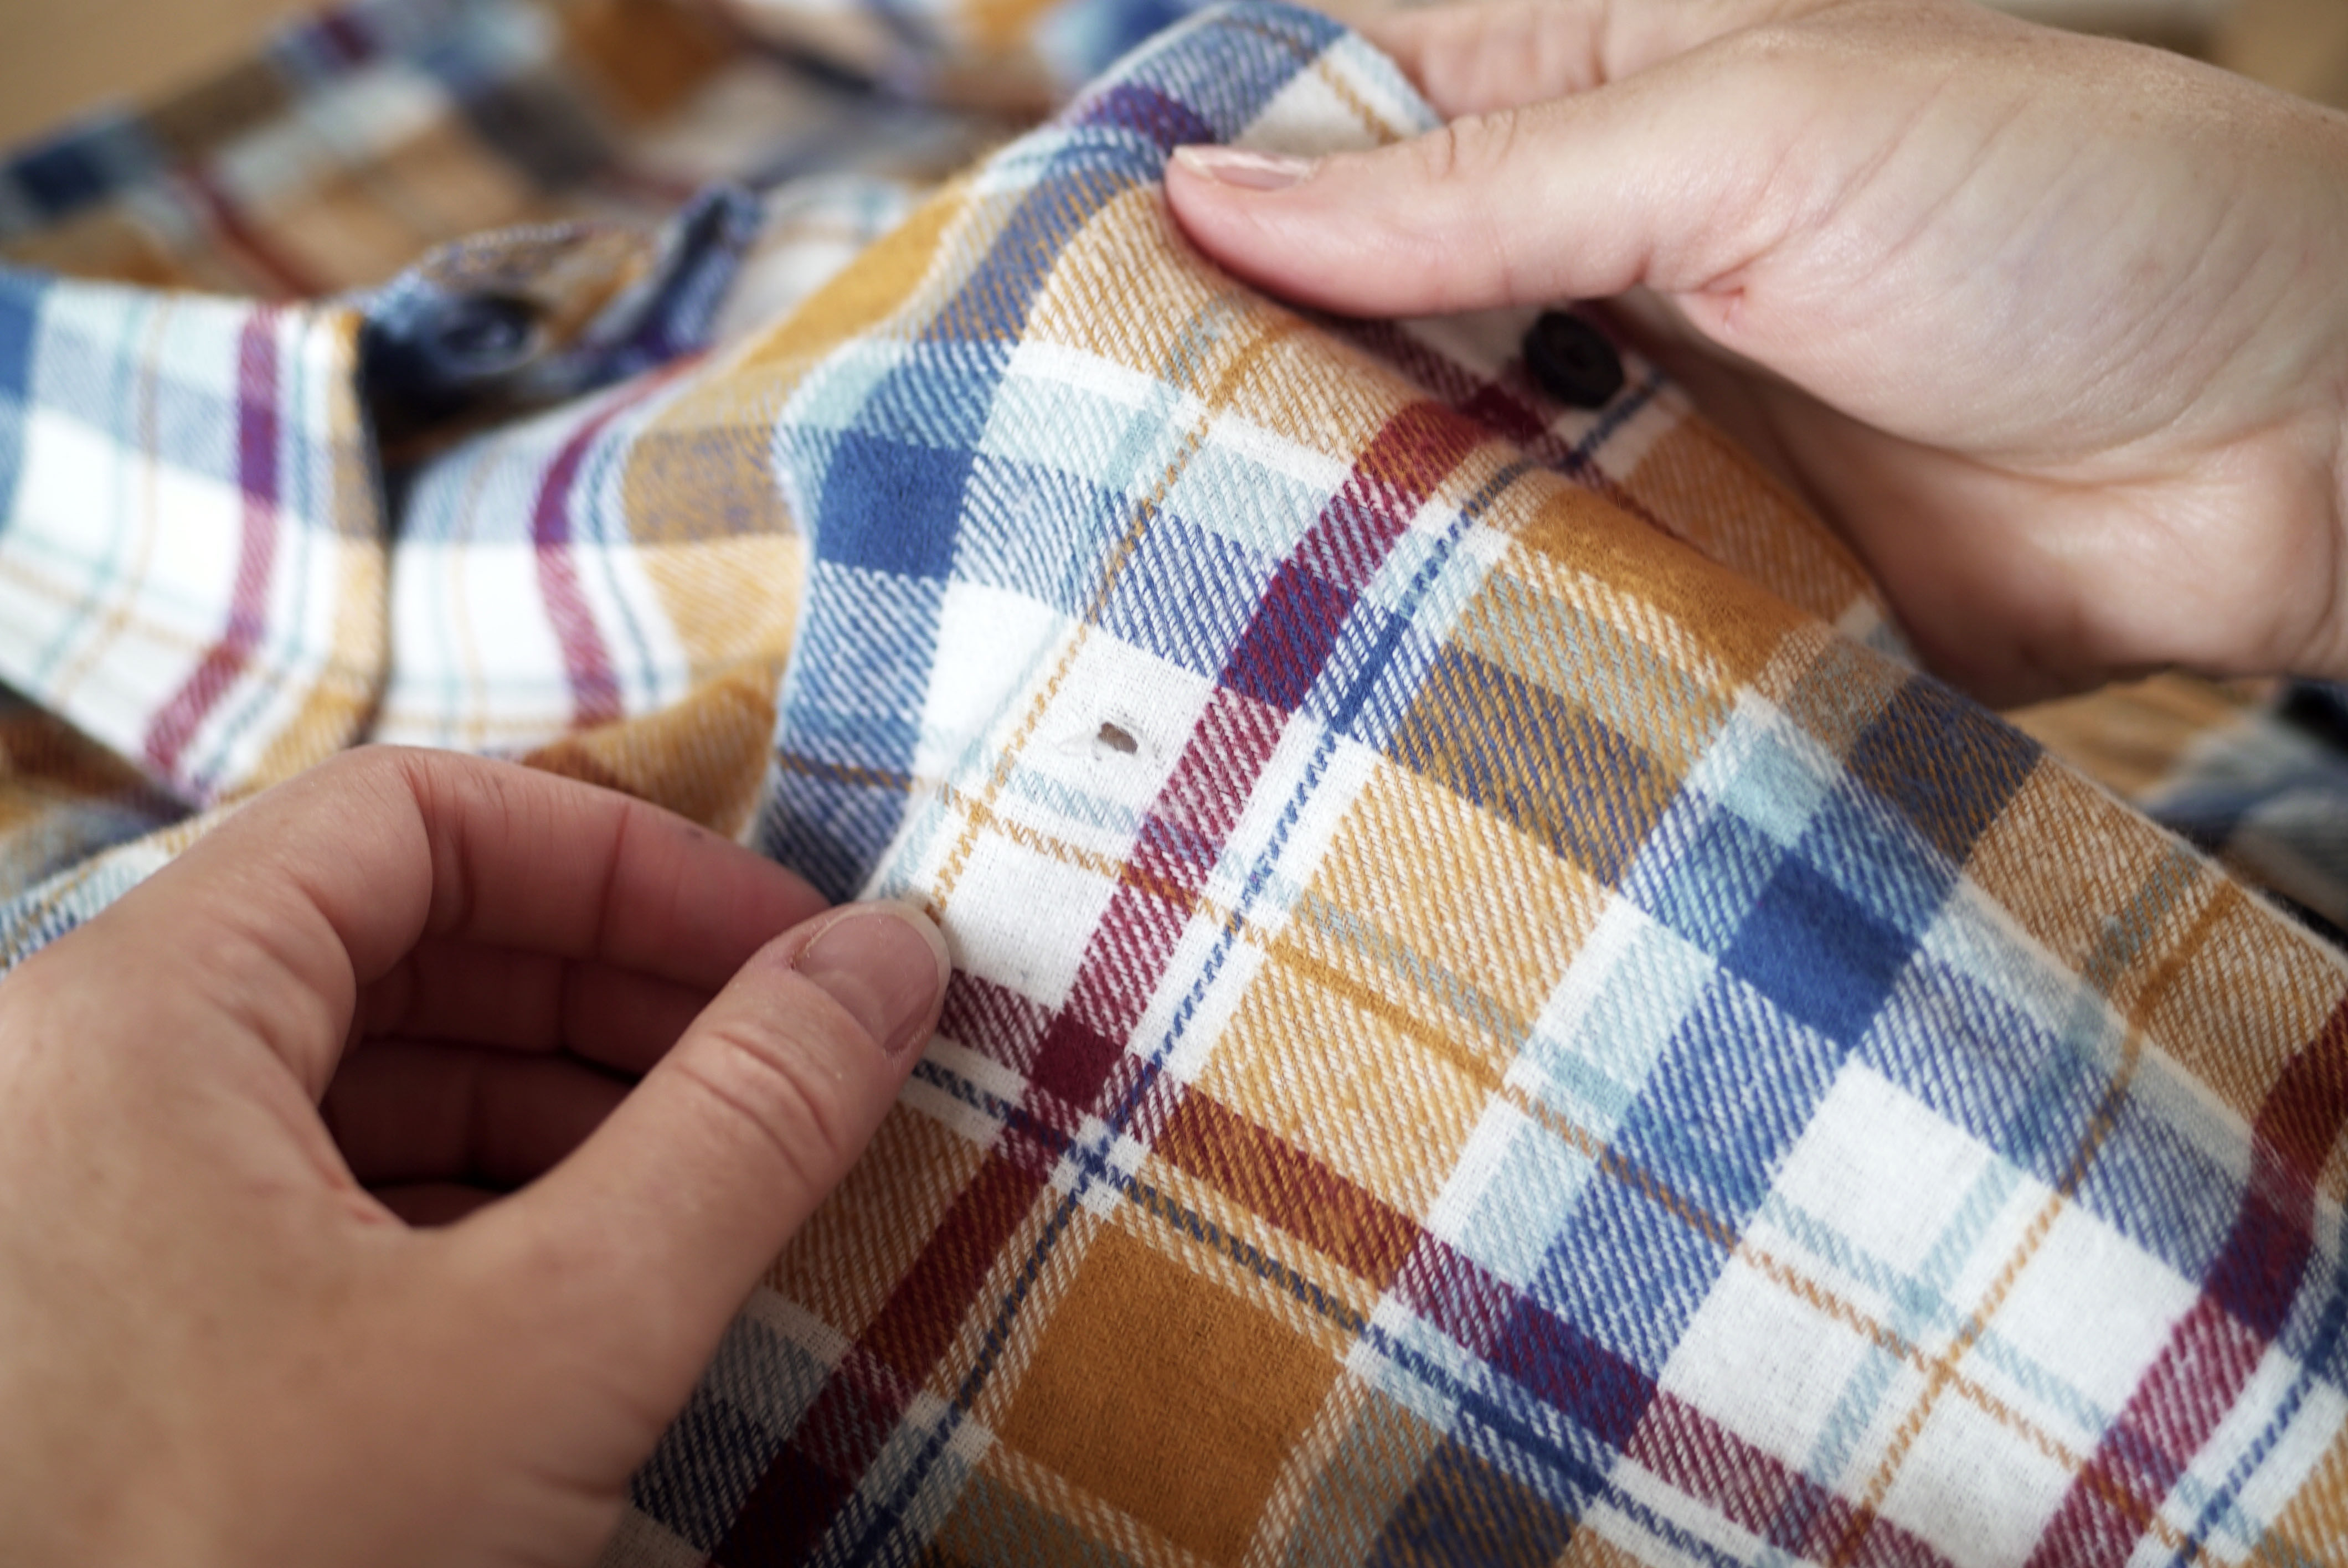
1. Before you begin sewing, you’ll want to ensure that your fabric is as smooth as possible. Run your fingers over the fabric until you’ve flattened out any loose threads and then cut them back to neaten up the hole.
2. Take your thread (ideally in the same colour as your fabric) and thread it through the eye of the needle, tying a knot at the end of the thread. Position your first stitch close to the edge of the hole and start by stitching from the underside of the fabric through to the front. It’s best to make several parallel stitches in the same direction – just make sure to leave enough space in between each stitch!
2. Take your thread (ideally in the same colour as your fabric) and thread it through the eye of the needle, tying a knot at the end of the thread. Position your first stitch close to the edge of the hole and start by stitching from the underside of the fabric through to the front. It’s best to make several parallel stitches in the same direction – just make sure to leave enough space in between each stitch!
.jpg)
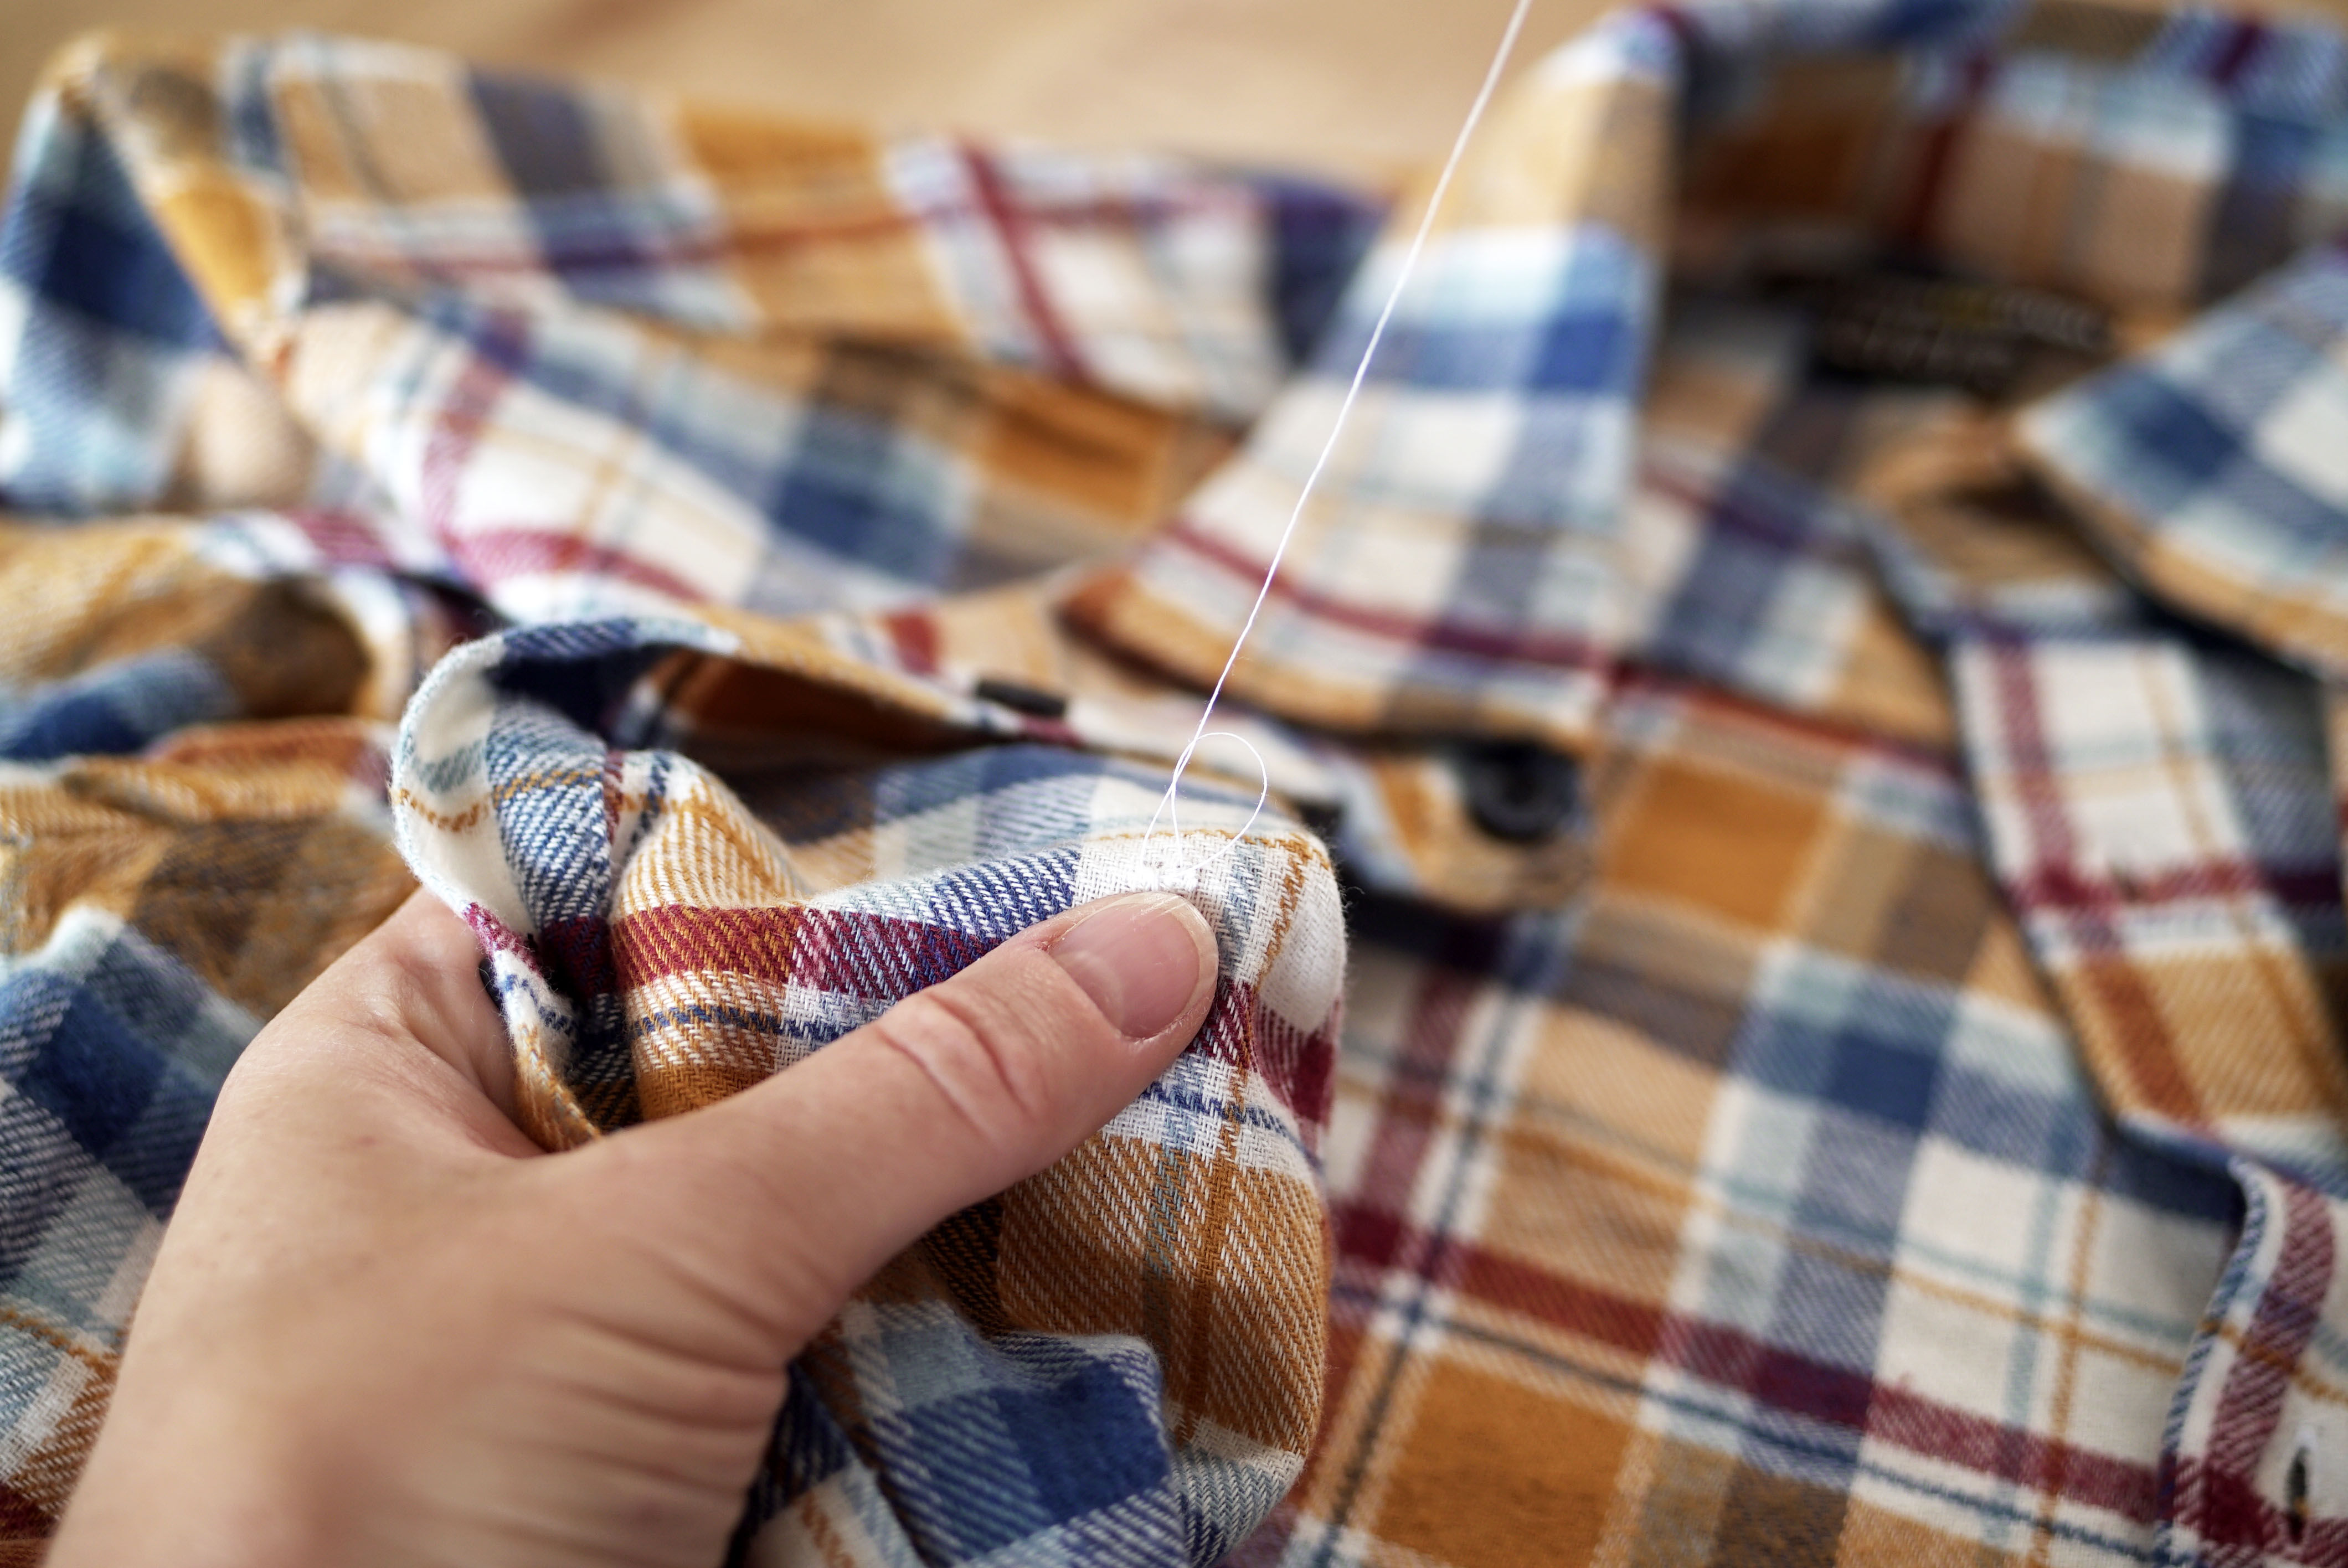
3. Then, you’re going to want to do the same again but in the opposite direction this time, weaving these stitches in and out of your first set of stitches, mimicking the weave of your garment.
4. To finish your seam, pull your last stich through to the underside of the fabric – so it’s hidden from view – and tie a tight knot.
4. To finish your seam, pull your last stich through to the underside of the fabric – so it’s hidden from view – and tie a tight knot.
Strengthen the repair with an iron-on patch


5. To reinforce the repair, you can use an iron-on patch. Cut a small piece of the iron-on fabric (in a similar colour to your garment) that is larger than the original hole. Here, we've taken a 1.5 cm square of fabric for a 0.5 cm hole.
6. Place the piece of iron-on fabric (shiny side down) on the underside of your garment (you can turn your garment inside out if easier), making sure it fully covers the hole. Iron the patch for about 30 seconds, without steam, to fix it to your piece of clothing. Let your patch cool down before checking that it's secure and in place.
6. Place the piece of iron-on fabric (shiny side down) on the underside of your garment (you can turn your garment inside out if easier), making sure it fully covers the hole. Iron the patch for about 30 seconds, without steam, to fix it to your piece of clothing. Let your patch cool down before checking that it's secure and in place.
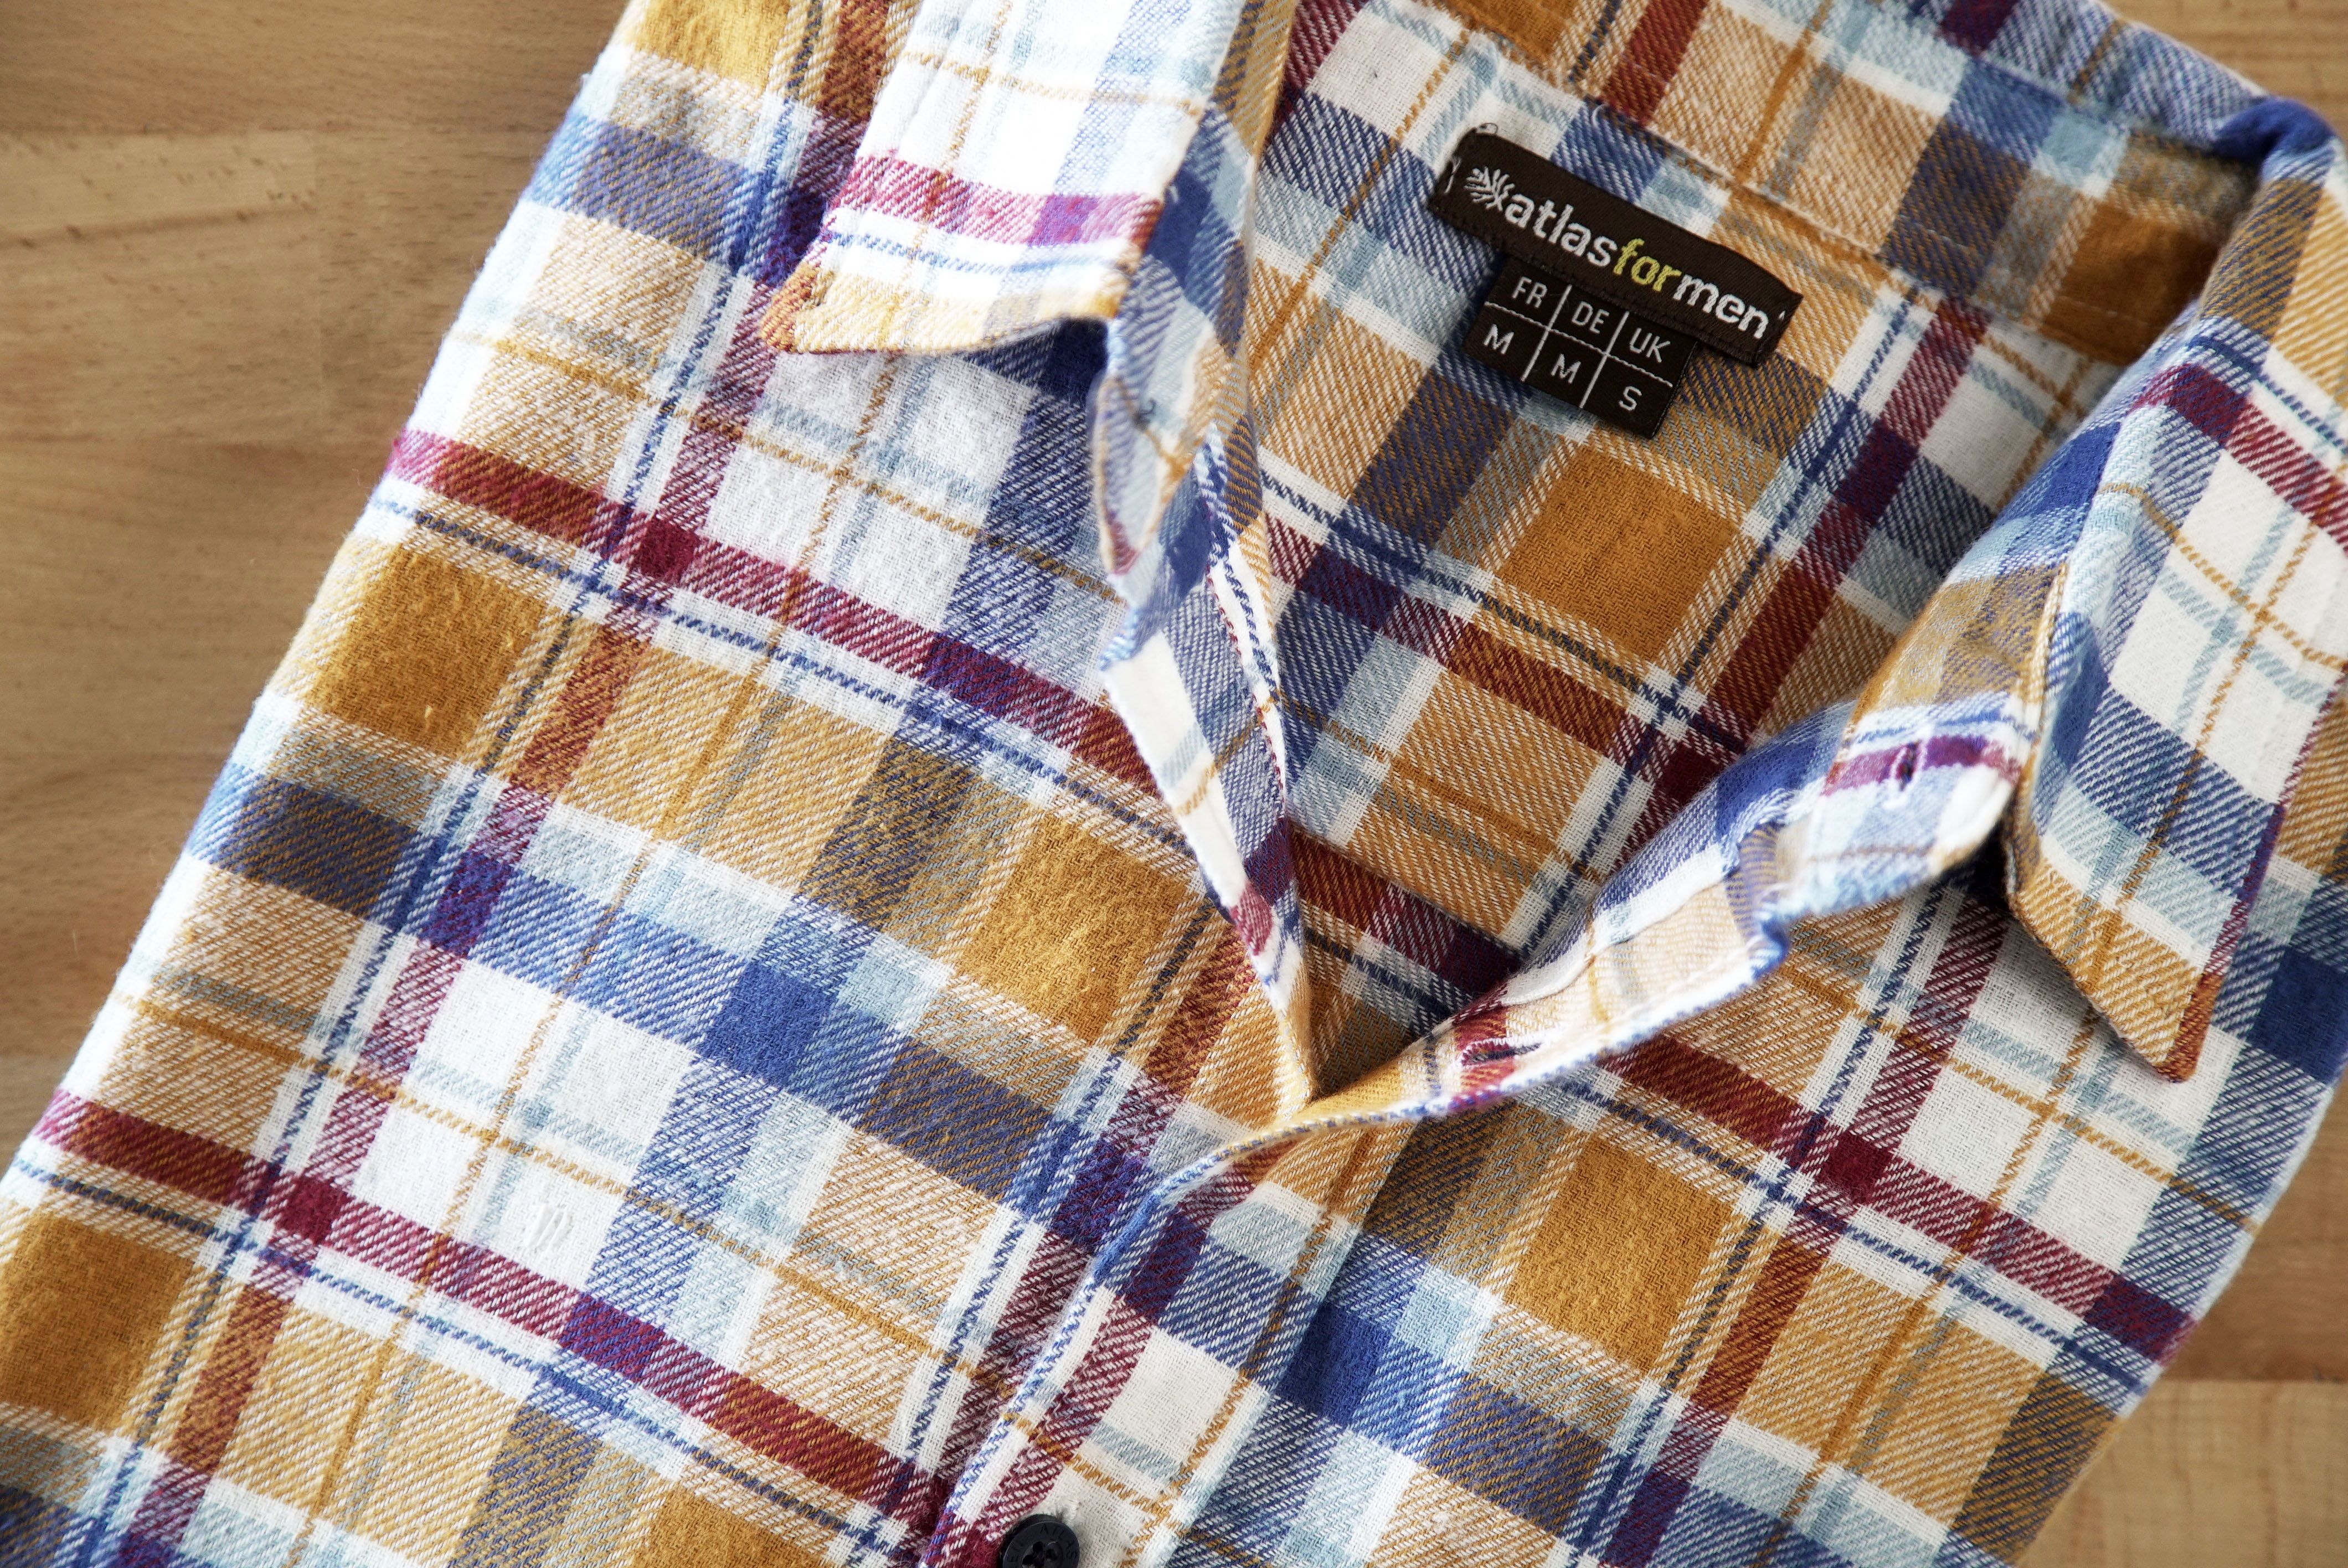
And there you have it – your garment has been fixed, and the repair process couldn’t have been easier! It really would be a shame to throw your piece of clothing out and deprive yourself of wearing it, especially when this small fix would allow it to continue accompanying you on all your adventures! Looking for other ways to repair and maintain your favourite items of clothing? Why not check out our tutorial on How to Sew a Button?