
How to Sew a Button
We've all been there — buttoning up your favourite shirt or jacket before realising one of the buttons is loose or missing, leaving a gaping hole that you just can't bear to display in public… It’s all too easy to dismiss the item, confining it to the depths of your wardrobe, putting it in a bag destined for the charity shop or even throwing it out, since the thought of repairing it seems far too complicated or time consuming. However, if you find yourself in this situation, fear not! And by all means, hold onto your item! Sewing a button back onto your clothes is actually a super-simple process that only takes a few minutes. And lucky for you, we're here to help with a step-by-step guide on how to do so! Much more environmentally friendly than getting rid of your imperfect item, and much more budget saving than investing in a new one, this reparation technique is one you’ll want to master! So, read on to discover our top tips and tricks for repairing all your favourite clothes featuring buttons...
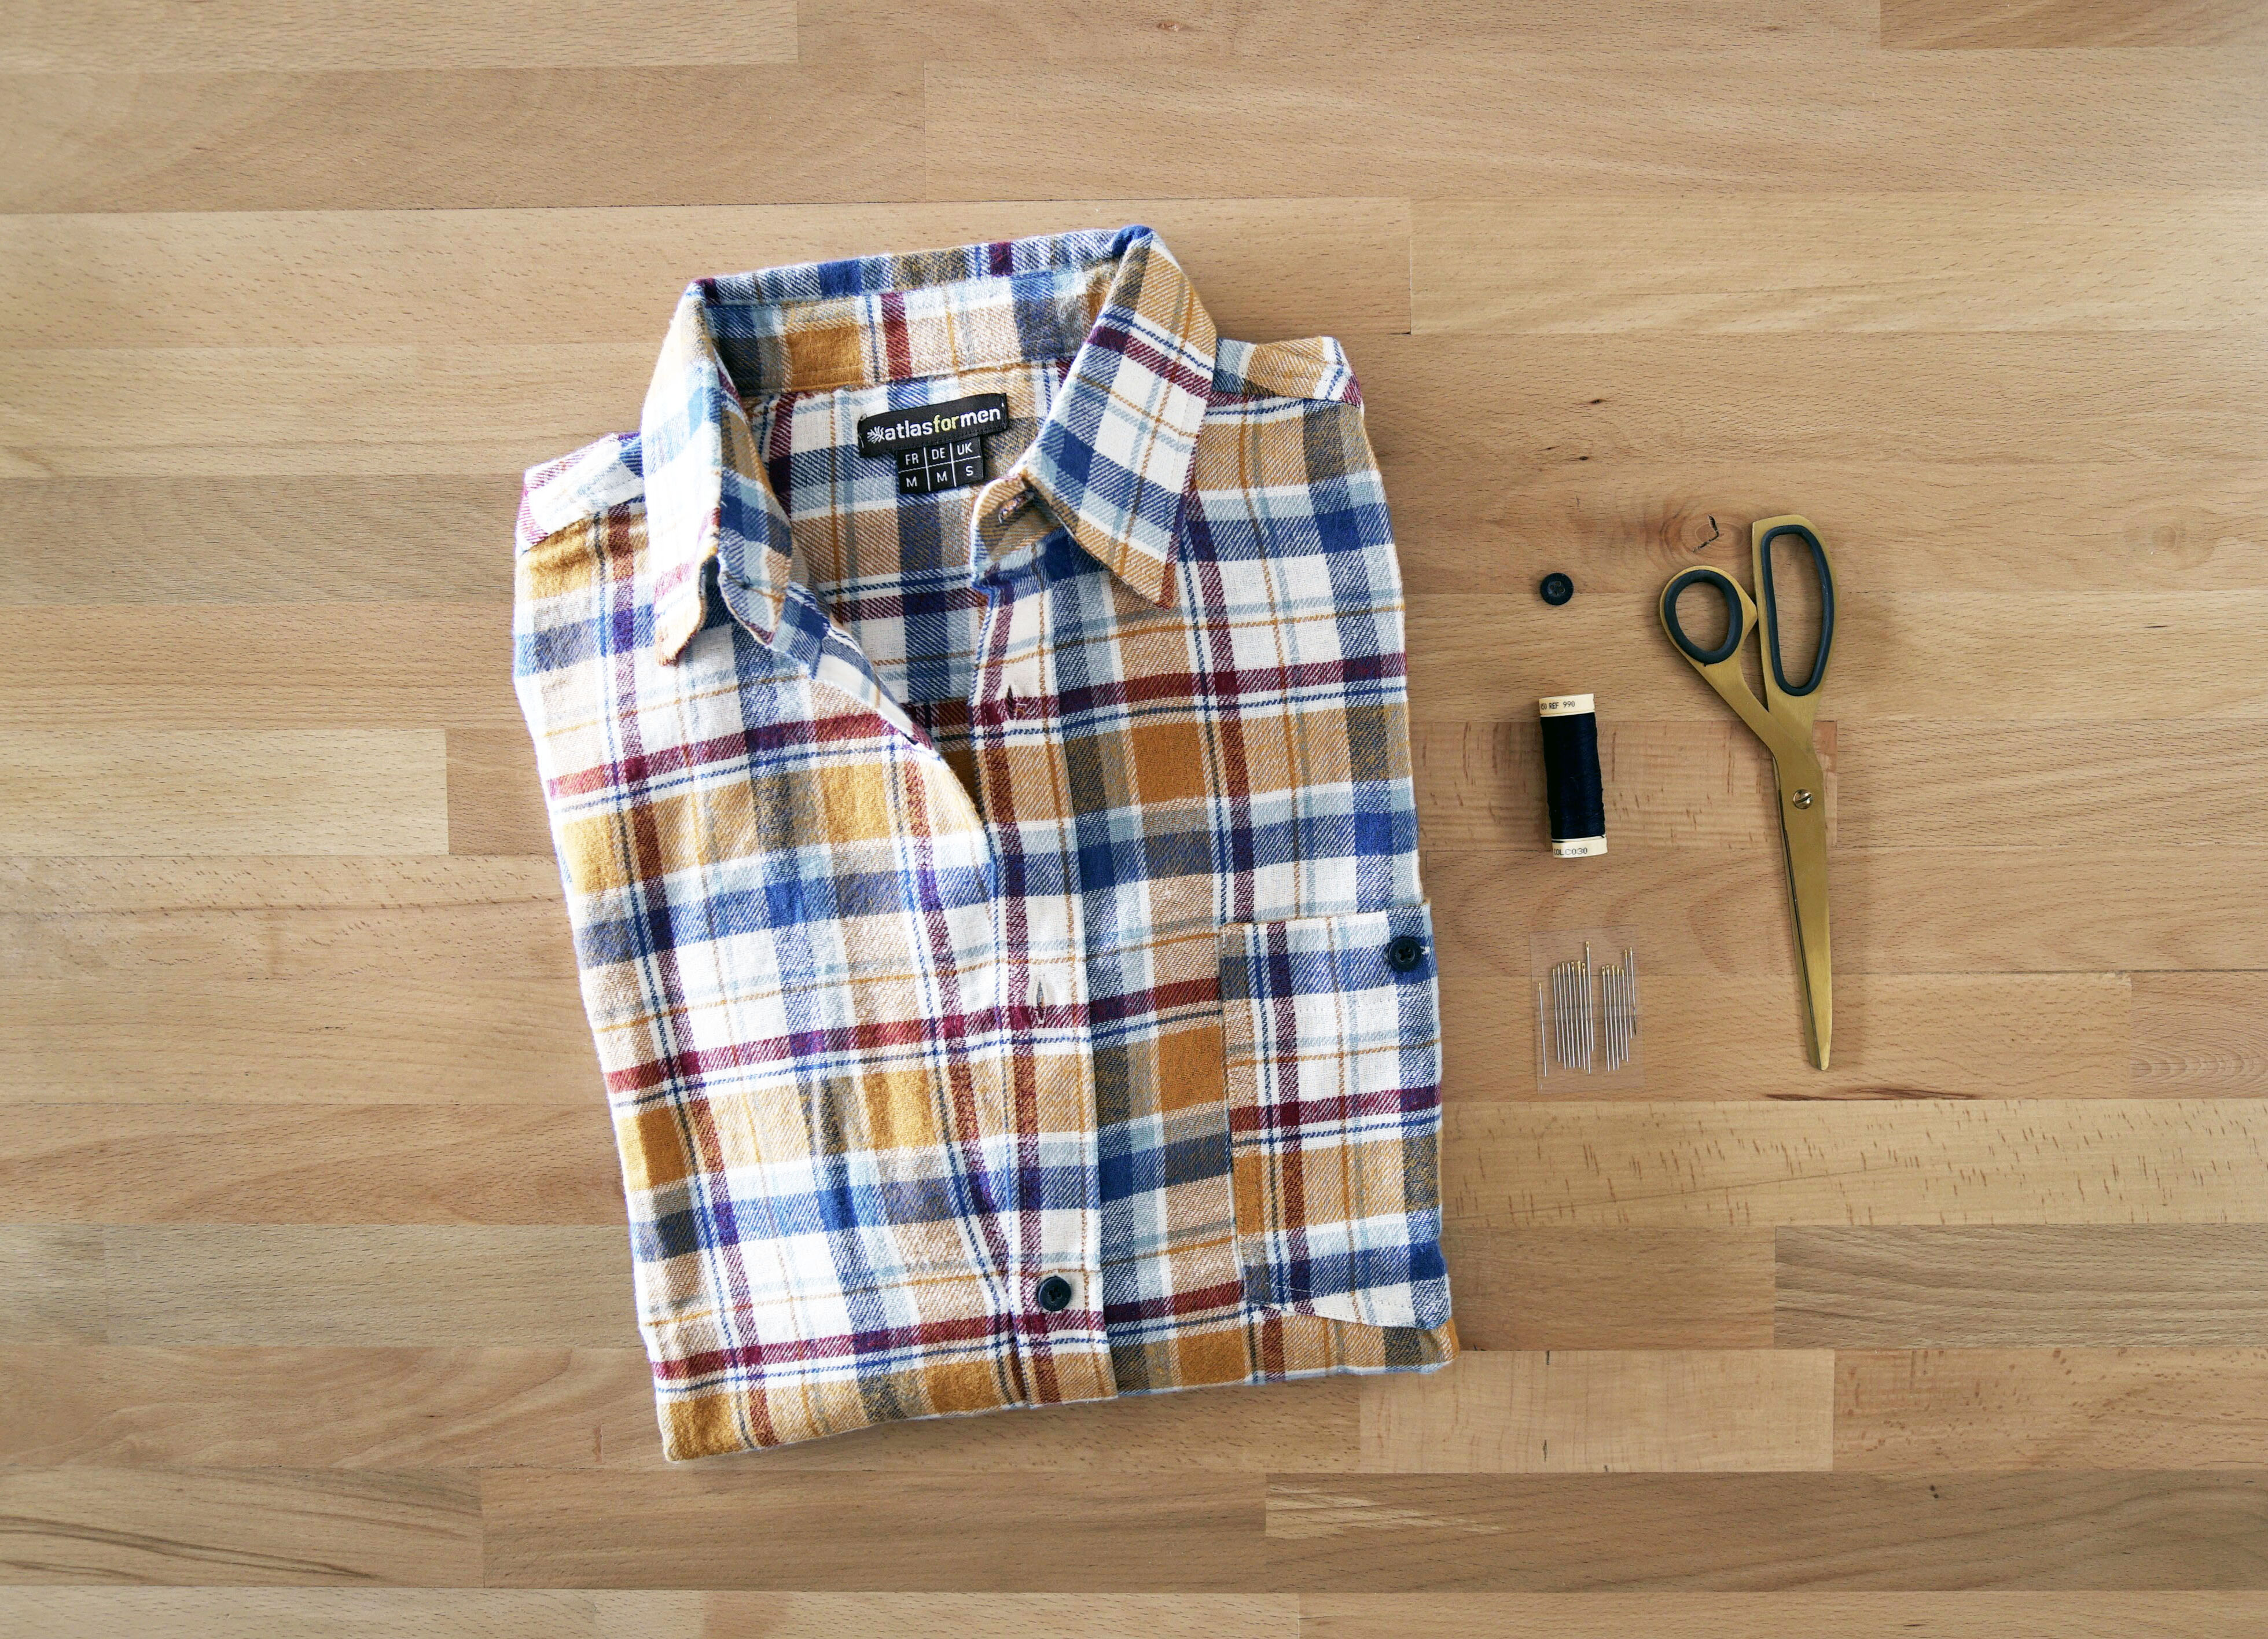
What you’ll need
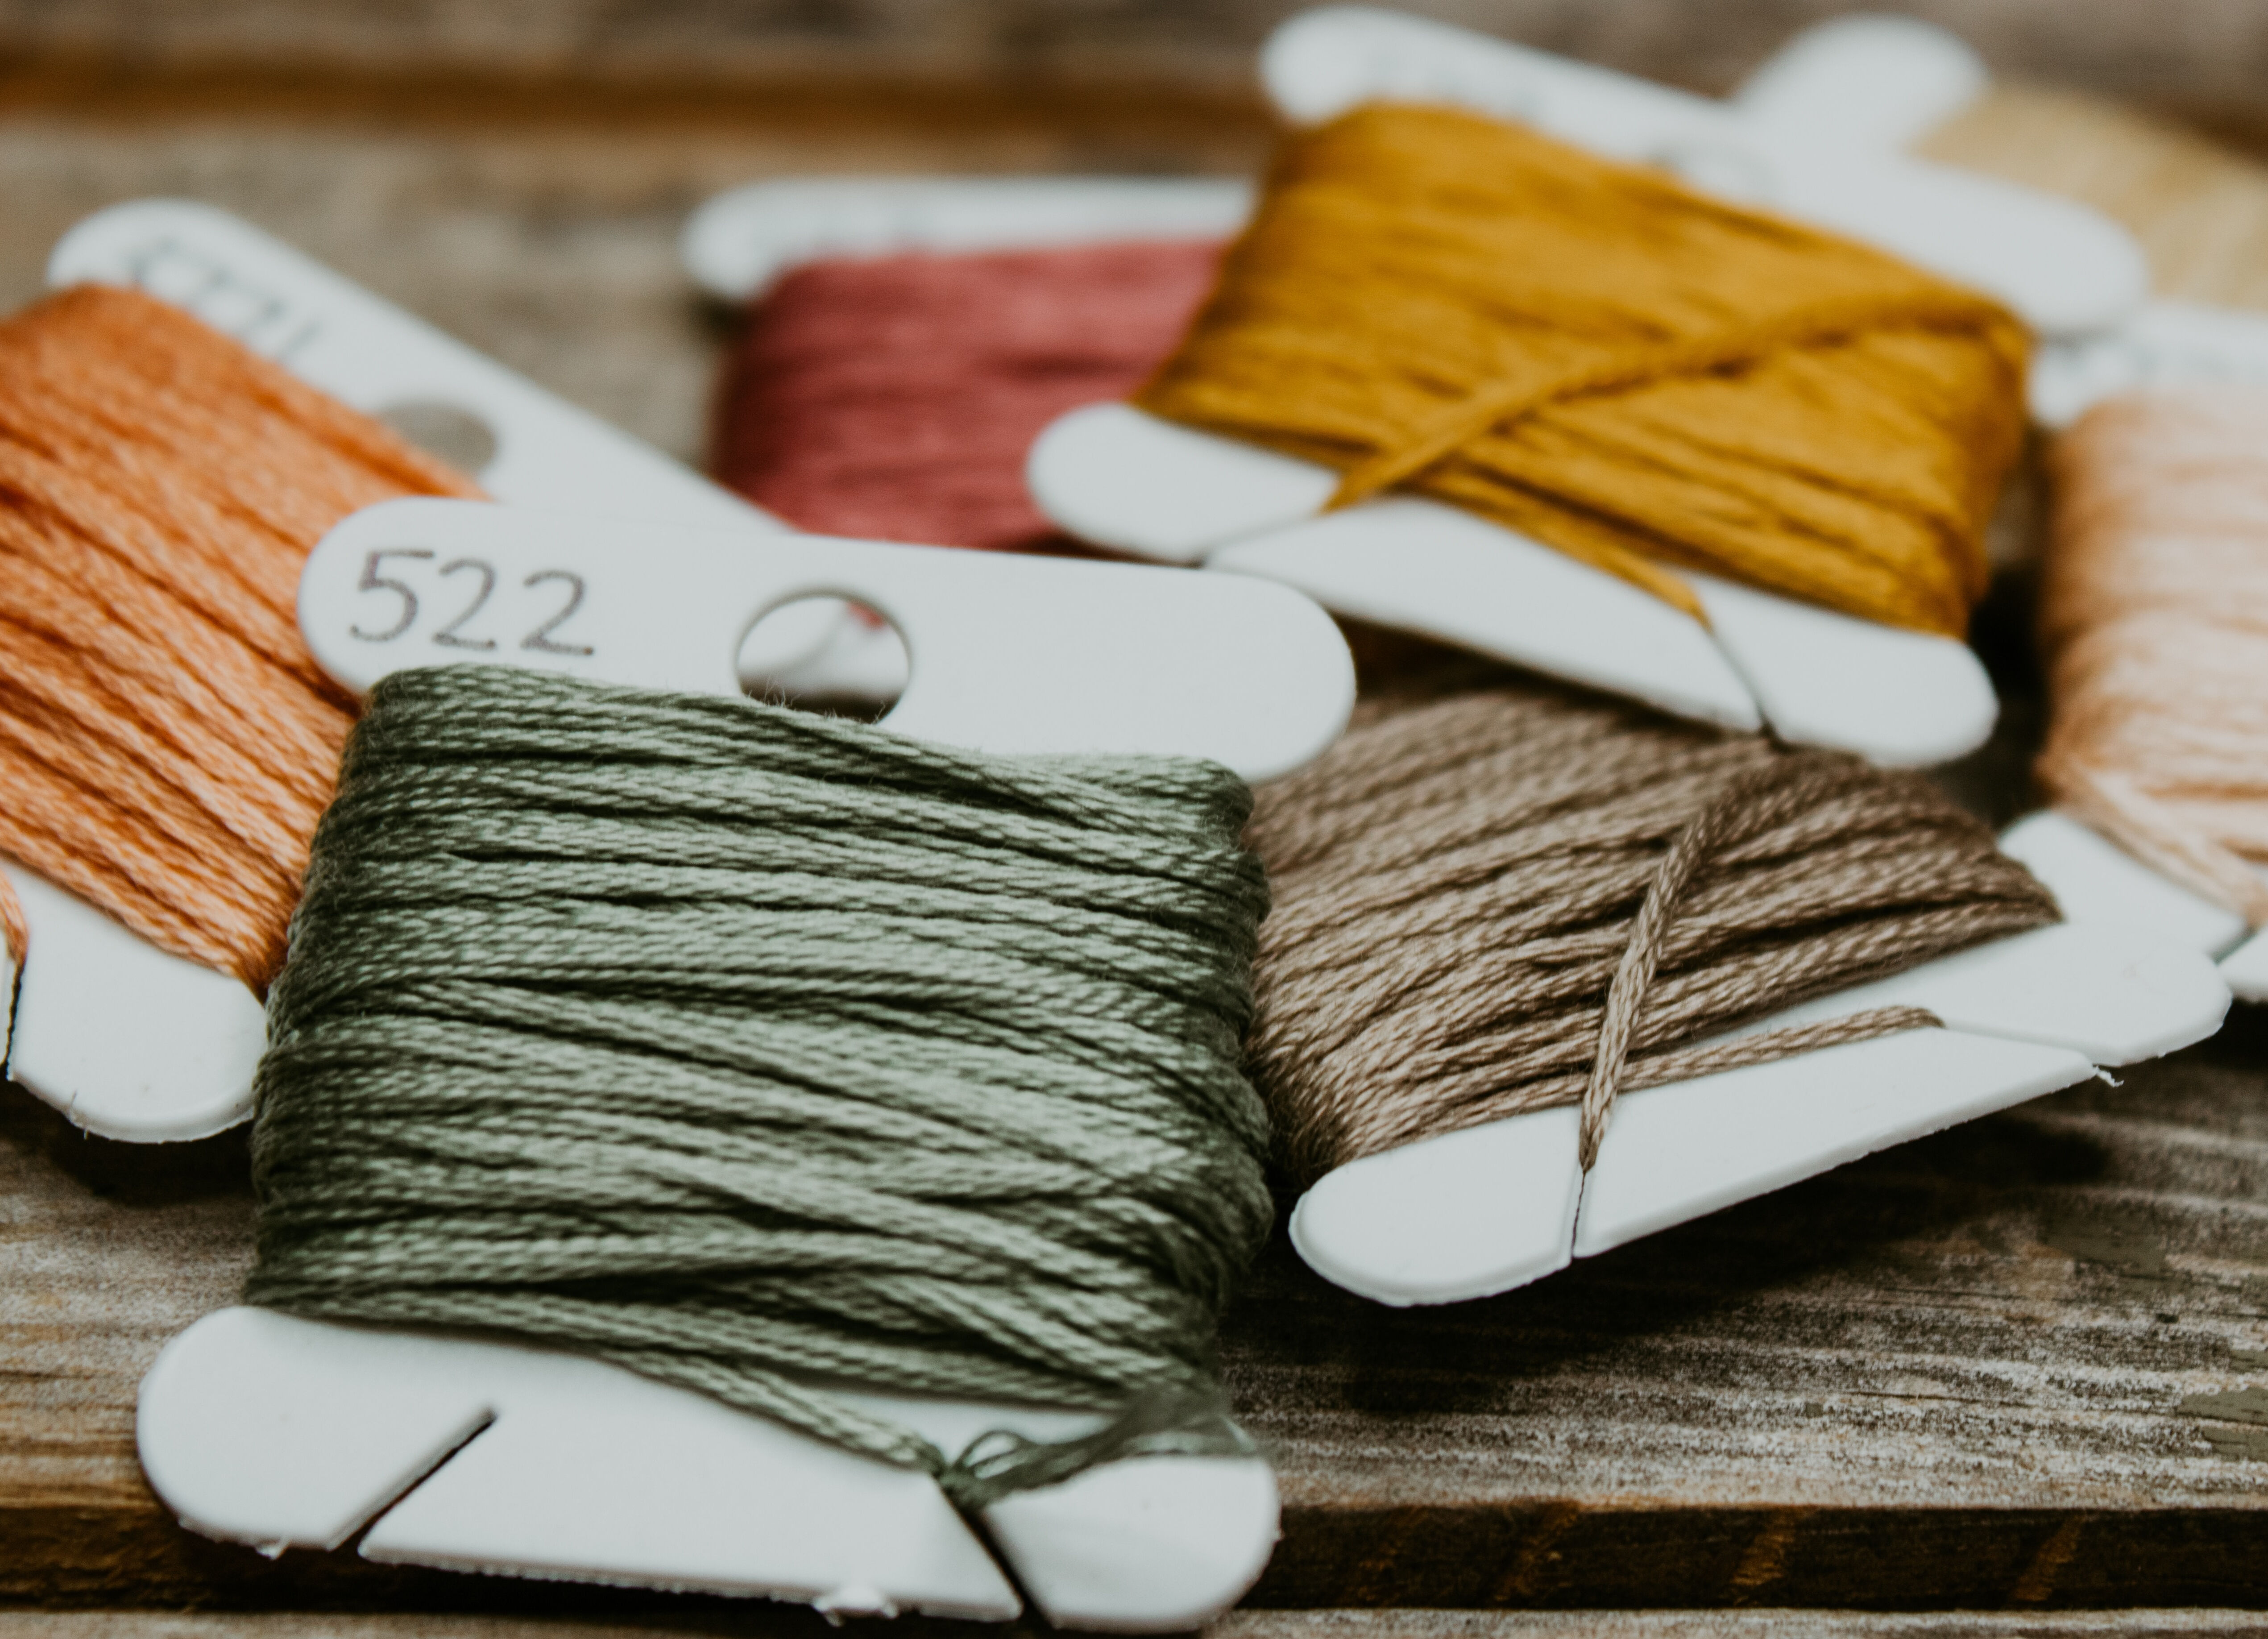
- Thread (preferably in a colour that matches the existing thread)
- A needle
- A button (or multiple if you have more than one to sew) – sometimes a spare can be found attached to the label of your clothing item
- A pair of scissors
Sewing on a button in 4 simple steps:
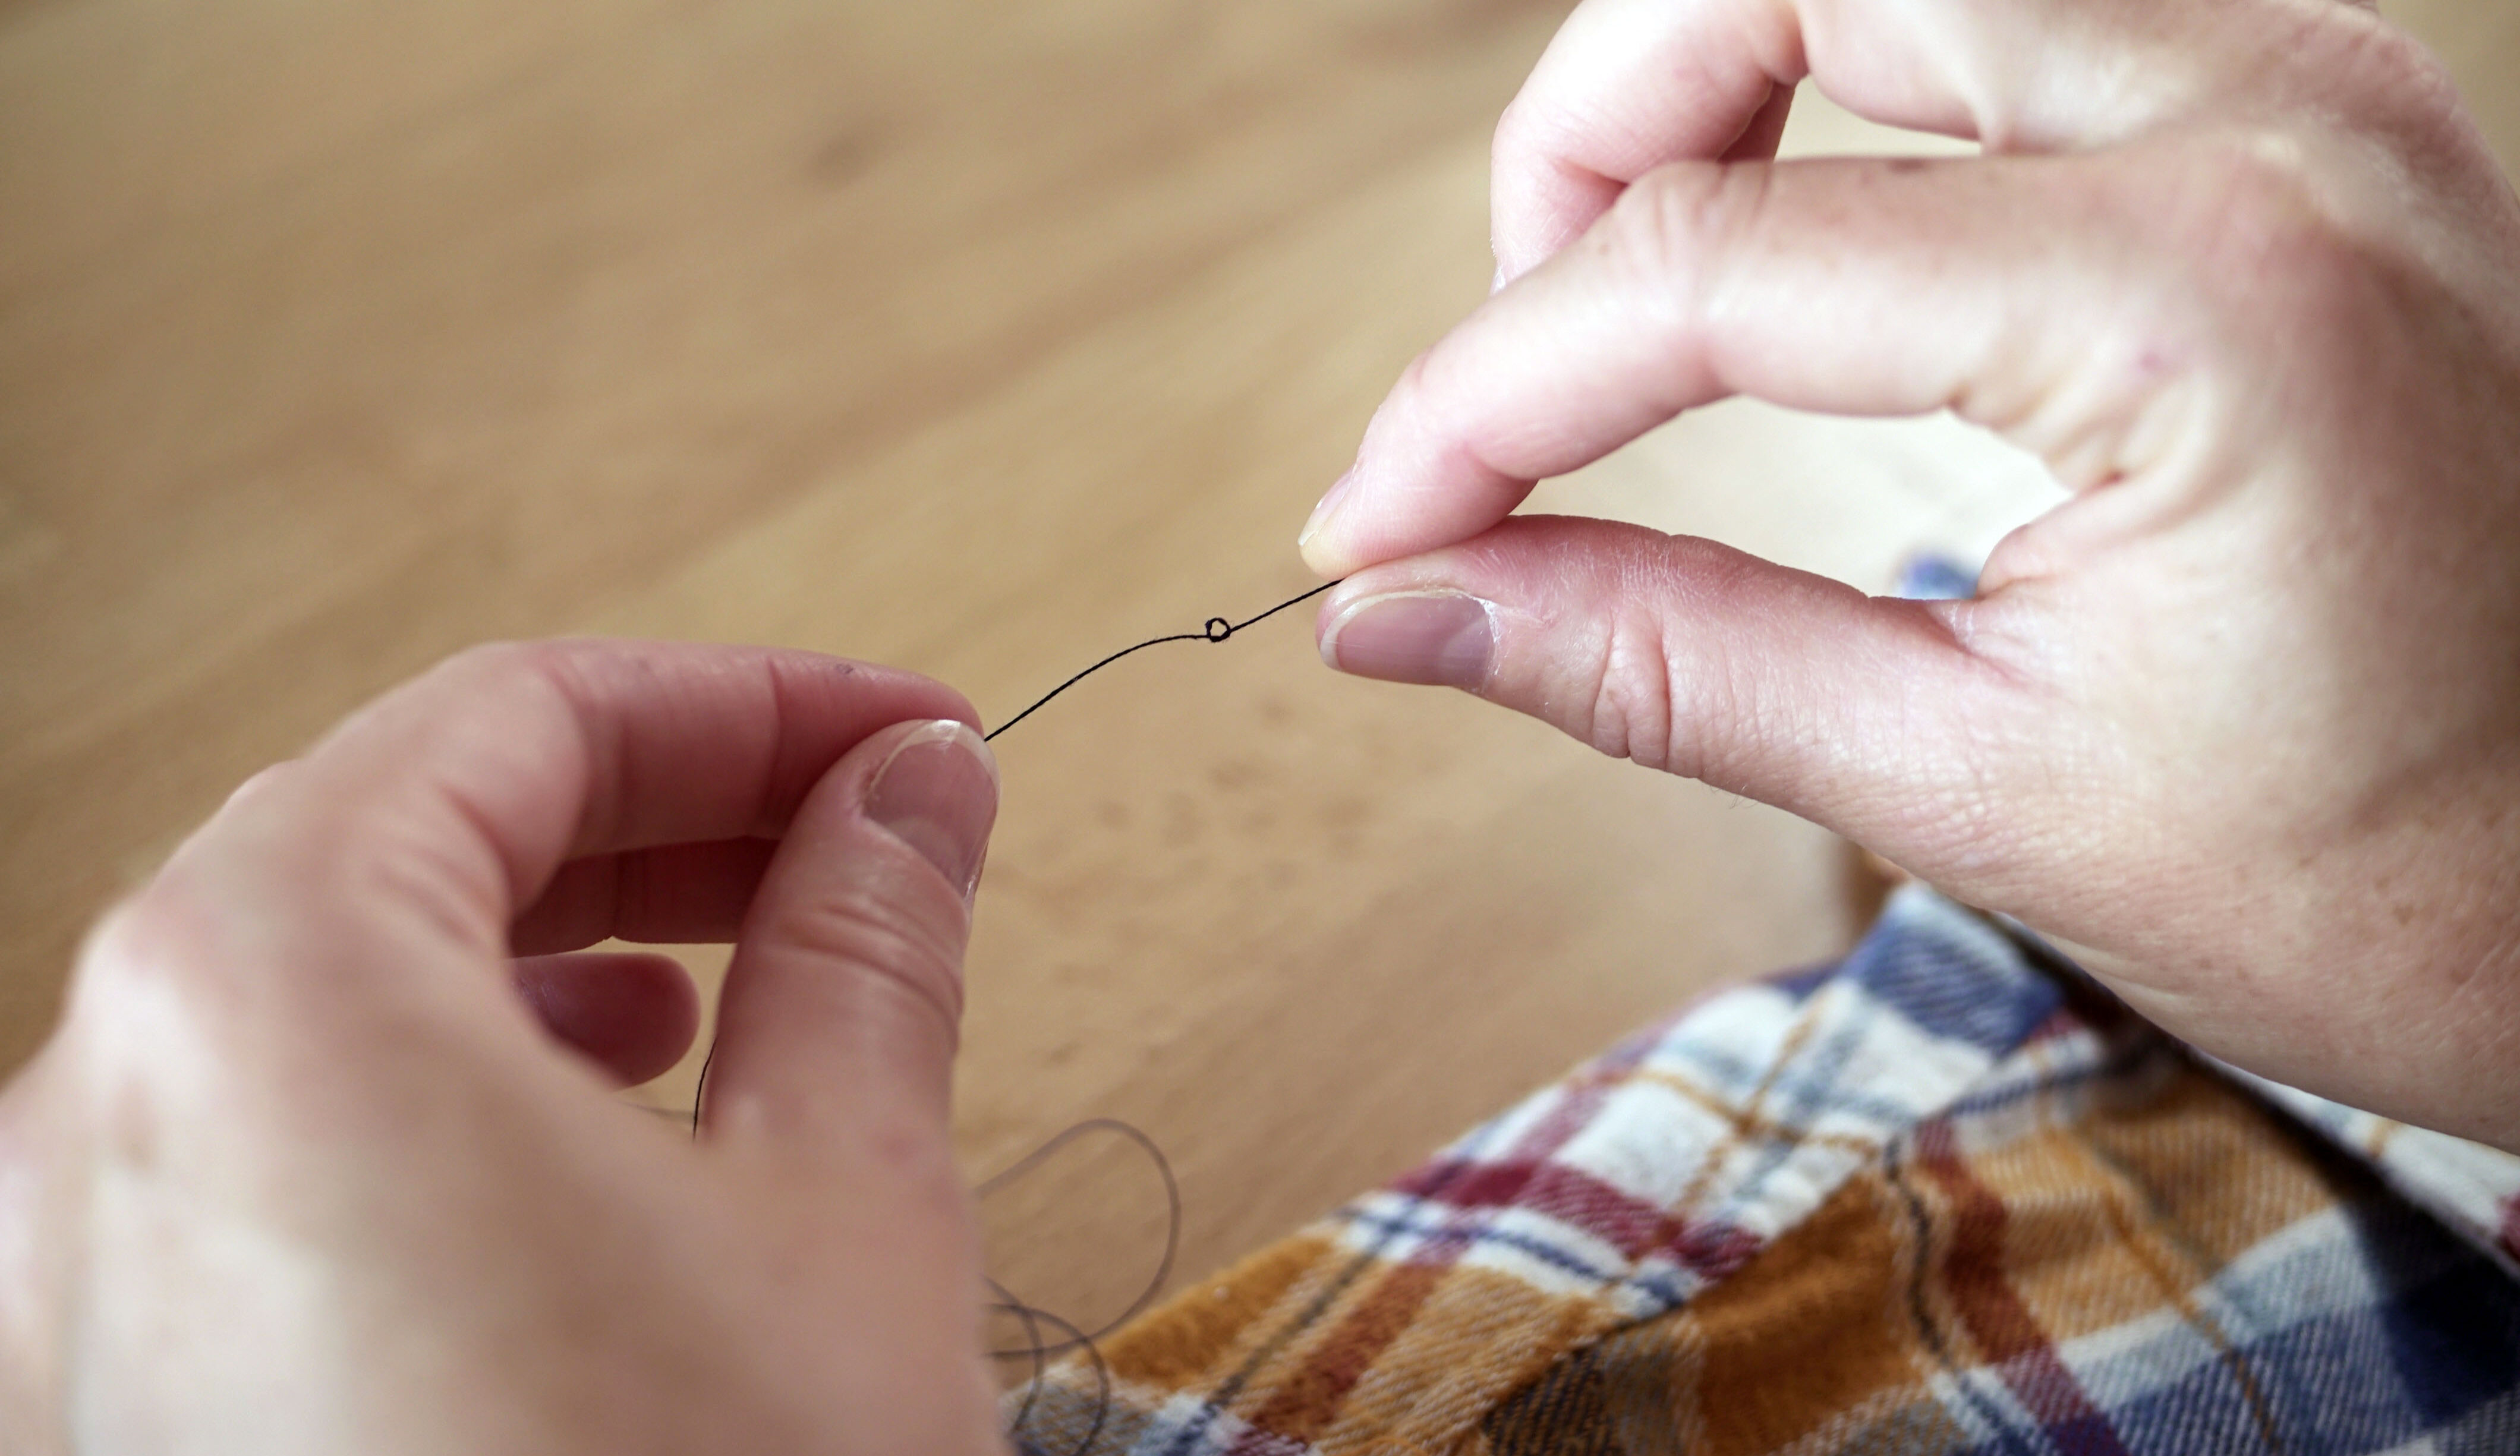
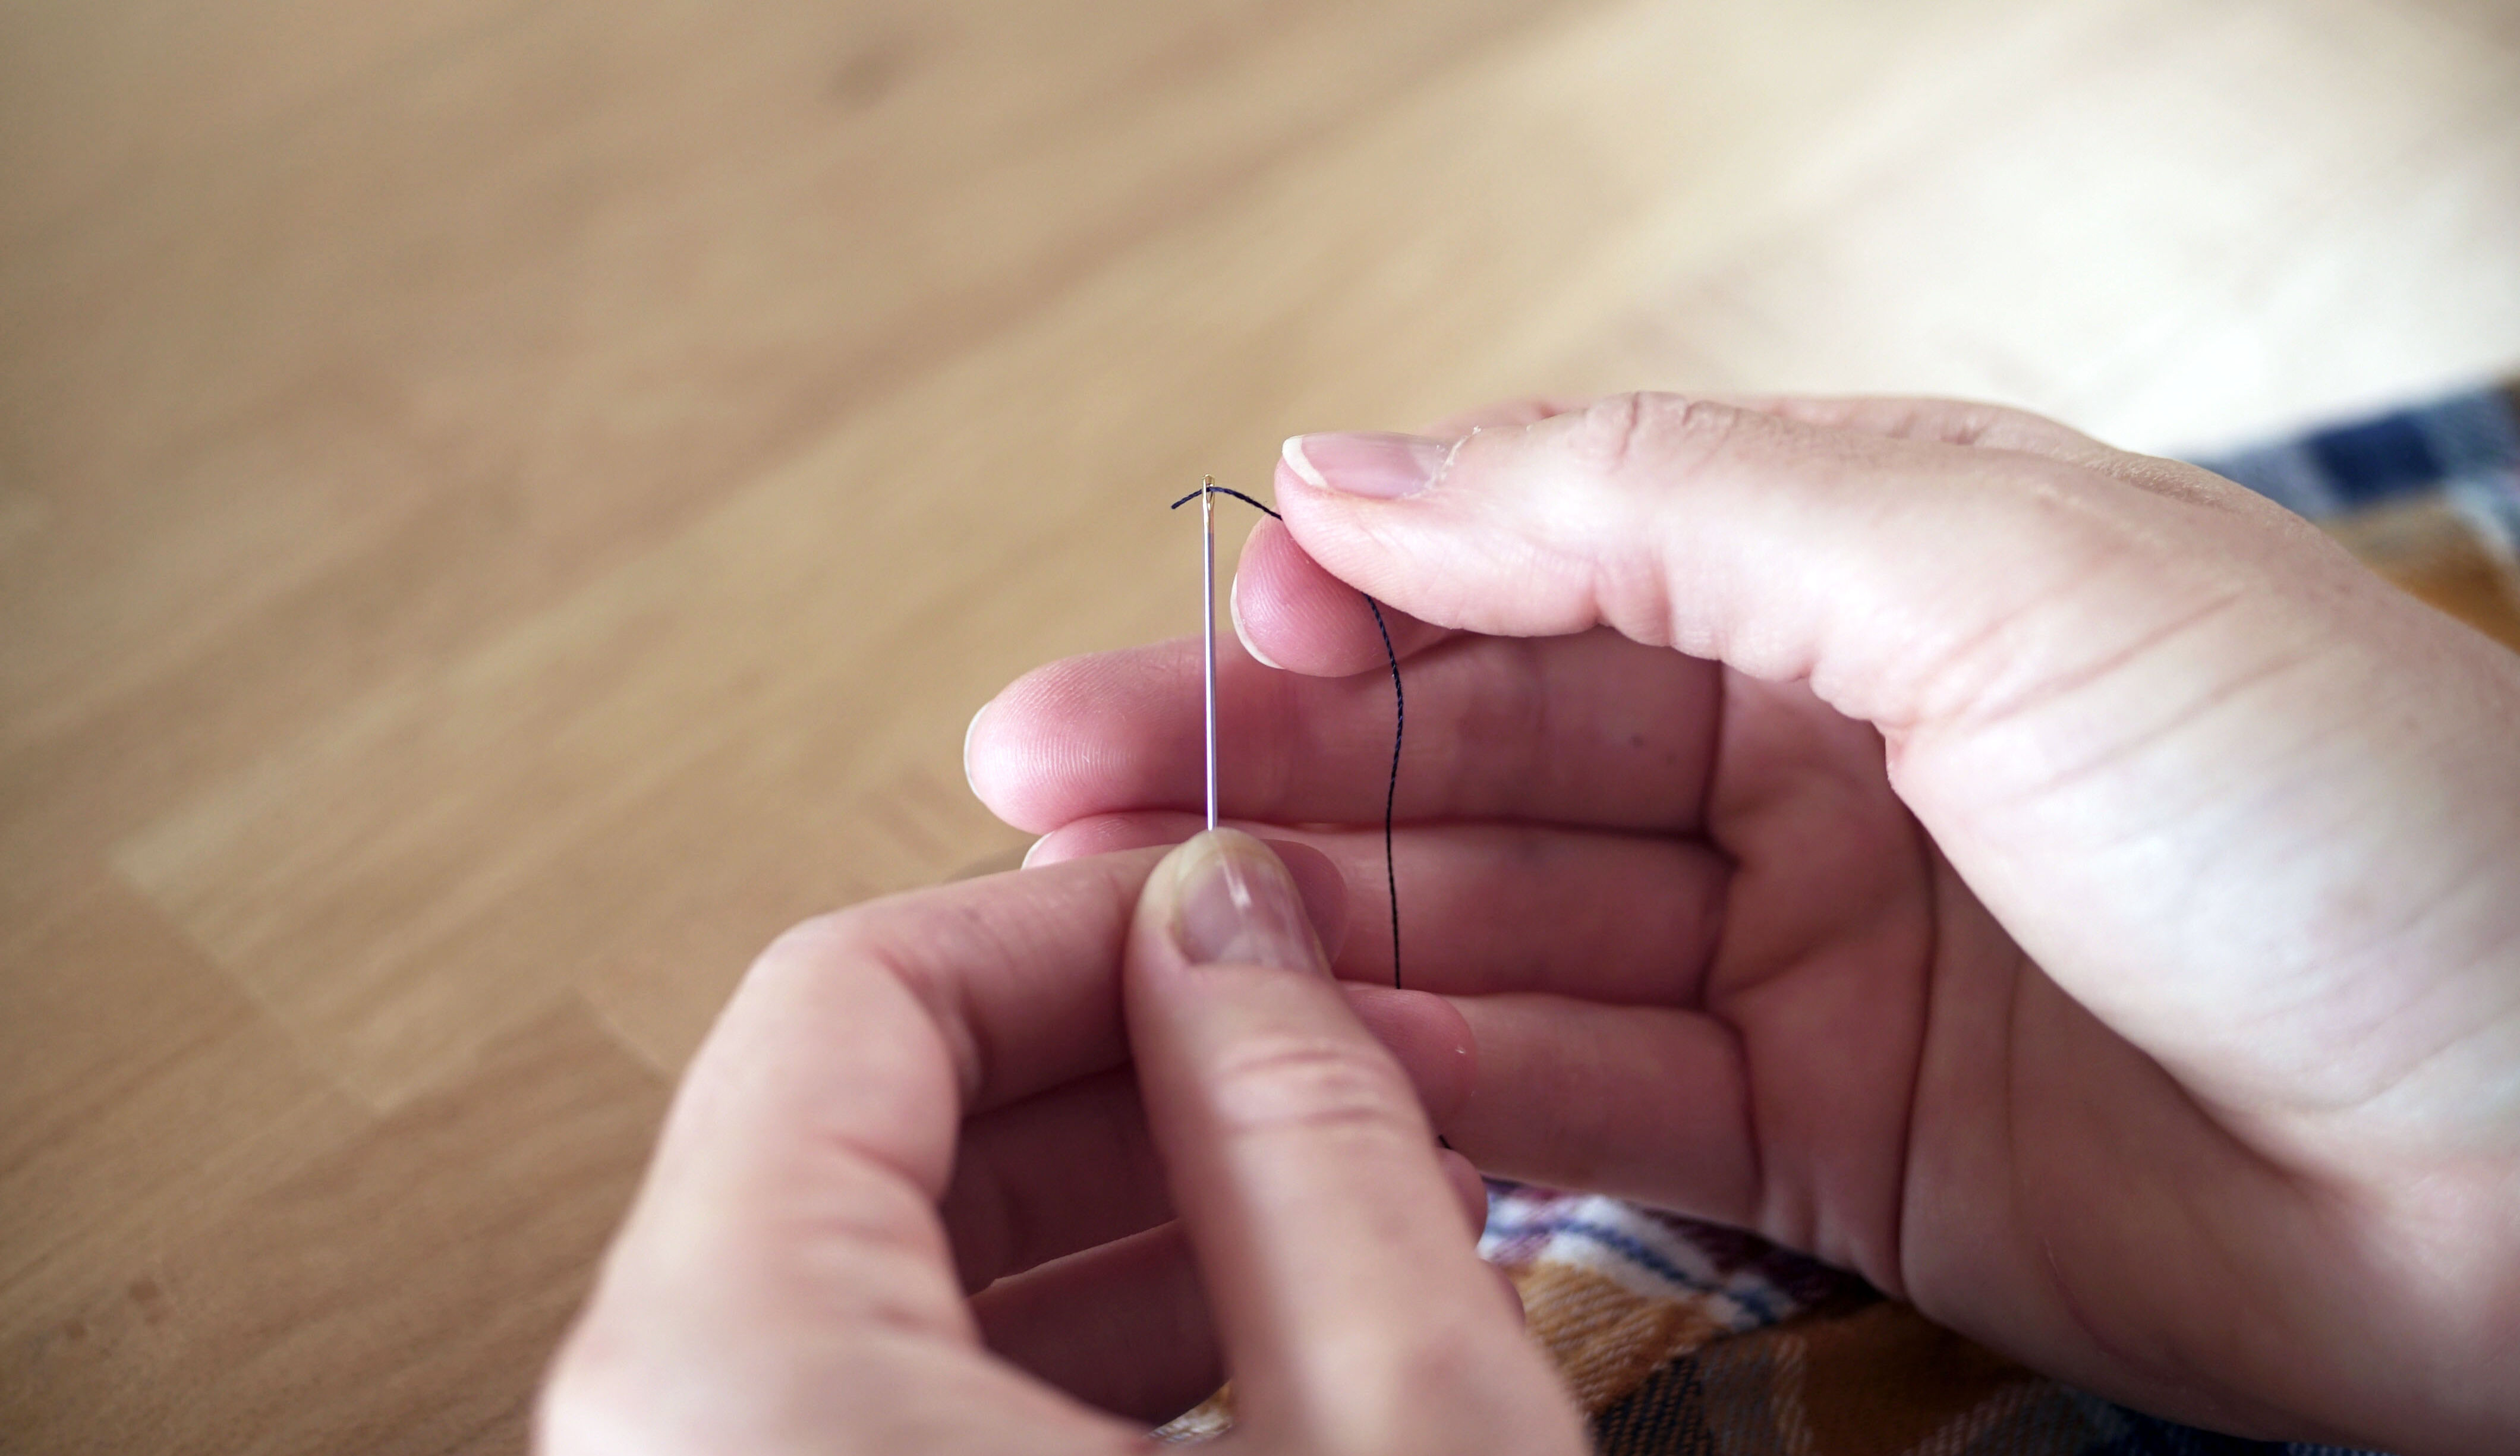
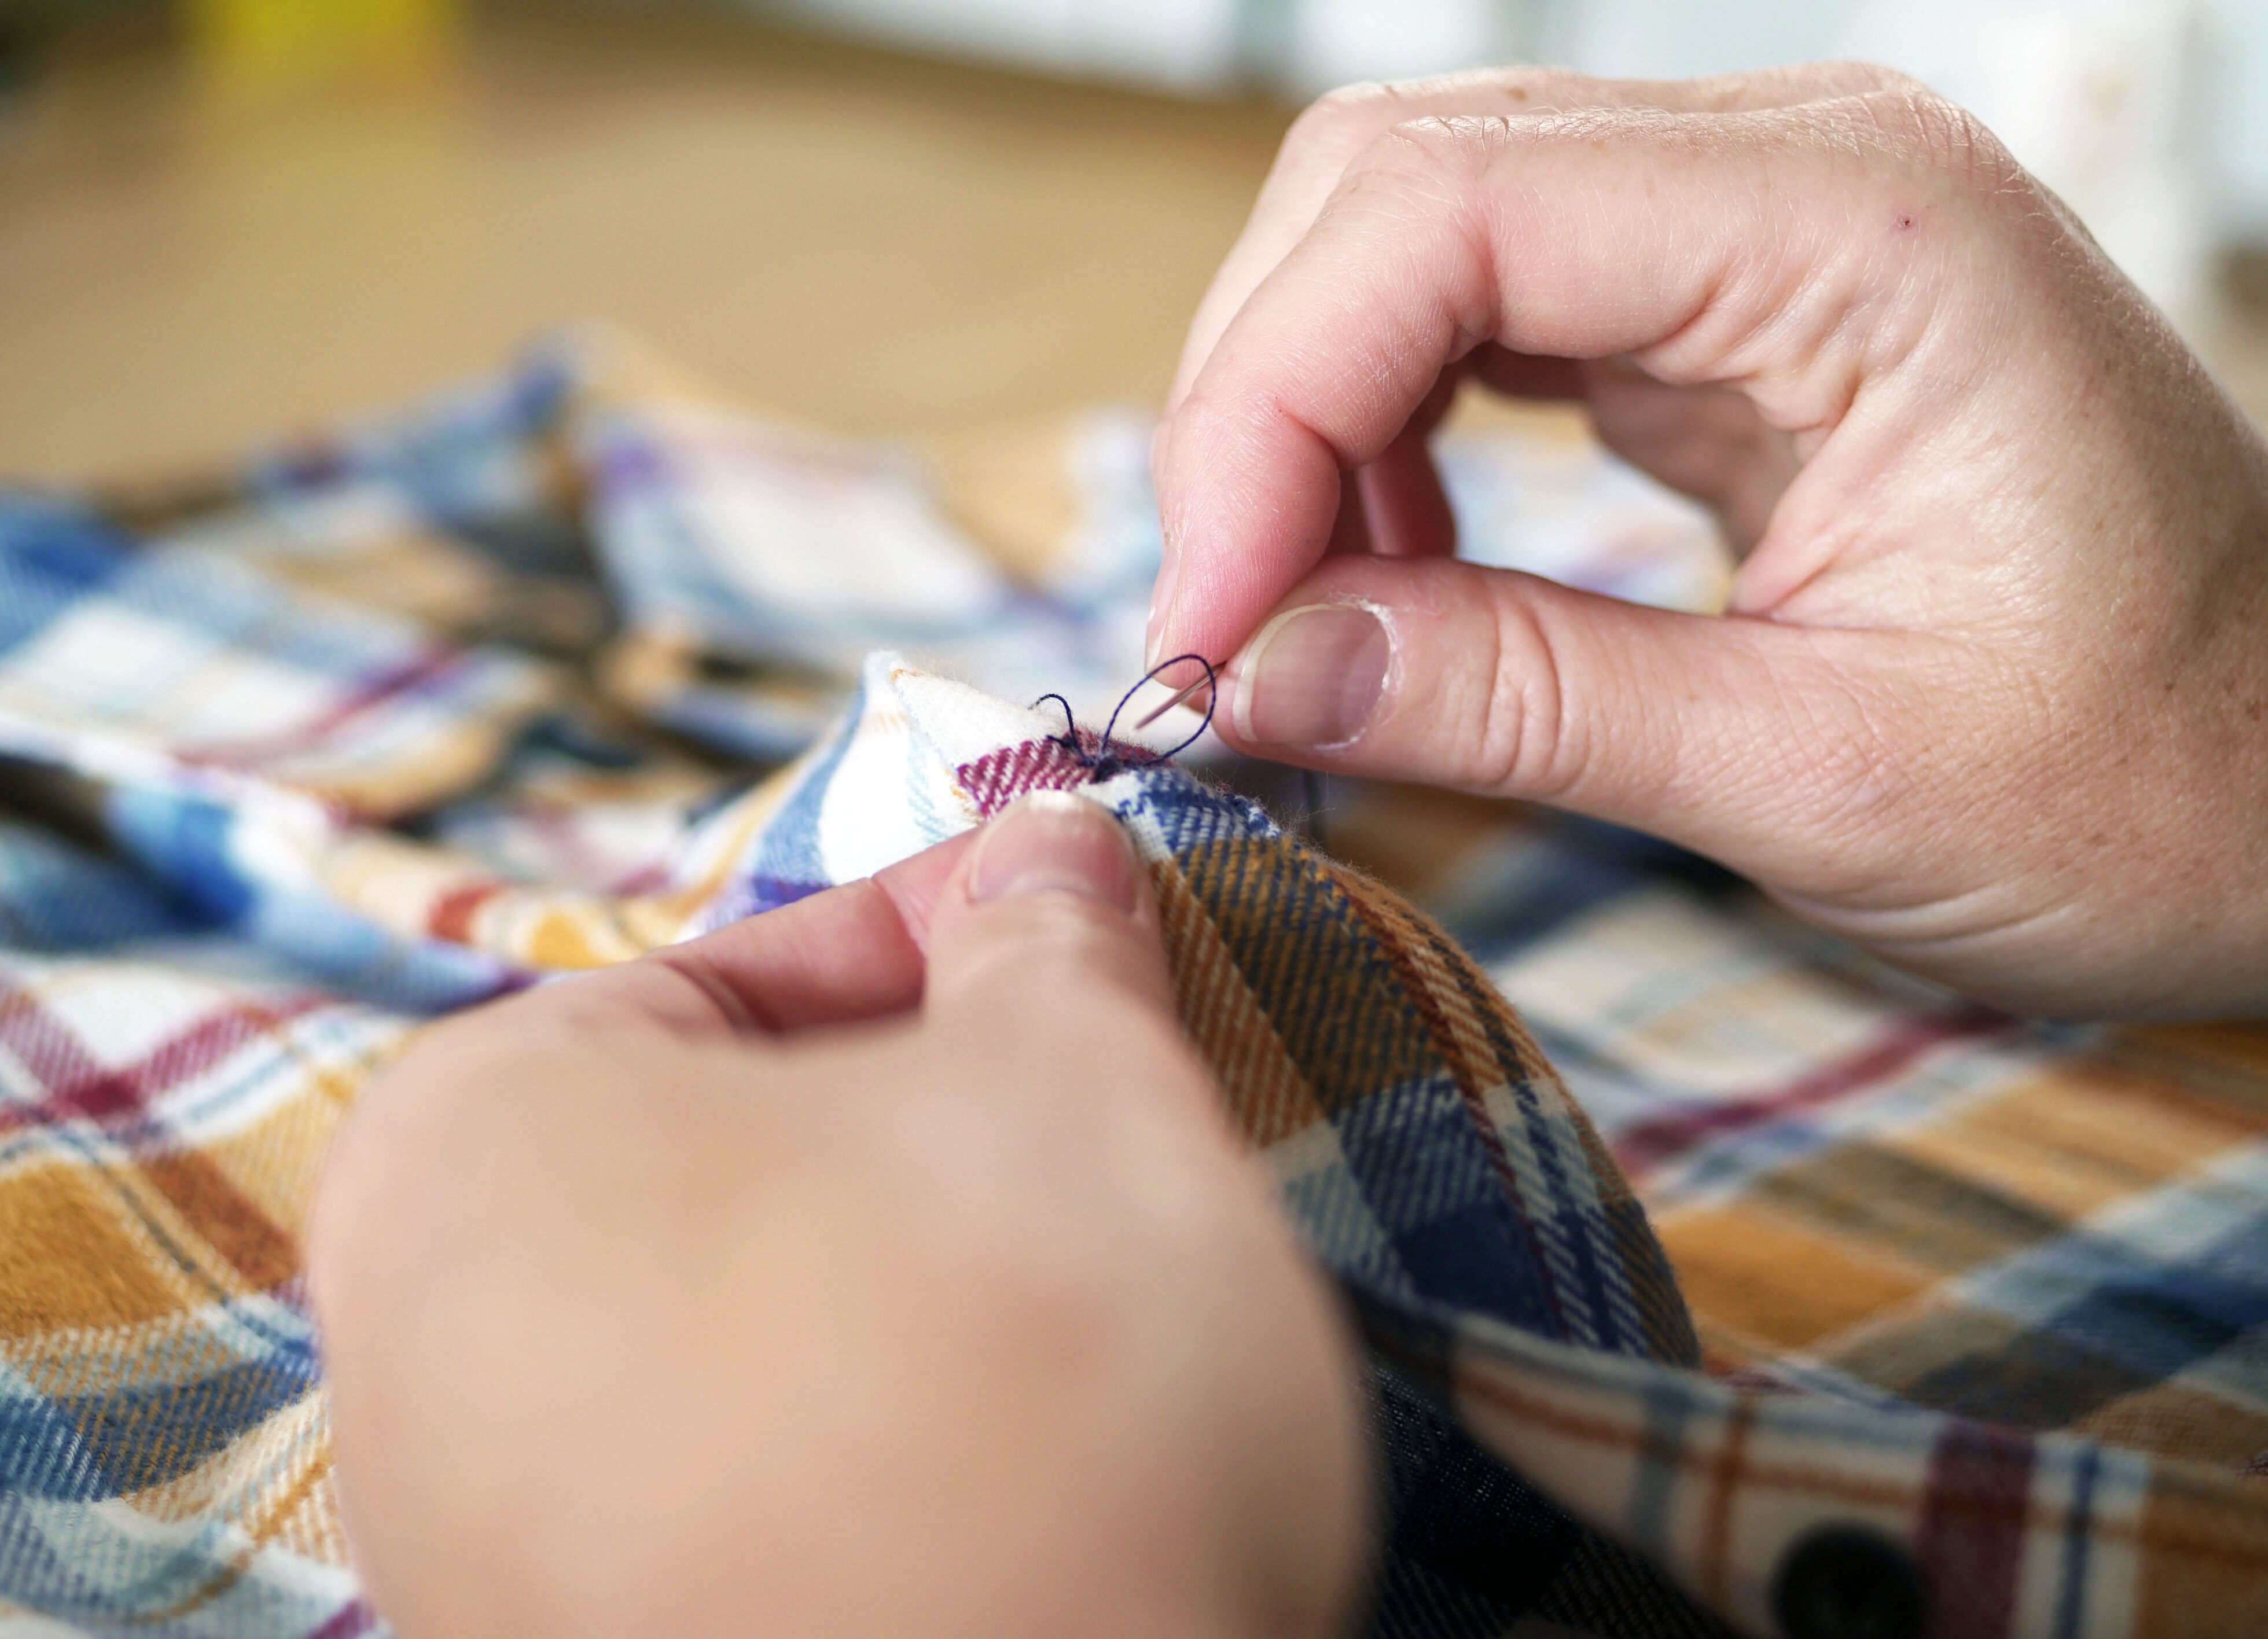
1. Cut a generous piece of thread, then pull it through the eye of your needle, securing it by tying a knot at the end of the longest side. For a stronger seam, you can double your thread by pulling it through until both sides are even and then tying both ends together, instead of knotting just the one side.
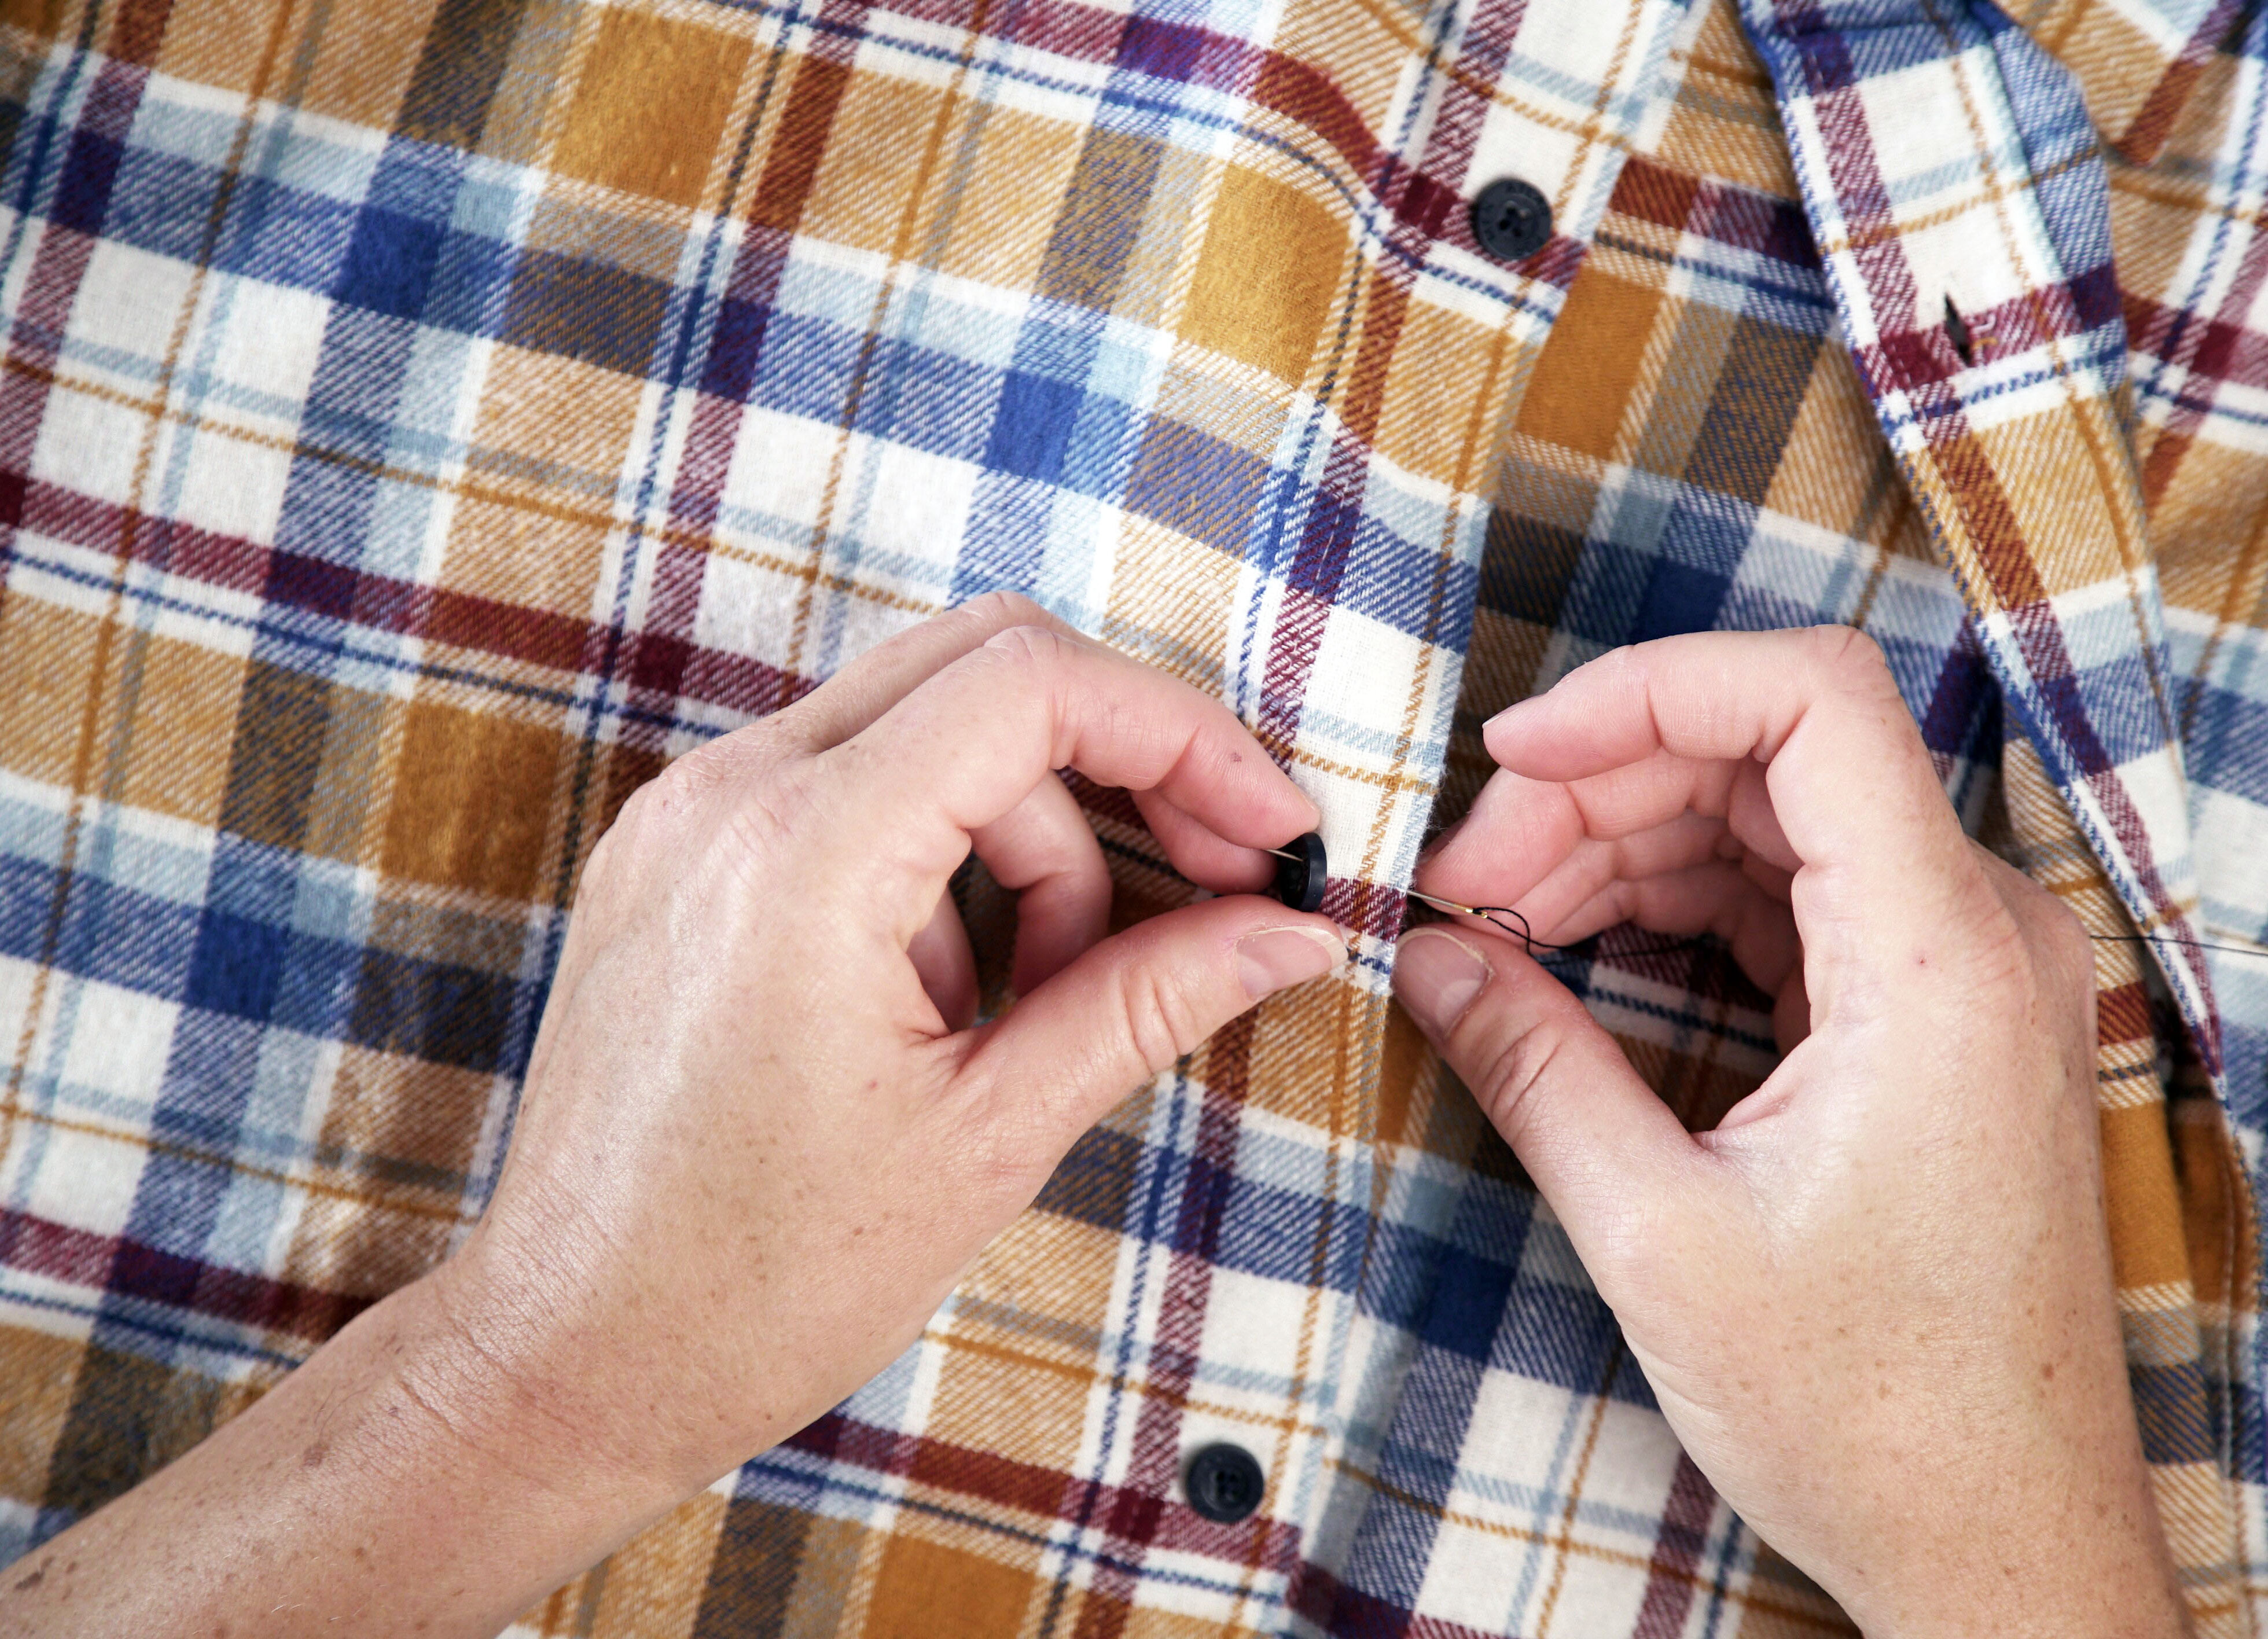
2. Position the button on your clothing item, so that it is aligned with any existing buttons, as well as with the buttonhole it corresponds to on the opposite side of your garment. Mimic closing the item (layering one side over the other as if to do it up) so that you can ensure that the button and buttonhole are perfectly aligned.
Then, starting from the inside, poke the needle through the fabric in your marked spot. Create a small stitch in order to secure the thread to the fabric, finishing with a tight knot. This small stitch will allow you to easily centre the button, and will also act as an anchor, making sure the thread stays tight.
Then, starting from the inside, poke the needle through the fabric in your marked spot. Create a small stitch in order to secure the thread to the fabric, finishing with a tight knot. This small stitch will allow you to easily centre the button, and will also act as an anchor, making sure the thread stays tight.
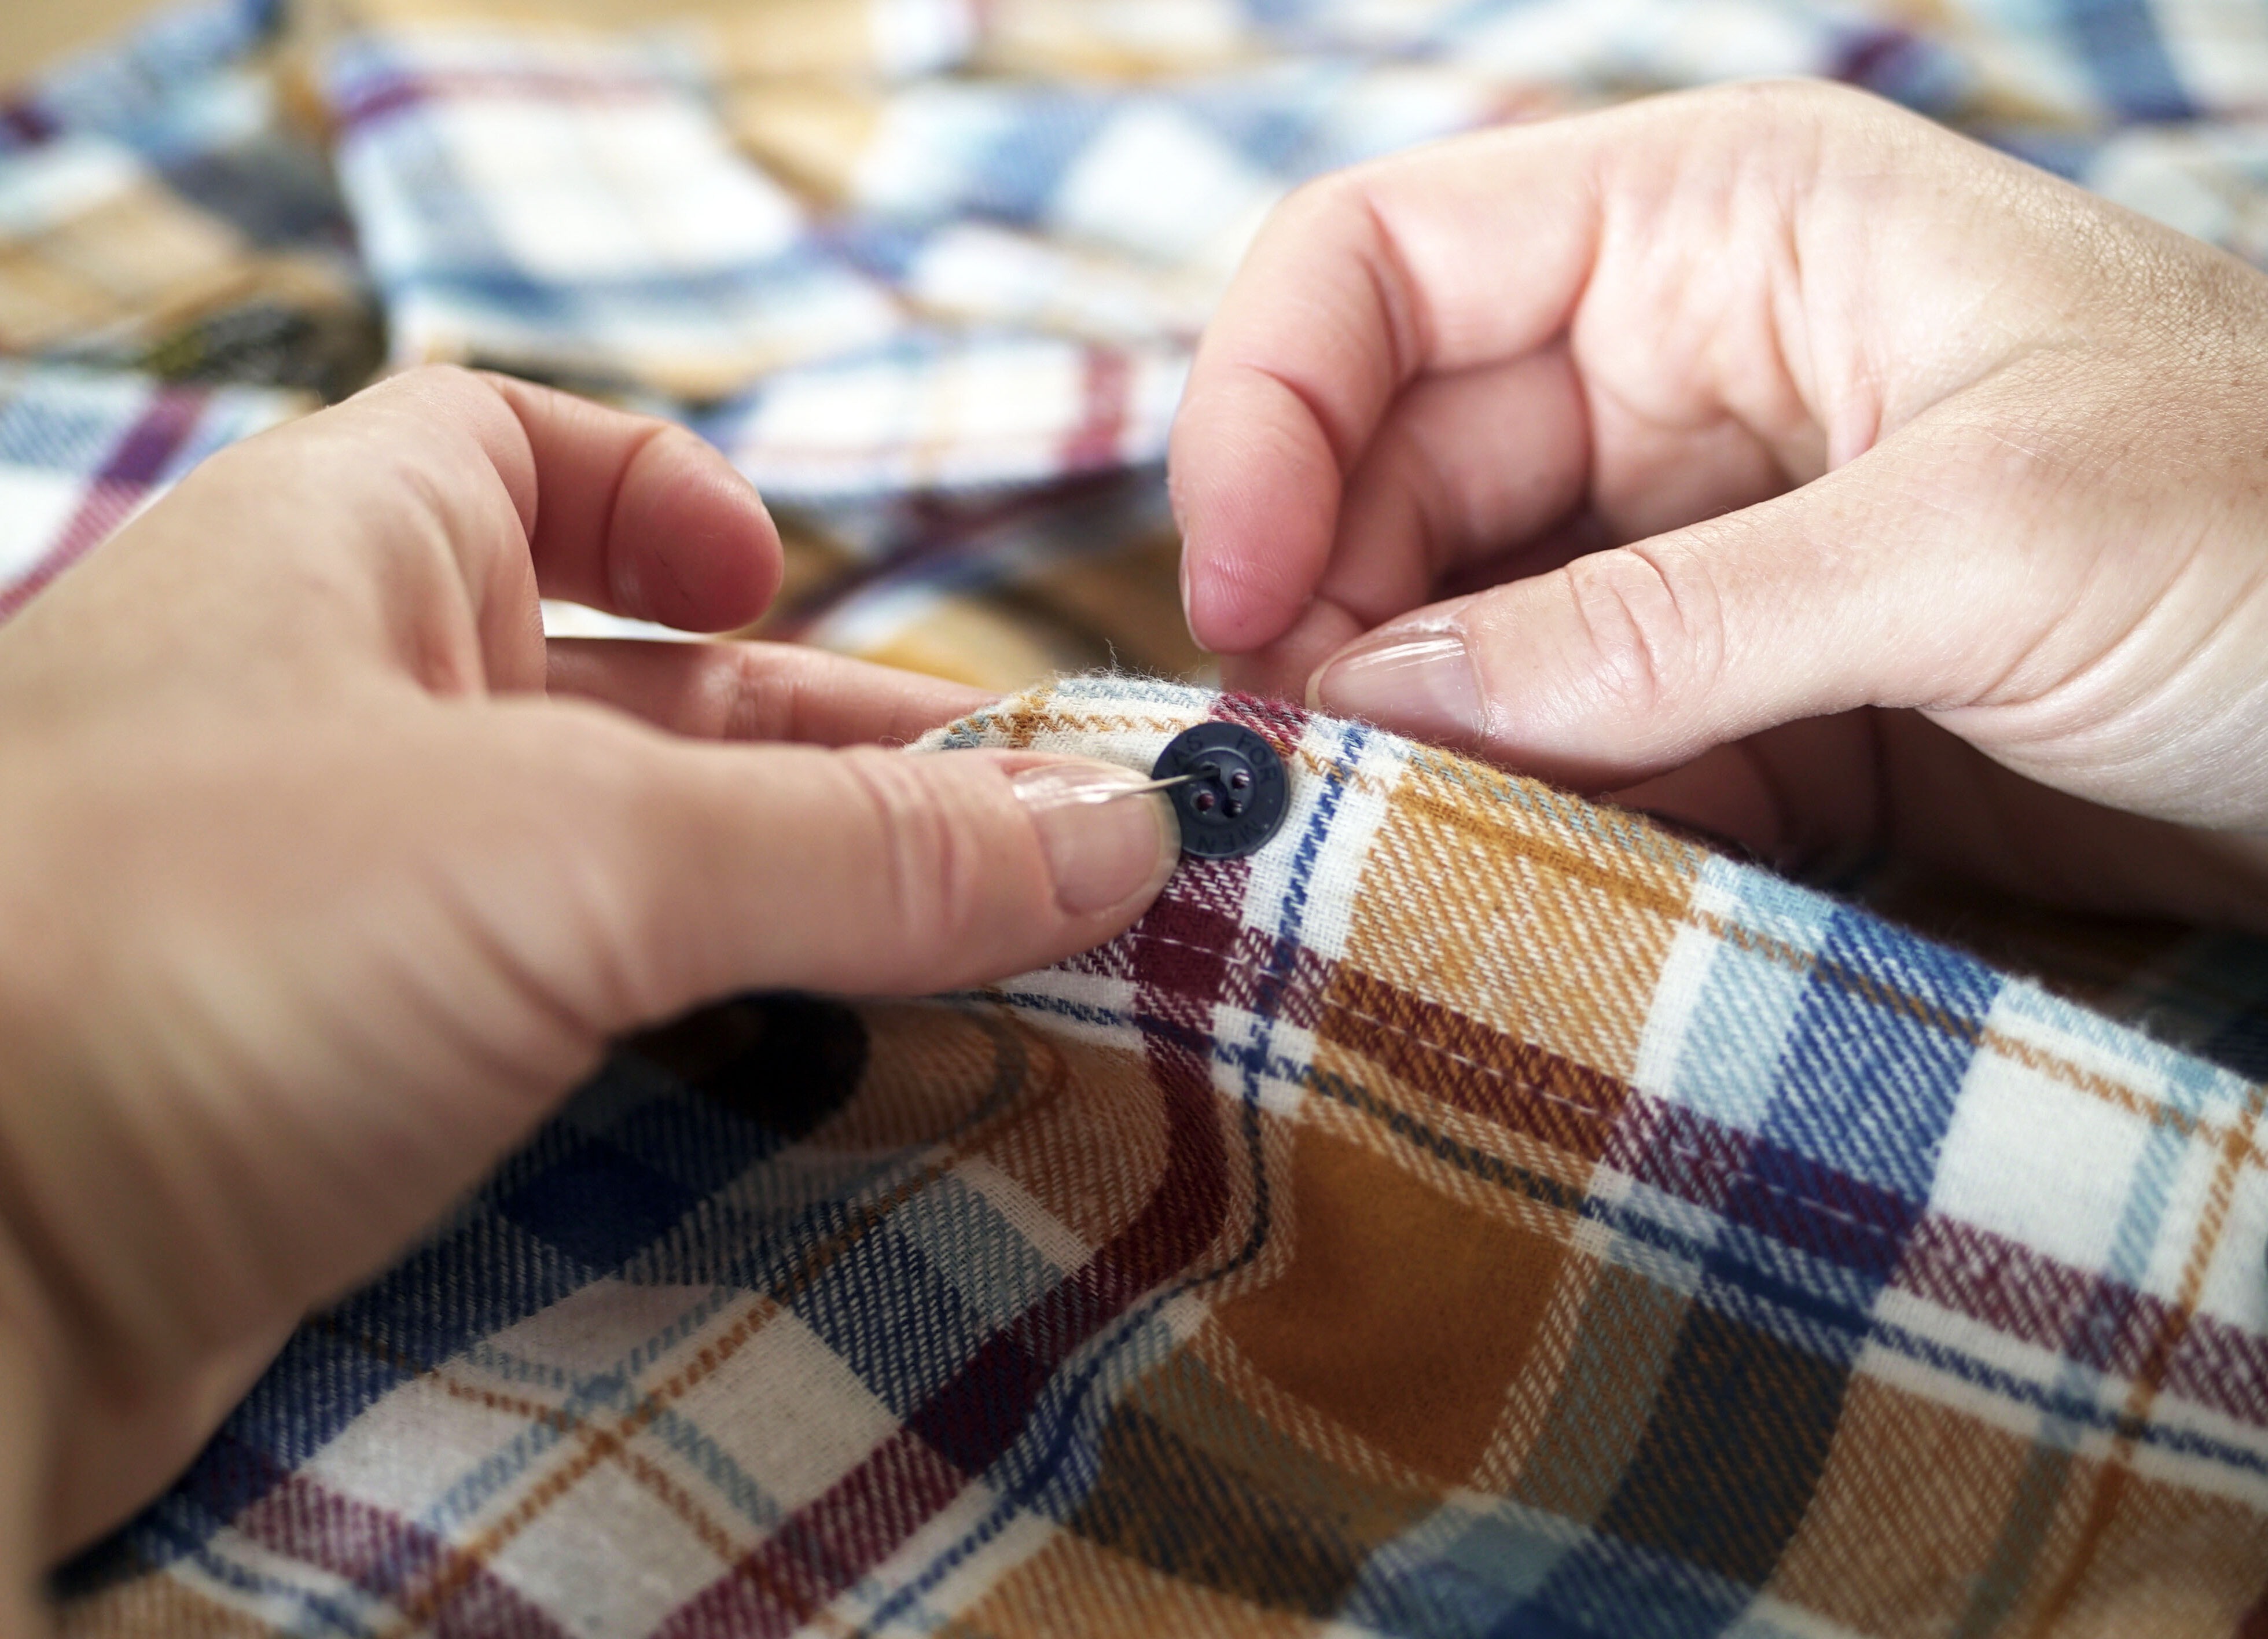
Take your button and position it on top of your initial stitch, then pierce the fabric from the inside, gently pulling the thread all the way up through one of the holes of the button to the outside of the fabric. Then, pass the needle through the opposite hole, piercing through the fabric and gently pulling the thread all the way back down. While doing this, make sure to hold the button firmly in place with your free hand to stop the button from moving.
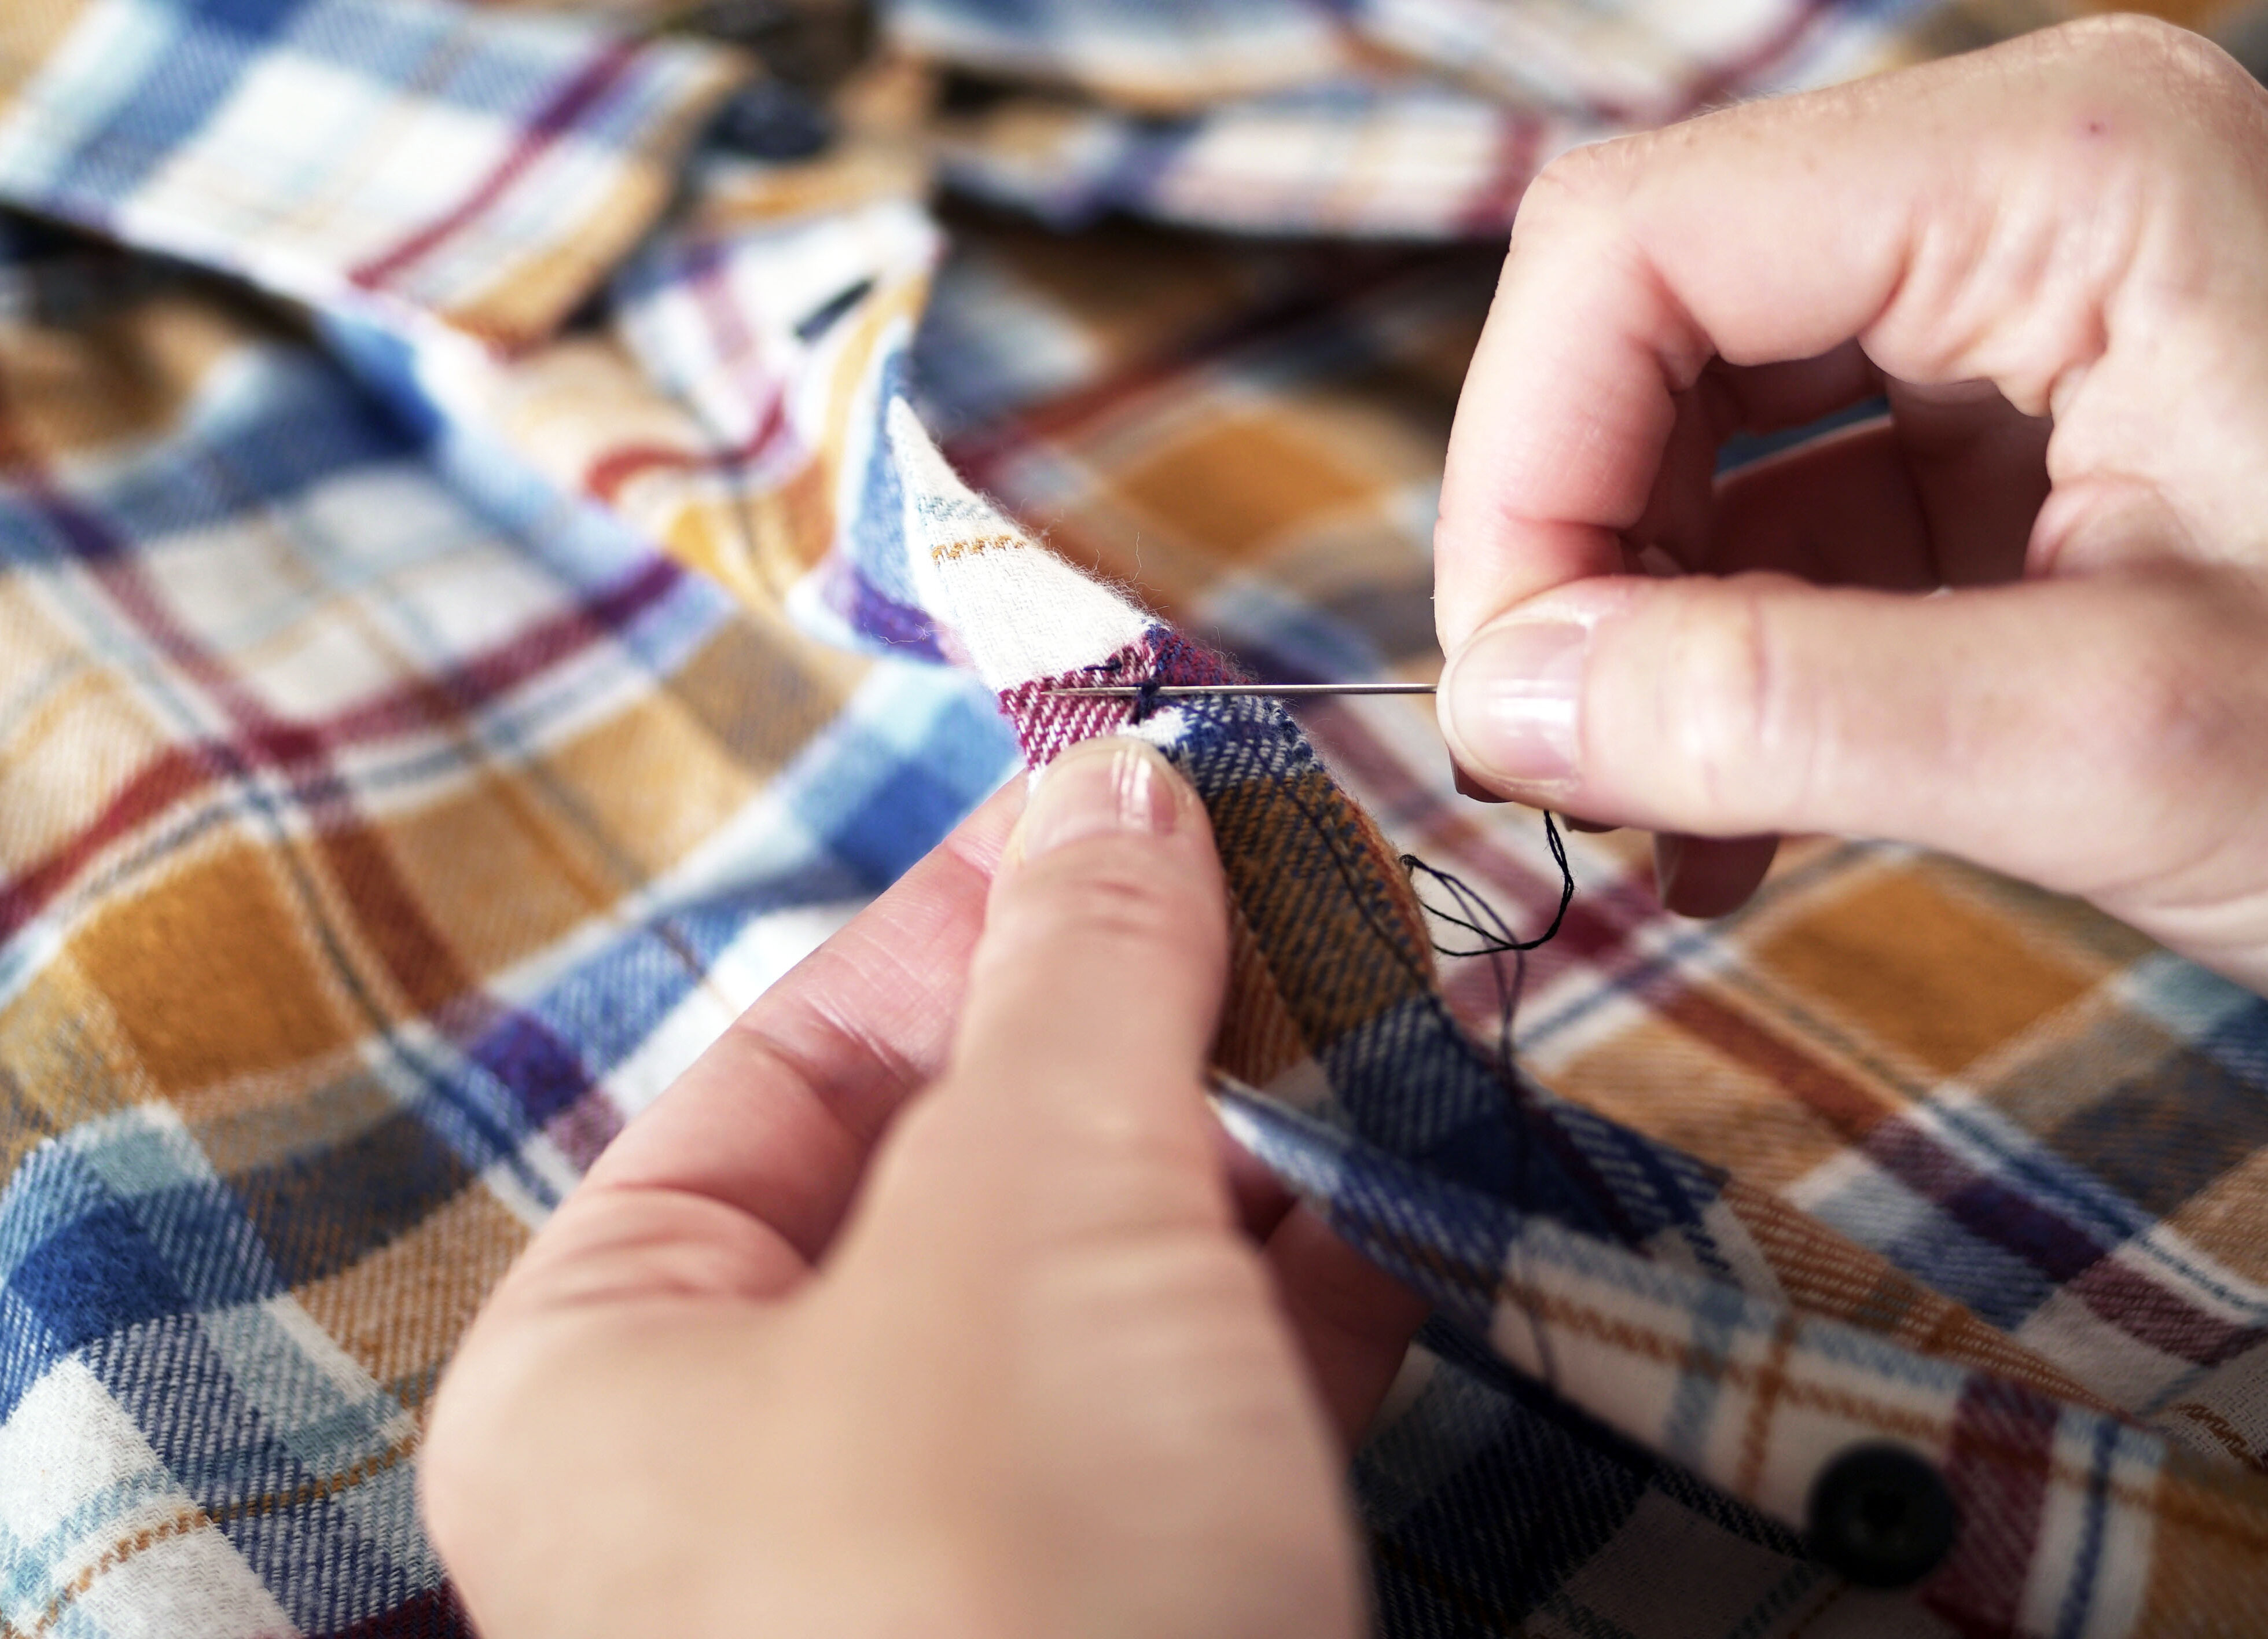
3. Repeat this process around 3-4 times to secure the button onto the fabric. If your button has more than two holes, repeat the process for each pair of holes. Thread up through the fabric of one and down into the other back through the fabric, creating an “X” shape with the thread. Once you’ve finished your final pair of holes, pull the thread down through the hole, from the outside of the fabric towards the inside. However, instead of piercing the fabric, this time loop your thread around the button in a circular motion, in the space between the button and the fabric.
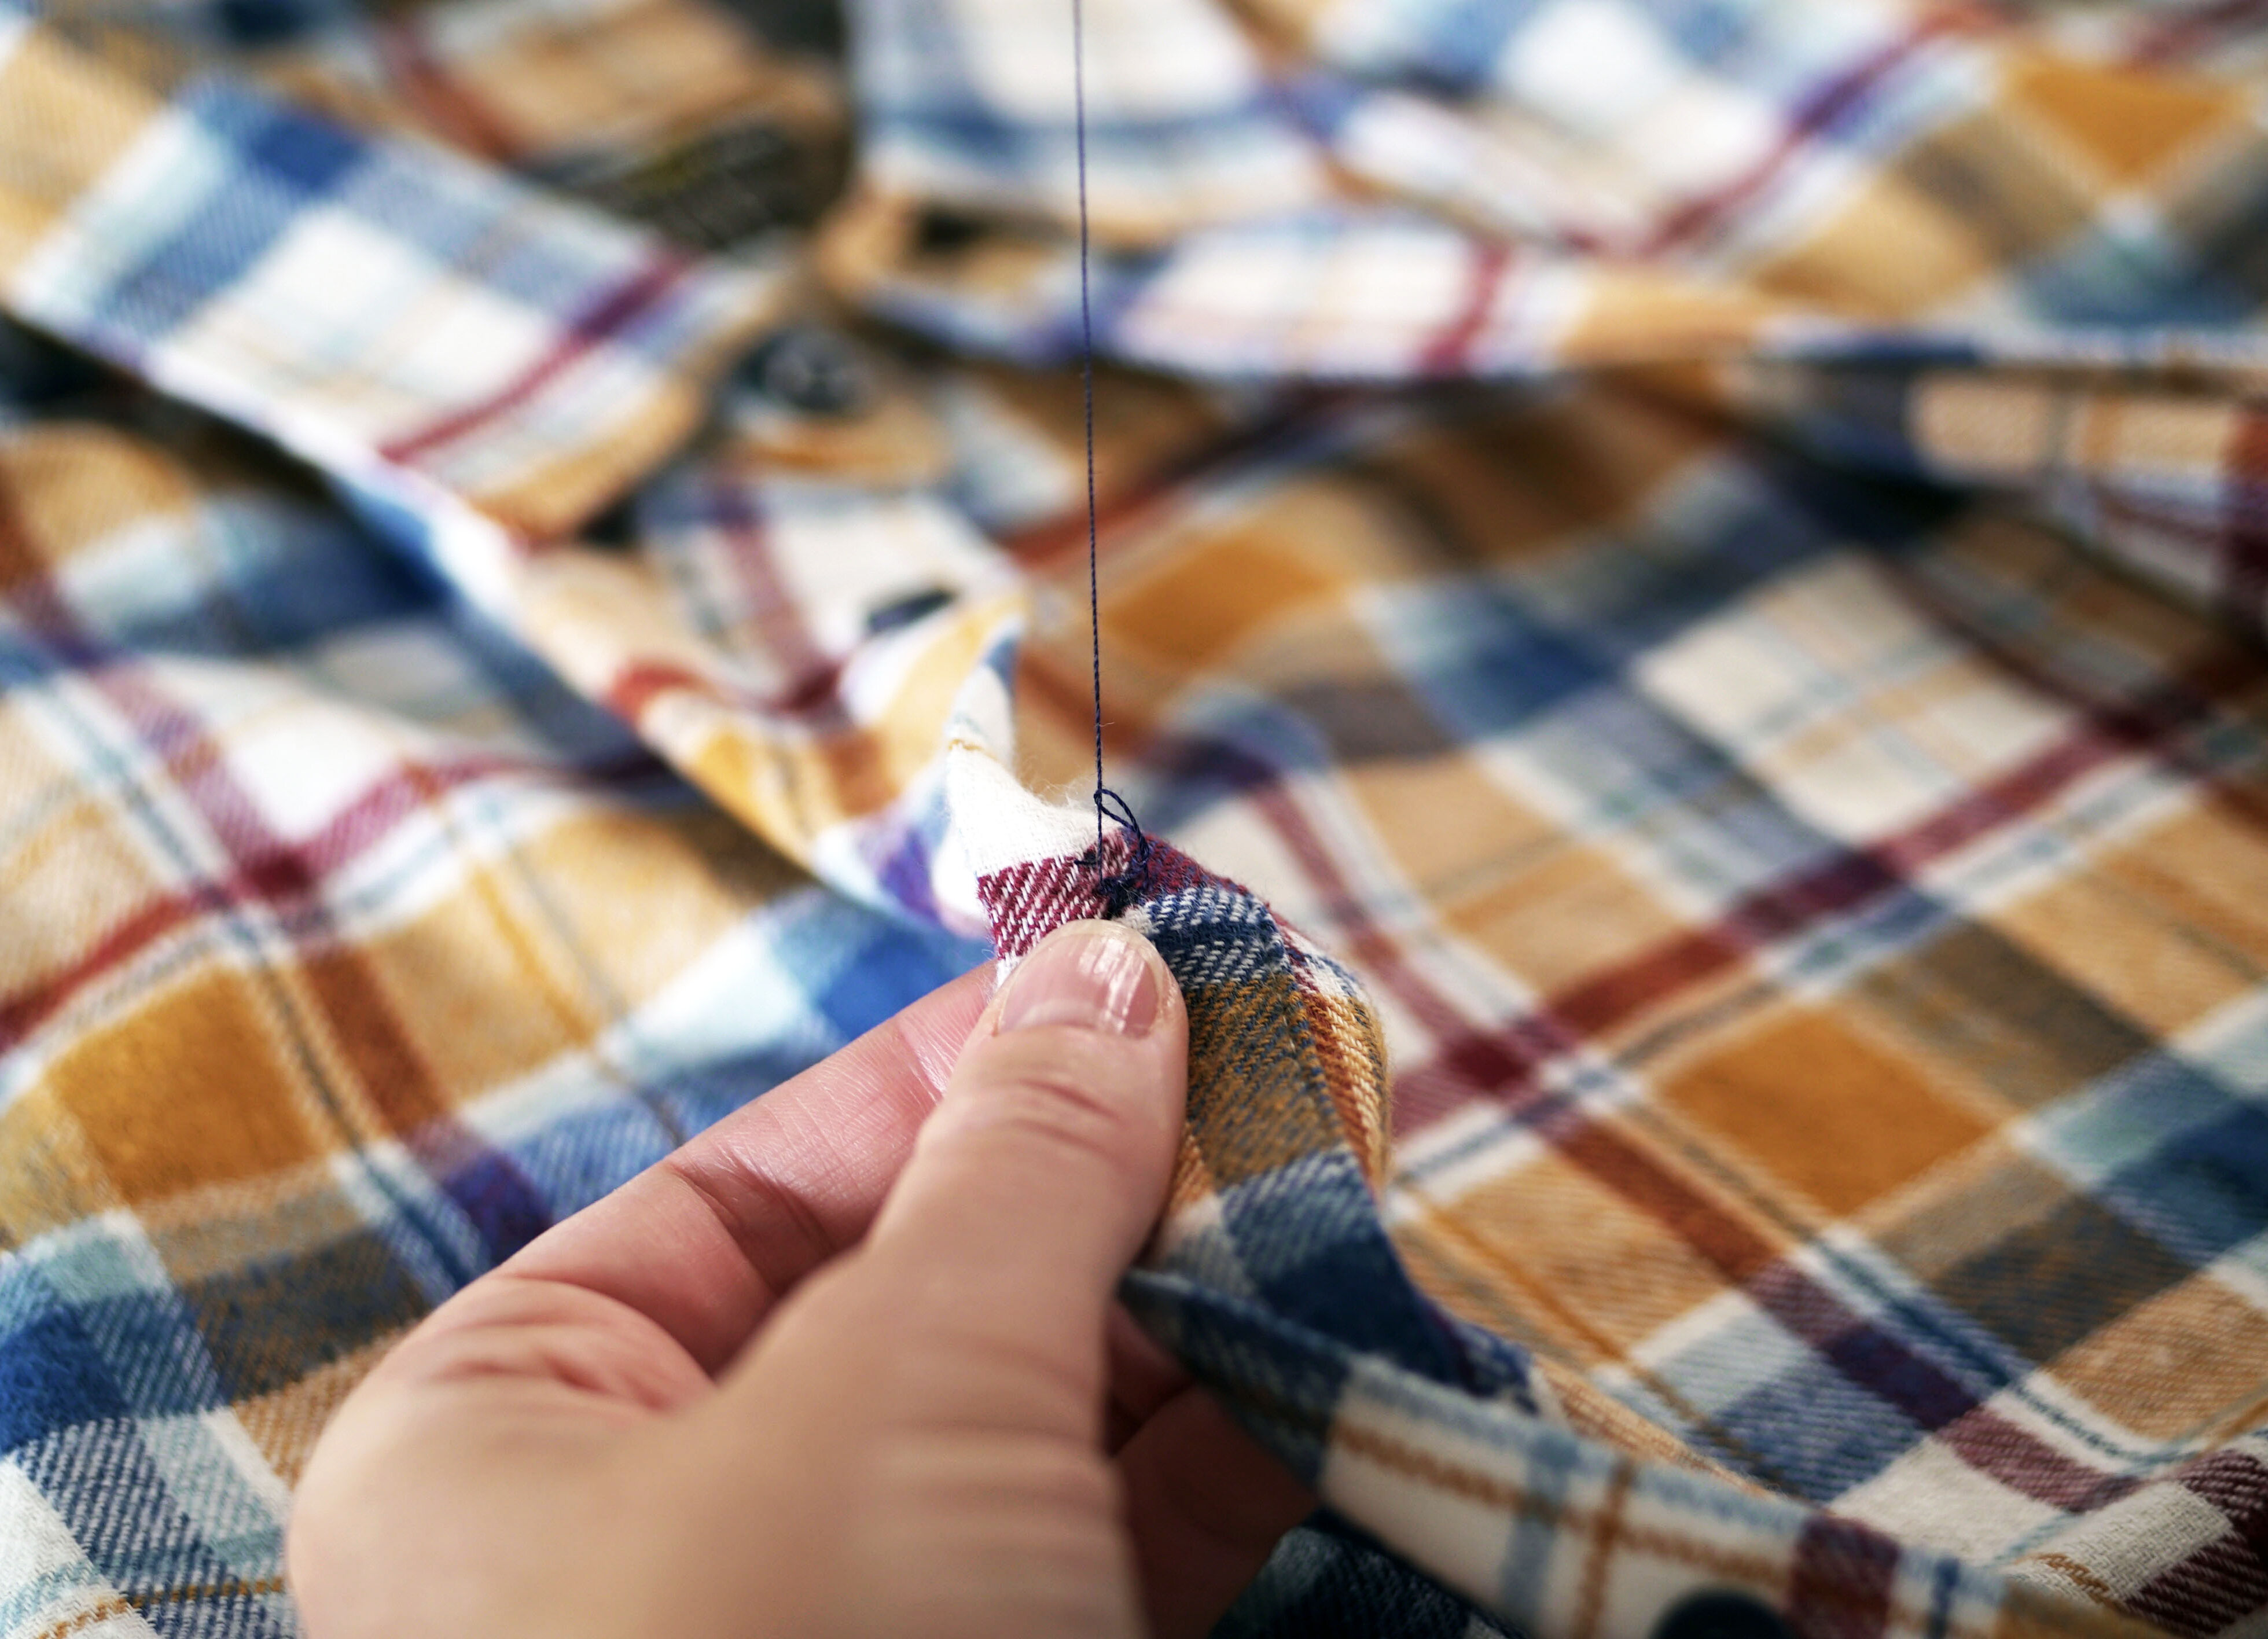
4. Finally, drive your needle back down into the inside of the fabric, and then make a few small stitches on the underside of your garment to secure the thread. Finish things off by tying the thread tightly with a knot. Then, using scissors, snip off any excess thread.
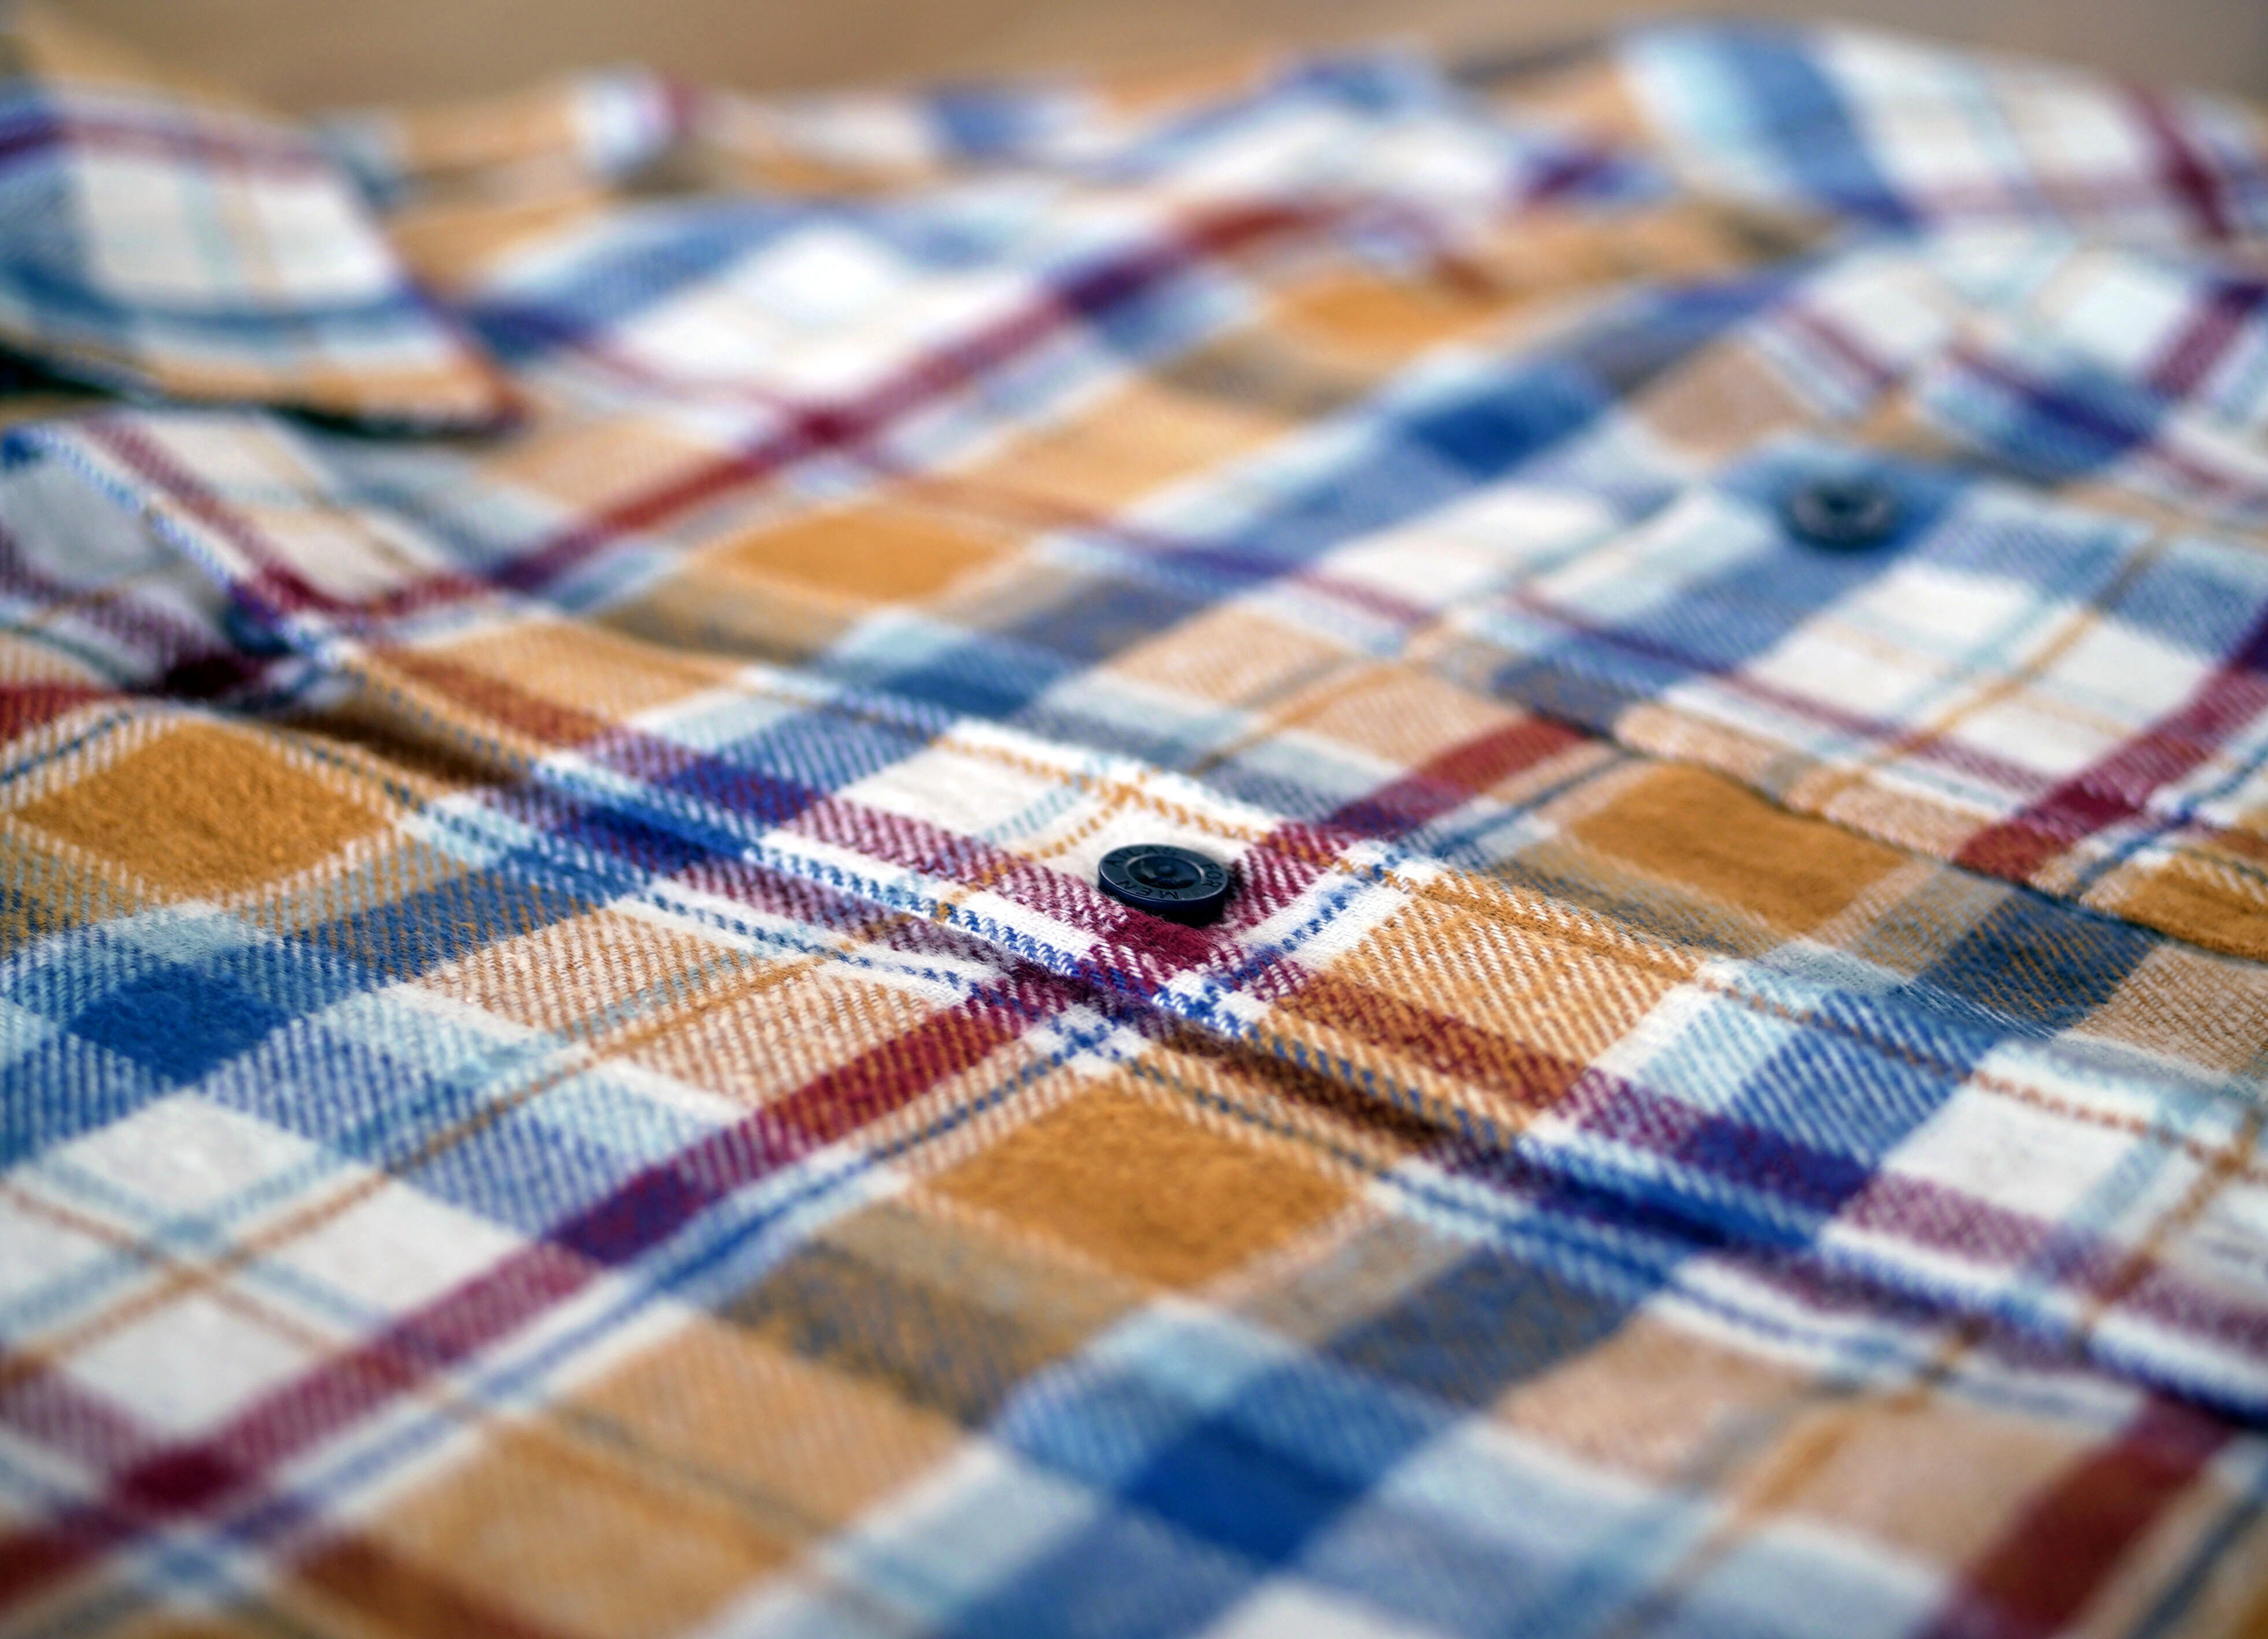
And there you have it! Your button is secure, and your clothing item has been repaired!
Using this same technique, as well as repairing your items you can also revamp and customise them, adding decorative buttons or swapping the existing buttons for something more eye-catching.
If you're now feeling inspired and are looking for other ways to maintain the items in your wardrobe, why not head over to the rest of our blog and check out our guide to washing and caring for your fleece?