.jpg)
A Complete Guide to Cleaning and Caring for Your Walking Boots
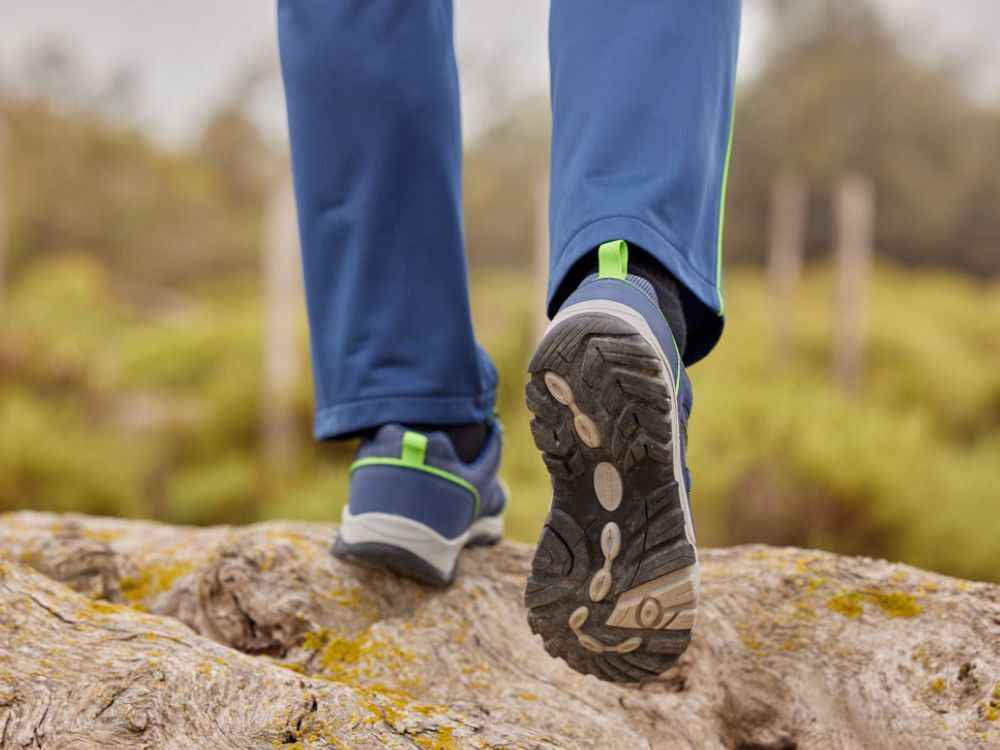
Essential kit for anyone who loves the great outdoors, a trusty pair of hiking boots are your exploration best friend! Since they'll accompany you on all your adventures – contending with the varying terrains, weather conditions, distances and intensity that you yourself have to face – it's important to show them some TLC after a long hike! By properly caring for your walking boots, you will increase their product lifetime and save money in the long run. So, read on and follow our complete guide to how to clean and care for your hiking shoes, as well as how to dry them, store them and re-waterproof them! We'll even let you in on when's best to invest in a brand-new pair...
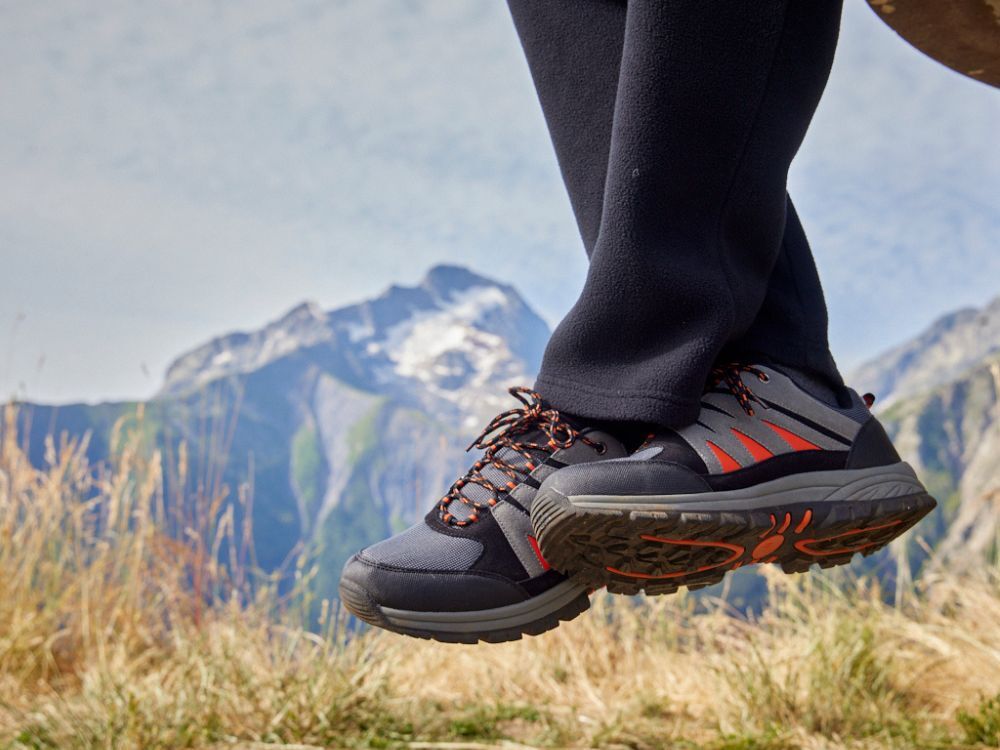
How often should you clean your hiking boots?
Believe it or not, you should clean your hiking boots regularly, ideally performing a little ten-minute maintenance work on them after every muddy hike, and paying them extra special attention if you plan on stowing them away for the rest of the season. Although, sturdy and durable, they are designed to get dirty, it really is best to keep them in tip top condition after each adventure is complete. Cleaning your boots straight after you've hit the trail will also be a far easier task to undertake than if you leave them for weeks on end, caked in dried out mud. Of course, if you're an avid hiker donning your boots on a frequent basis, it doesn't make much sense to be spending time meticulously cleaning your boots just to get them grubby again a couple of days later. On top of that, we all know that super-clean boots are not necessarily a sign of a real outdoors enthusiast... So, feel free to take our one-size fits all cleaning frequency advice and tailor it to how much wear you get out of your walking boots. But, the principle still stands, cleaning your boots little and often is important! If you don't, you risk discoloration, reduced water-repellency, breathability, and grip, and even cracked leather from mud sucking the moisture out of them...

Can you put hiking shoes in the washing machine?
So that you don't make a faux-pas, it's worth noting from the get go that you should avoid putting your hiking boots in the washing machine. The heat and power that washing machine cycles involve risks damaging your shoes and shortening their lifespan. Instead, you'll want to wash your boots by hand!
From leather designs to synthetic styles, here's how to wash your walking boots (uppers, soles and insides) using cleaner
Cleaning your hiking boots doesn't require any state-of-the-art kit, and most boots can be cleaned in pretty much the same way, regardless of the material they're made from. That being said, there are some specificities to bear in mind dependent on whether you're cleaning leather boots or walking shoes made from synthetic materials, so we'll touch on these as we go. Thankfully, you can clean the uppers and the outsoles of your boots in the same way, at the same time. The most important piece of equipment you'll require is a boot brush (opt for a soft-bristled brush if your boots are made from leather) or otherwise a soft toothbrush. Next up, you'll want a soft cloth and/or sponge to hand. And finally, you'll want some form of cleaner. You can use specialised boot cleaner, that's particularly ideal for heavy-duty stains and leather boots, or you can have a go at cleaning your boots with neutral soap and water, or a solution of mild washing up liquid and water. If using boot cleaner, just make sure you read the instructions as not all cleaners are appropriate for all materials. And, if using boot cleaner that's specially designed for use on leather, work it into your boots using a soft cloth, so that you don't mistakenly make any scratches. With all this in mind, let us take you through the cleaning process, step by step:
- 1. Brush off any dirt and beat the soles of your shoes together to remove mud a maximum. If you're attempting to get dirt off a mesh upper, brush very delicately or, ideally, try and remove it before it dries! The same goes for leather boots – where possible, it's best to clean them before the mud sets.
- 2. Remove the laces from your boots and then soak the laces in soapy water.
- 3. If removable, take out the insoles of your shoes and clean them separately, using a soap-water solution.
- 4. If necessary, clean the inside of your boots by wiping them down with a moist cloth.
- 5. Wash your boots by hand or with a soft sponge, brush or cloth under lukewarm running water, using whatever type of boot cleaner you've chosen and gently rubbing in circular motions. Take particular care not to get your boots too wet, especially if made from leather. Use a brush to clean around seams, hooks and lace holes if the dirt is proving hard to remove. Wipe away the cleaner, until there are no suds left on your shoes.
- 6. Hand-dry your boots with a rag or towel before leaving them to dry (more on this below).
- 7. If your boots are made from full-grain leather and you notice the leather appears dry or cracked, you may wish to apply a conditioner to them once completely dry. Do this using a soft cloth. Note, this will only be required from time to time, rather than each time you clean your boots. Suede and nubuck boots can be treated with a different, specialised type of product, but this risks altering their appearance, so only treat them where vital. Synthetic models, on the other hand, won't require this type of aftercare.
How to dry your hiking boots?
After a hike, to enable your boots to dry properly and also more quickly, a trusted technique is to take out the insoles (if removable) to increase air flow. Don't be fooled, even if your boots haven't come into contact with water they can still be damp from perspiration, no matter how breathable their model. After cleaning, leave your boots, laces and insoles to dry separately.
The best method for drying your boots is simply to stuff them with newspaper and leave them at room temperature, away from heat and sunlight that can both damage the glue that holds all the elements of your boot together and dry out the leather (deforming the shoe). Since they are sensitive to heat and sunlight, refrain from leaving your hiking boots on a patio or doorstep or even in your car, and always bring them indoors, avoiding placing them too near to a fireplace or radiator.
How do you get the smell out of a walking boot?
If, even after cleaning, your walking boots appear to have an unpleasant smell to them, then we've got a few tips:
- 1. Make sure the sole of the boot is completely clean, as you never know what you might have stepped in!
- 2. Remove the inner sole and wash it again, leaving it to fully air dry before slotting it back into your shoe.
- 3. Use a simple home remedy of bicarbonate of soda (or baking soda), sprinkling some inside the boot to absorb and neutralise any odour.
- 4. Use a deodorising product and leave to dry.
How to reproof waterproof hiking boots after cleaning
When exposed to a lot of rain, waterproof boots can lose some of their water-repellency. To top up their protection again, you can always consider treating them using a waterproof spray, before lightly buffing them with a cloth. For leather hiking boots, choose a proofing product that is tailored specifically to this type of material, to keep the leather well-nourished and to avoid any cracks. Rather than coming in spray form, you may find this type of product is more like a polish, to be applied using a cloth.
How to store your hiking boots?
When not in use, walking boots should be stored away in a dry and well-ventilated place, ideally at room temperature. You should also never leave them exposed to a heat source or direct sunlight, as this may alter their shape. Just ensure that, before stowing them somewhere, they're clean and dry, with their insoles and laces in place. For extra protection, you can always consider placing them in a shoe bag. And, if you know you won't be seeing them again for a while, stuffing your boots with newspaper will help maintain their shape until you next slip them on.
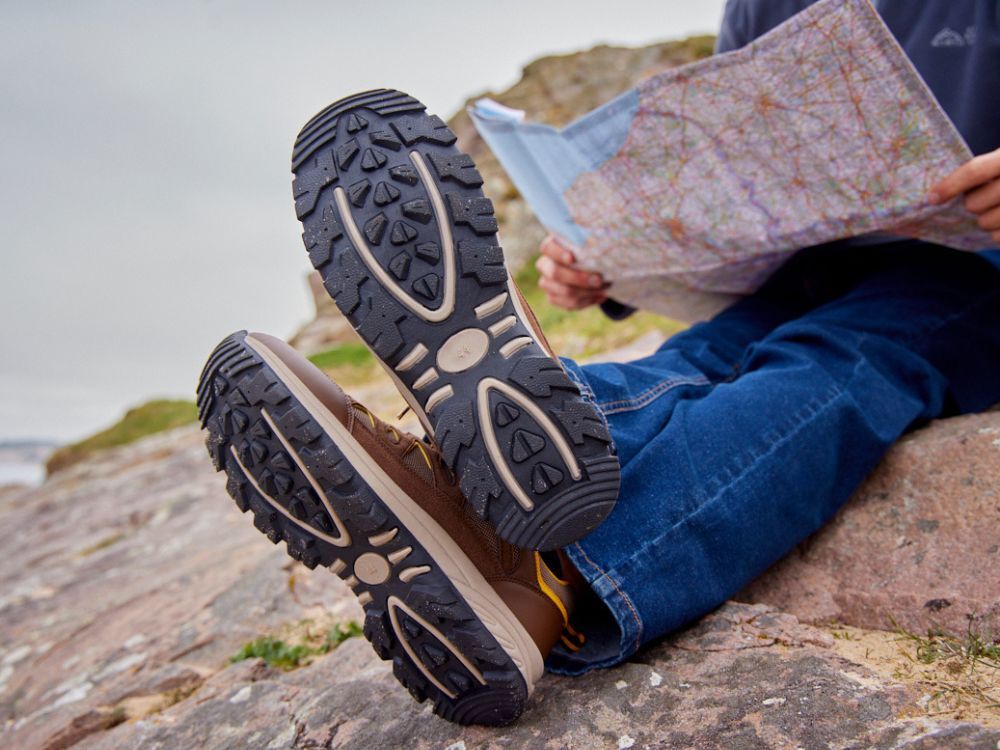
When to replace your hiking boots?
If, even after a thorough clean and a reproof, you find that the performance of your hiking boots is reduced, then it might be time to purchase a new pair. Other tell-tale signs that you need a new pair are the appearance of general wear and tear and the observation that your current boots have become uncomfortable (the support they offer does tend to diminish over time, especially if your shoes have accompanied you for miles on end). However, it's worth noting that elements like insoles and boot laces can simply be removed and replaced and, albeit in more rare instances, some hiking boots can be resoled by a shoe repairer. If you decide your hiking boots have entirely had it though then, before investing in your next pair, consult our guide on how to choose the best walking boots.
Ready for your next adventure!
Hopefully you see that hiking boots aren't difficult to maintain, once you know what you're doing! Showing your boots a little love is important if you want them to accompany you on more adventures in the future. So, put our know-how into practice to keep your boots in good condition, gear up with our hiking equipment – anything from walking poles to water bottles – and keep exploring the great outdoors! And, if you want even more handy tips on caring for your clothing? Check out our maintenance guide on how to look after and clean your fleeces.