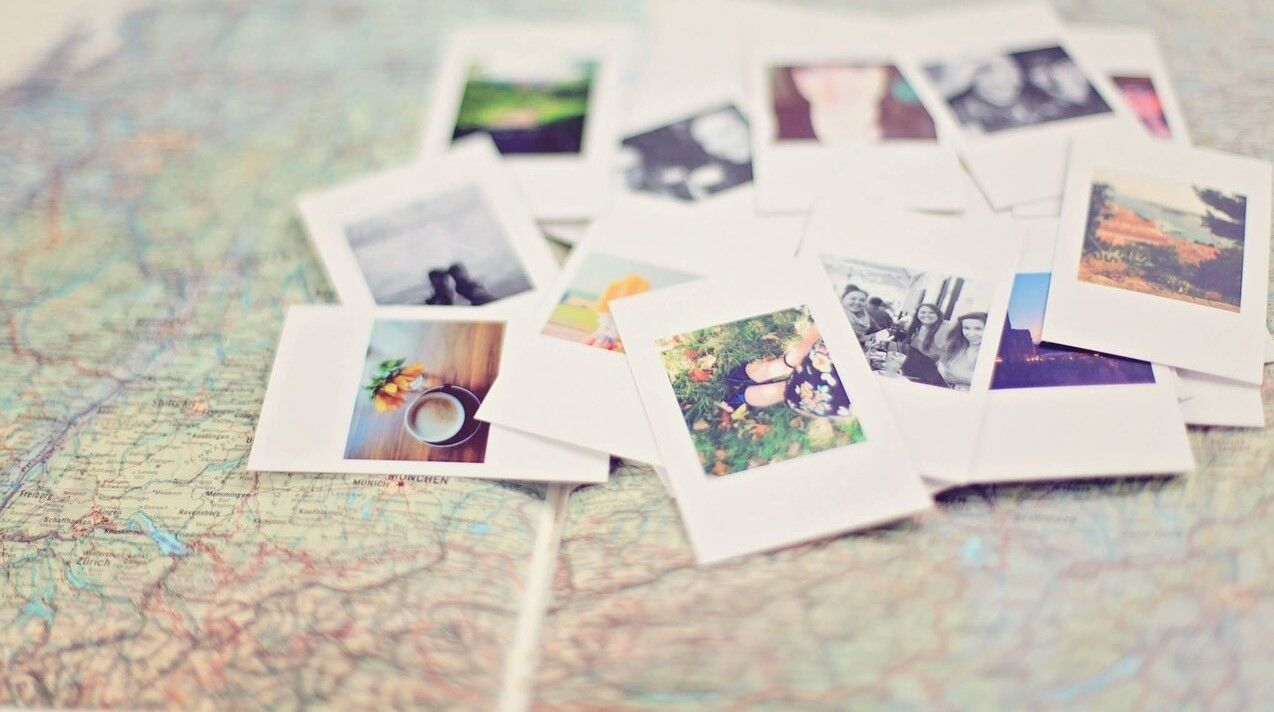
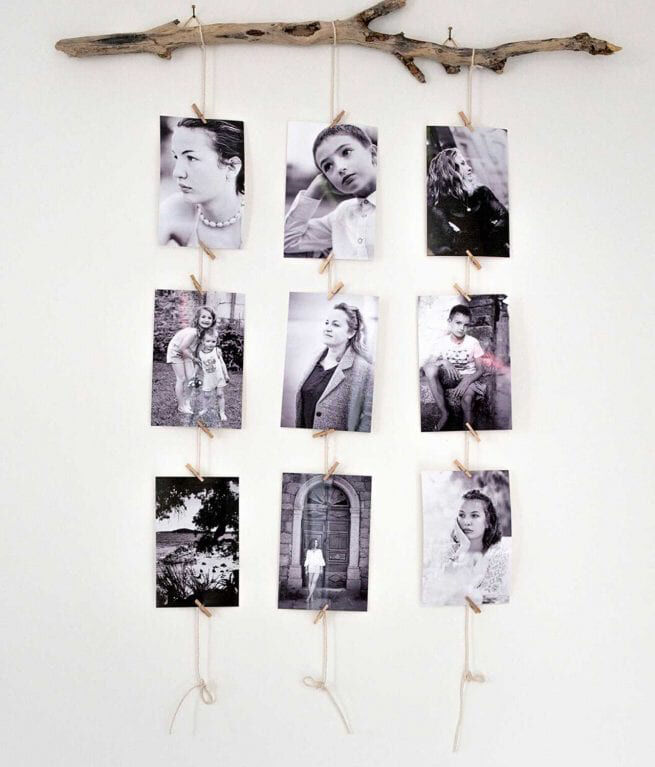
How to Make a Multi-Picture Hanging Photo Frame
Looking for a crafts activity to while away the time between Christmas and New Year? If you’ve got a dry branch or, better yet, some sea-smoothed driftwood hanging about in your garden or garage, why not turn it into a handmade masterpiece? It’s the perfect base for creating a pretty hanging photo frame – complete with photographs that recall fond memories – that you can either use to decorate your own home, or that you can gift to a loved one. Feeling sold on the idea? This is an arts and crafts activity that you’re sure to enjoy, and one that you can even share with your kids or grandkids. Plus, the end result is a wall hanging that you’ll simply adore! So go on, treat yourself to a therapeutic creative activity and follow our step-by-step guide to creating a rustic picture frame.
What you need:
● 1 piece of driftwood (or alternatively a dry branch)
● 2 triangular picture hangers
● 2 nails
● 1 hammer
● 1 ruler
● 1 pencil
● Some string
● 1 pair of scissors
● 9 mini wooden pegs
● 9 photos

Step-by-step creation:
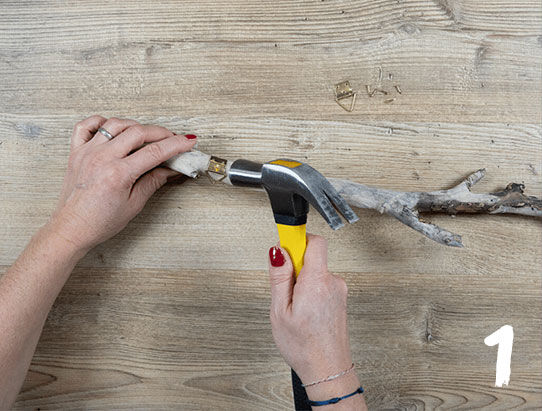
1. Fix the 2 triangular picture hangers to the driftwood, using the hammer and nails.
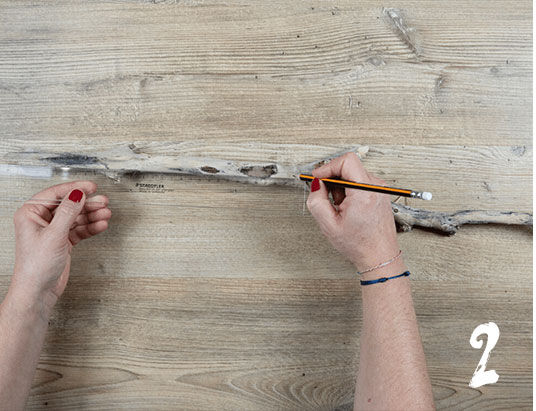
2. Turn the driftwood over and, with the pencil, mark 3 points for the string, using the ruler to place the dots at even intervals. You’ll want to measure your driftwood and divide by 3, so that each dot corresponds to a third of the wood’s overall length (e.g. our piece of driftwood was 60 cm long, and we marked our points at 20 cm intervals).
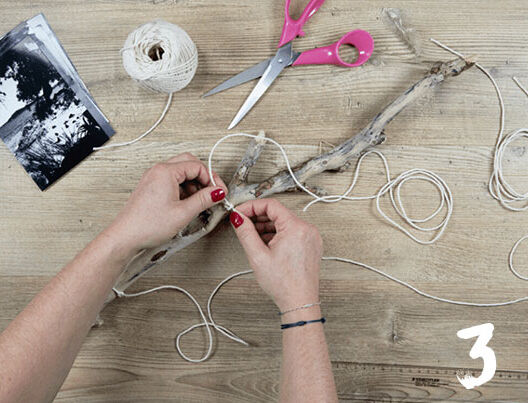
3. Cut 3 lengths of string, each one about a metre long.
4. Wrap 1 length of string around the driftwood at your first marked point, and fix it in place by tying a double knot. Repeat this step for each piece of string and each marked point.
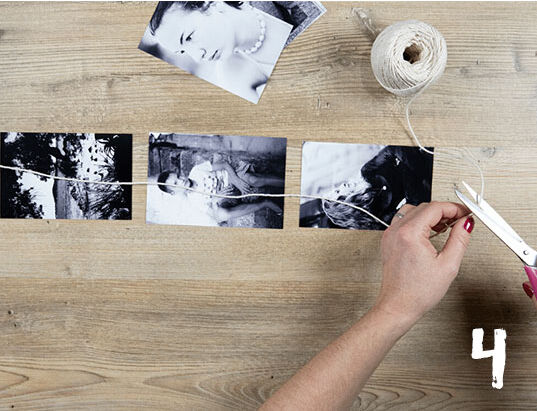
5. Clip your photos to each length of string, using the mini pegs. Ensure you separate the pictures evenly.
6. To polish things off, tie a knot at the end of each piece of string, in the same position for a harmonious finish. All that’s left is to hang your photo frame directly on the wall, or to delicately wrap it in tissue paper if you’re intending to offer it as a gift!
A couple of variations…
As we said, if you’ve not got any driftwood to hand then a beautiful branch can be used as an alternative base for your hanging creation. If you’re after a smooth-finish effect similar to driftwood, then try pick a type of branch from which the bark can be scraped off easily. You can always oil the branch as an added voluntary step too. That being said, feel free to keep things rustic and leave the bark of the branch untouched. Whatever look you choose to go for, ensure you choose a piece of wood that is clean and dry, so that it won’t leave a mark on your wall! Concerning the design, you can always add an extra piece of wood to the bottom and even the middle of your creation. Just be sure to repeat steps number 2 and 4. To make your hanging photo frame unique and to adapt it to your own decorative tastes, consider playing around with a few factors: you could opt for a long or short piece of drift wood, cut your string a little longer or shorter, vary the number of photos you choose to add (be sure you’ve got the same number of pegs!), select black and white, sepia or colour photographs, or even choose coloured or patterned pegs if you so wish! The options are endless… Take the opportunity to get creative and allow yourself a little artistic license!
Embrace recreational activities
Arts and crafts are a great way to have some fun, relaxed downtime! Plus, as you’ll have seen from our above guide, they’re also a great means of creating unique and homely items on a budget – for you, your family or your friends! If after creating your photo frame you’re looking for another creative outlet and are keen for a a bit of fresh air, why not follow our guide on how to make a compost bin?