

DIY Christmas Table Decoration Ideas: How to Make Your Table Look Good this Festive Season
Christmas is coming! If you're looking for some simple, easy and cost-effective ways to decorate your Christmas table this year, we're here to help! You don't even need to brace the jam-packed shops, you can use natural and recycled materials that you have lying around at home or in your garden! So, follow our crafting guide and enjoy your Christmas dinner in style this year!

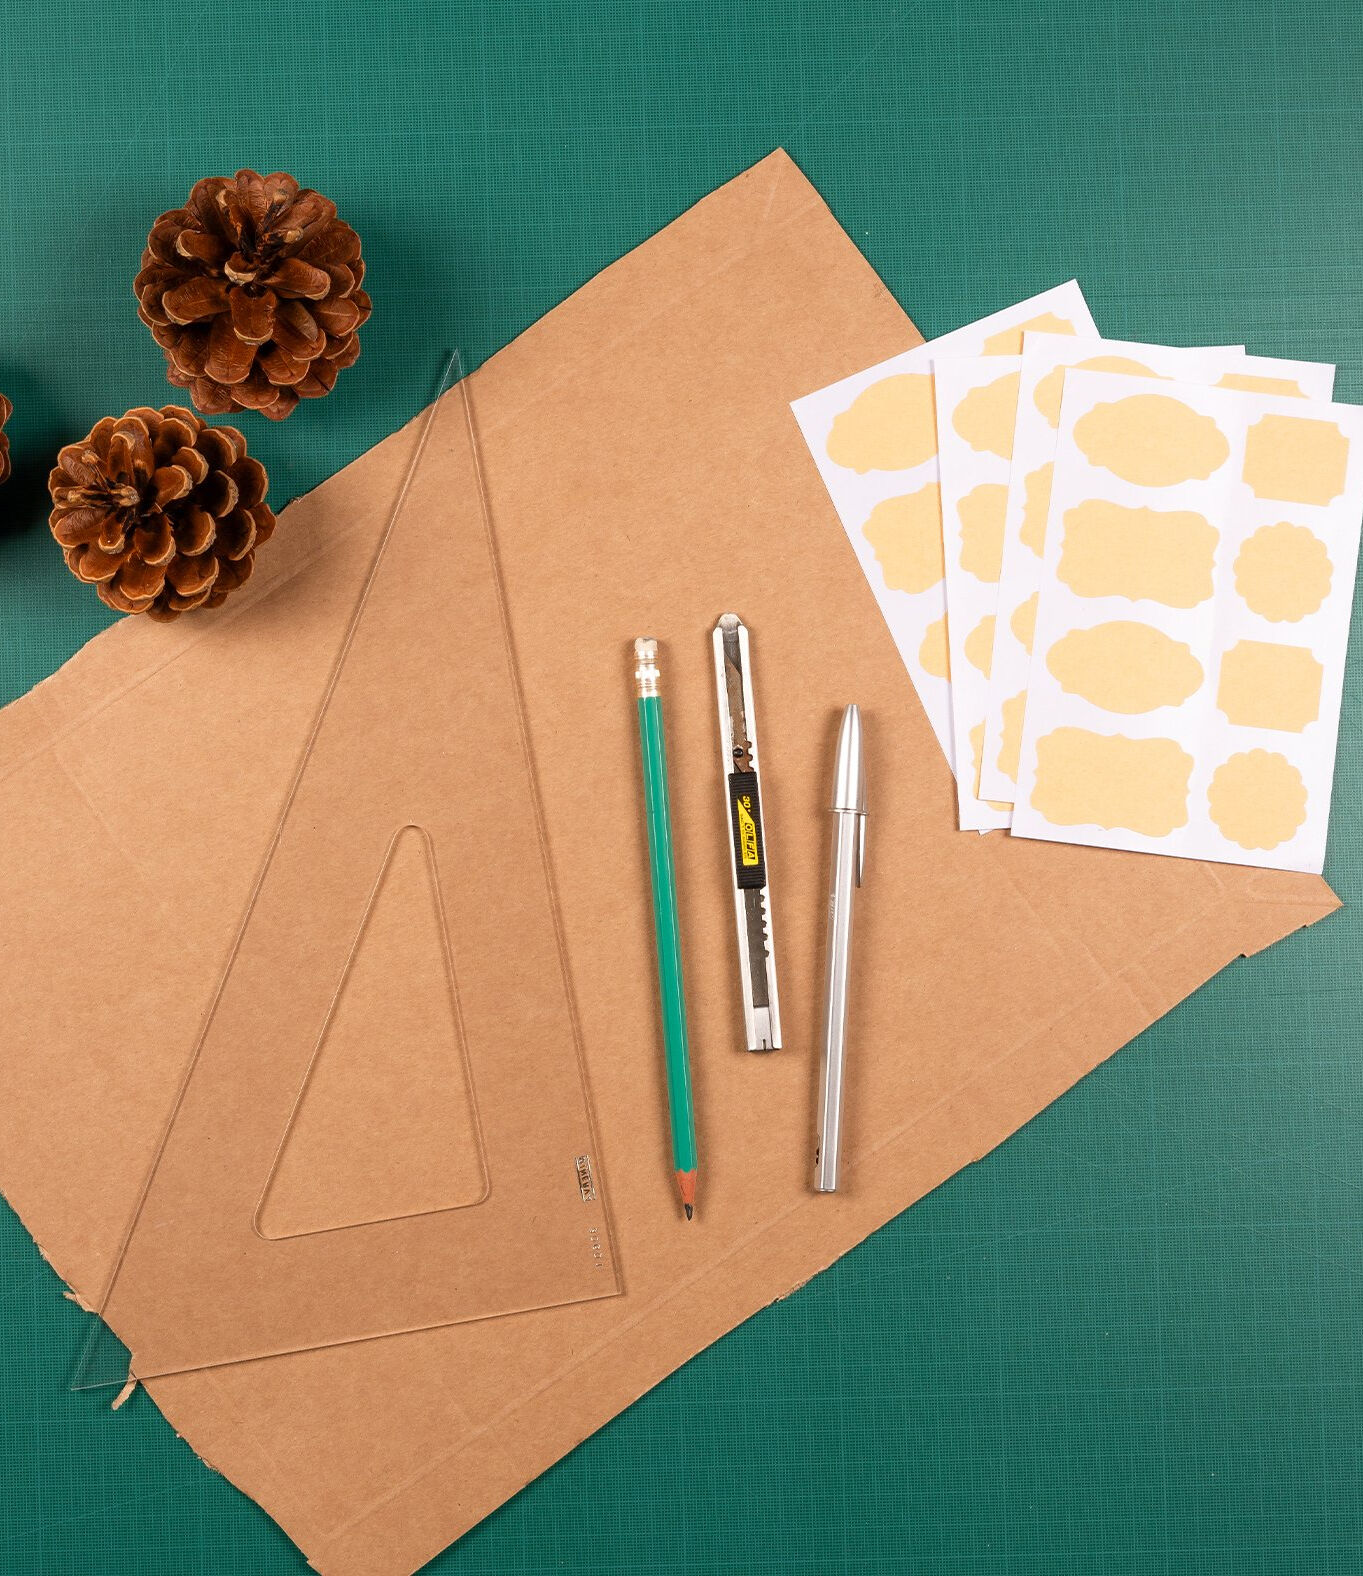
Pinecone place cards are super-easy table arrangements – perfect for your holiday dining set up!
Top tip before you start: Practice writing on the labels first and make sure you choose your favourite pen!
What you'll need:
• Pinecones (adjust depending on the number of guests)
• Sticky labels (as many as you have pinecones)
• Thin cardboard
• A set square
• A pencil
• A craft knife
• A pen or marker
How to make your place cards:
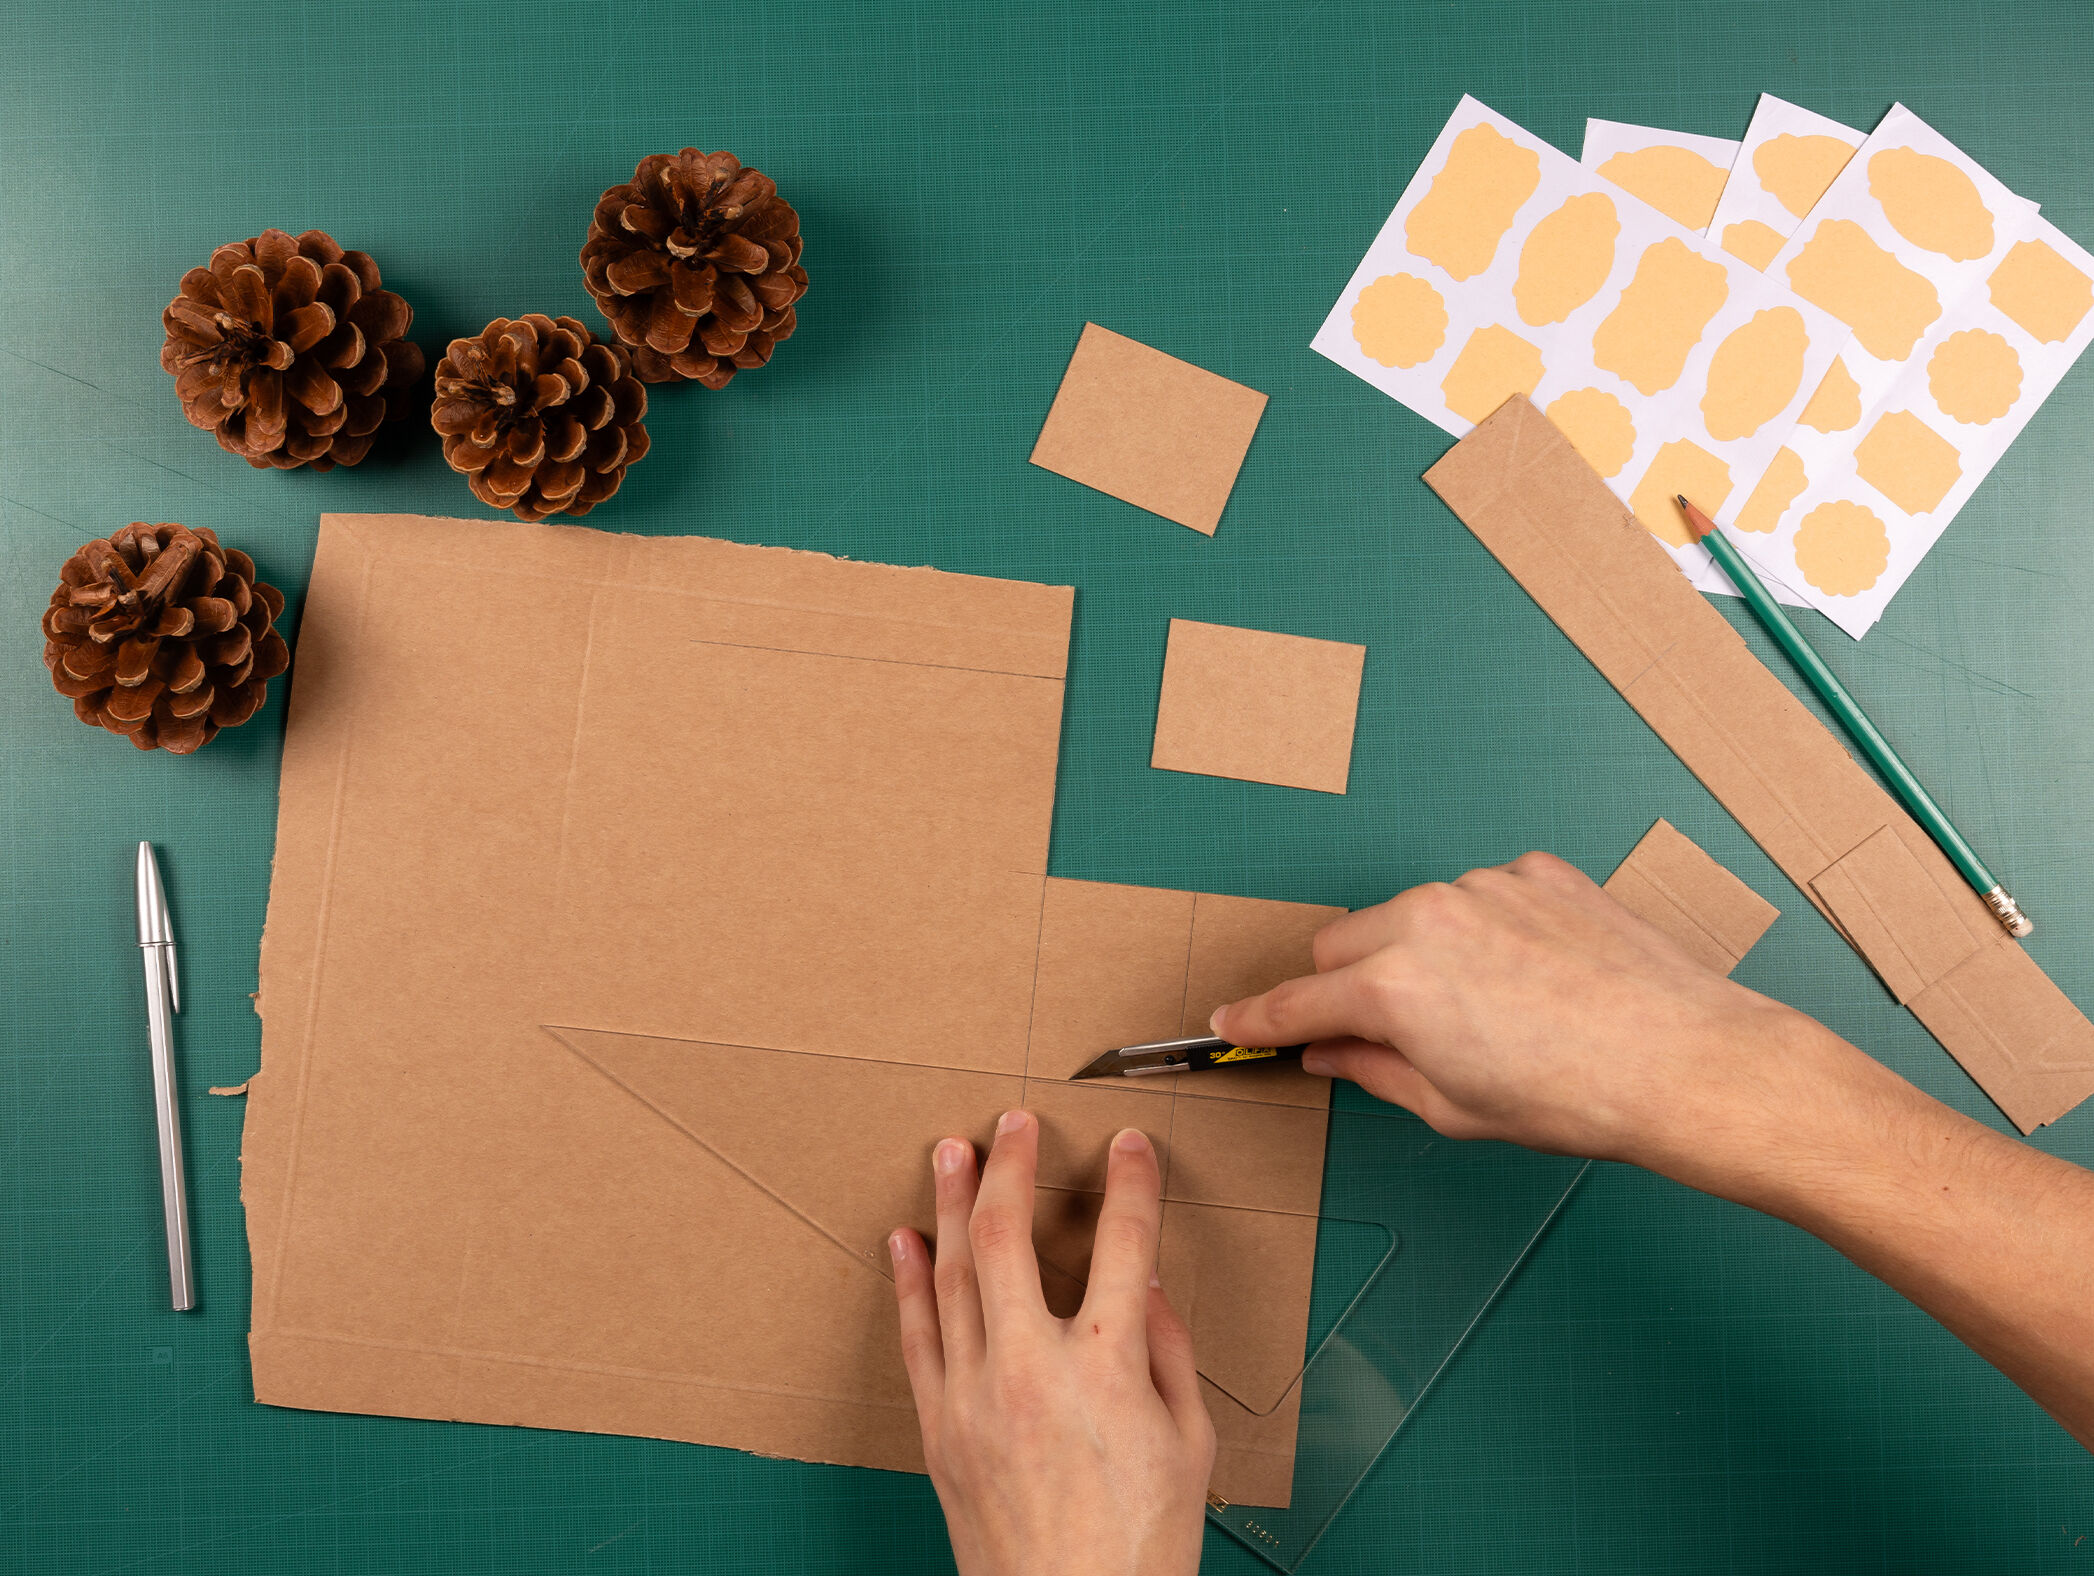
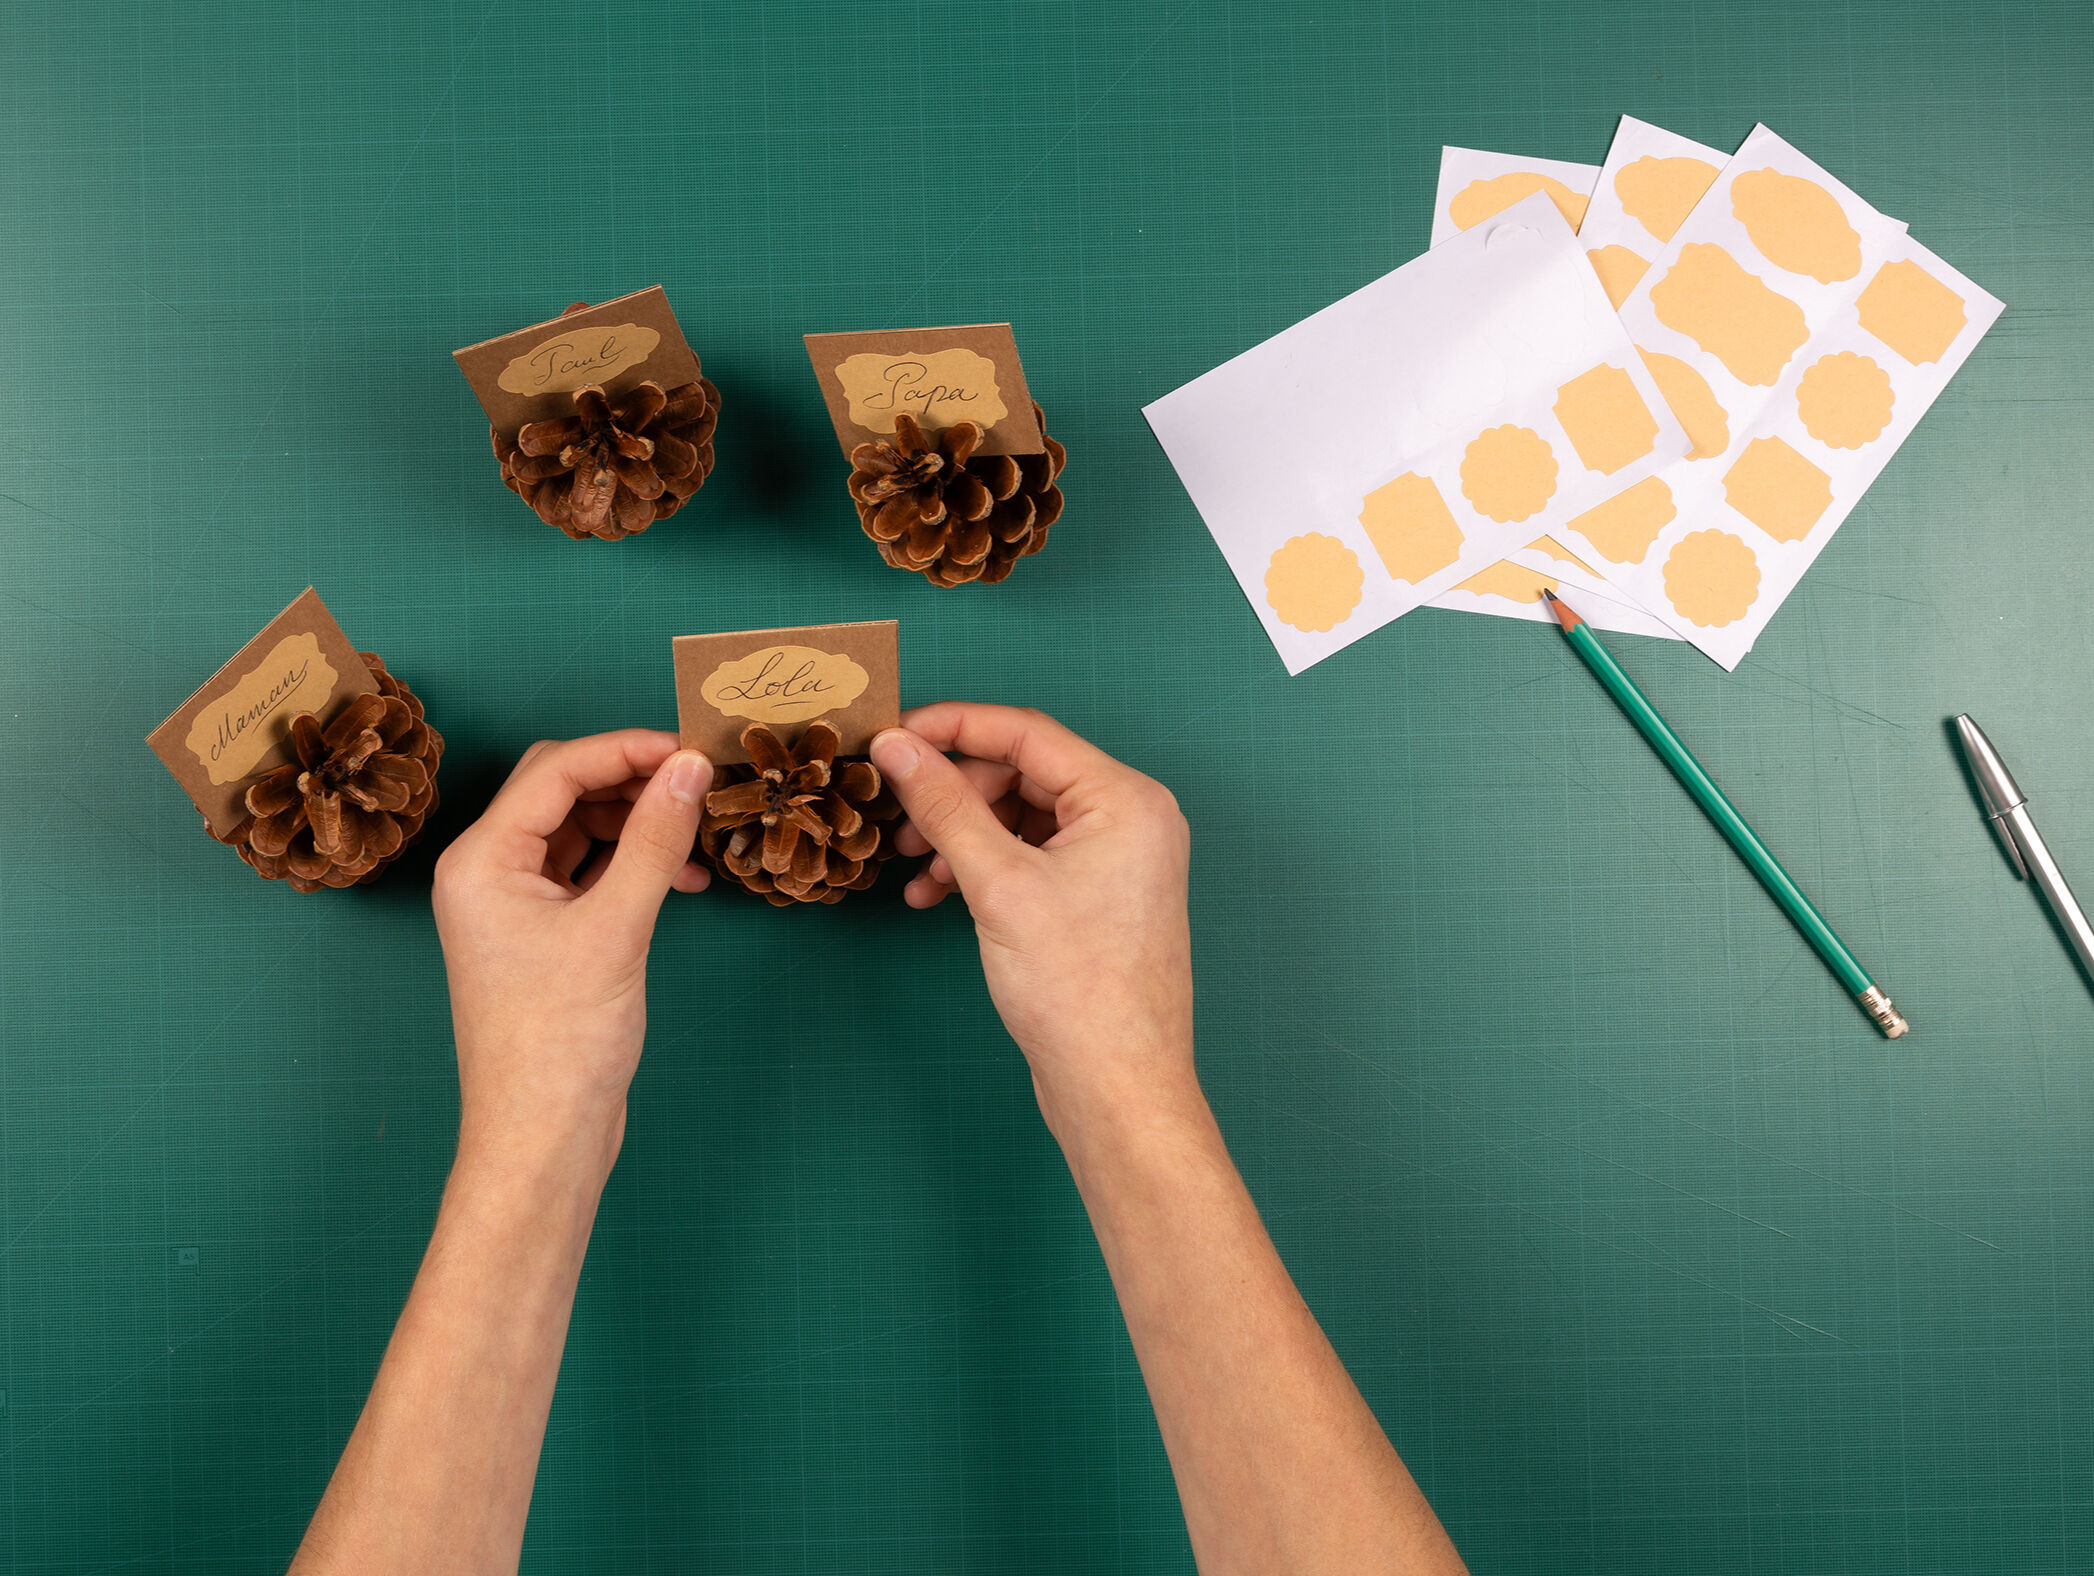
1) Using the set square, cut rectangles out of the cardboard, around 4 × 5 cm (adjust depending on the number of guests).
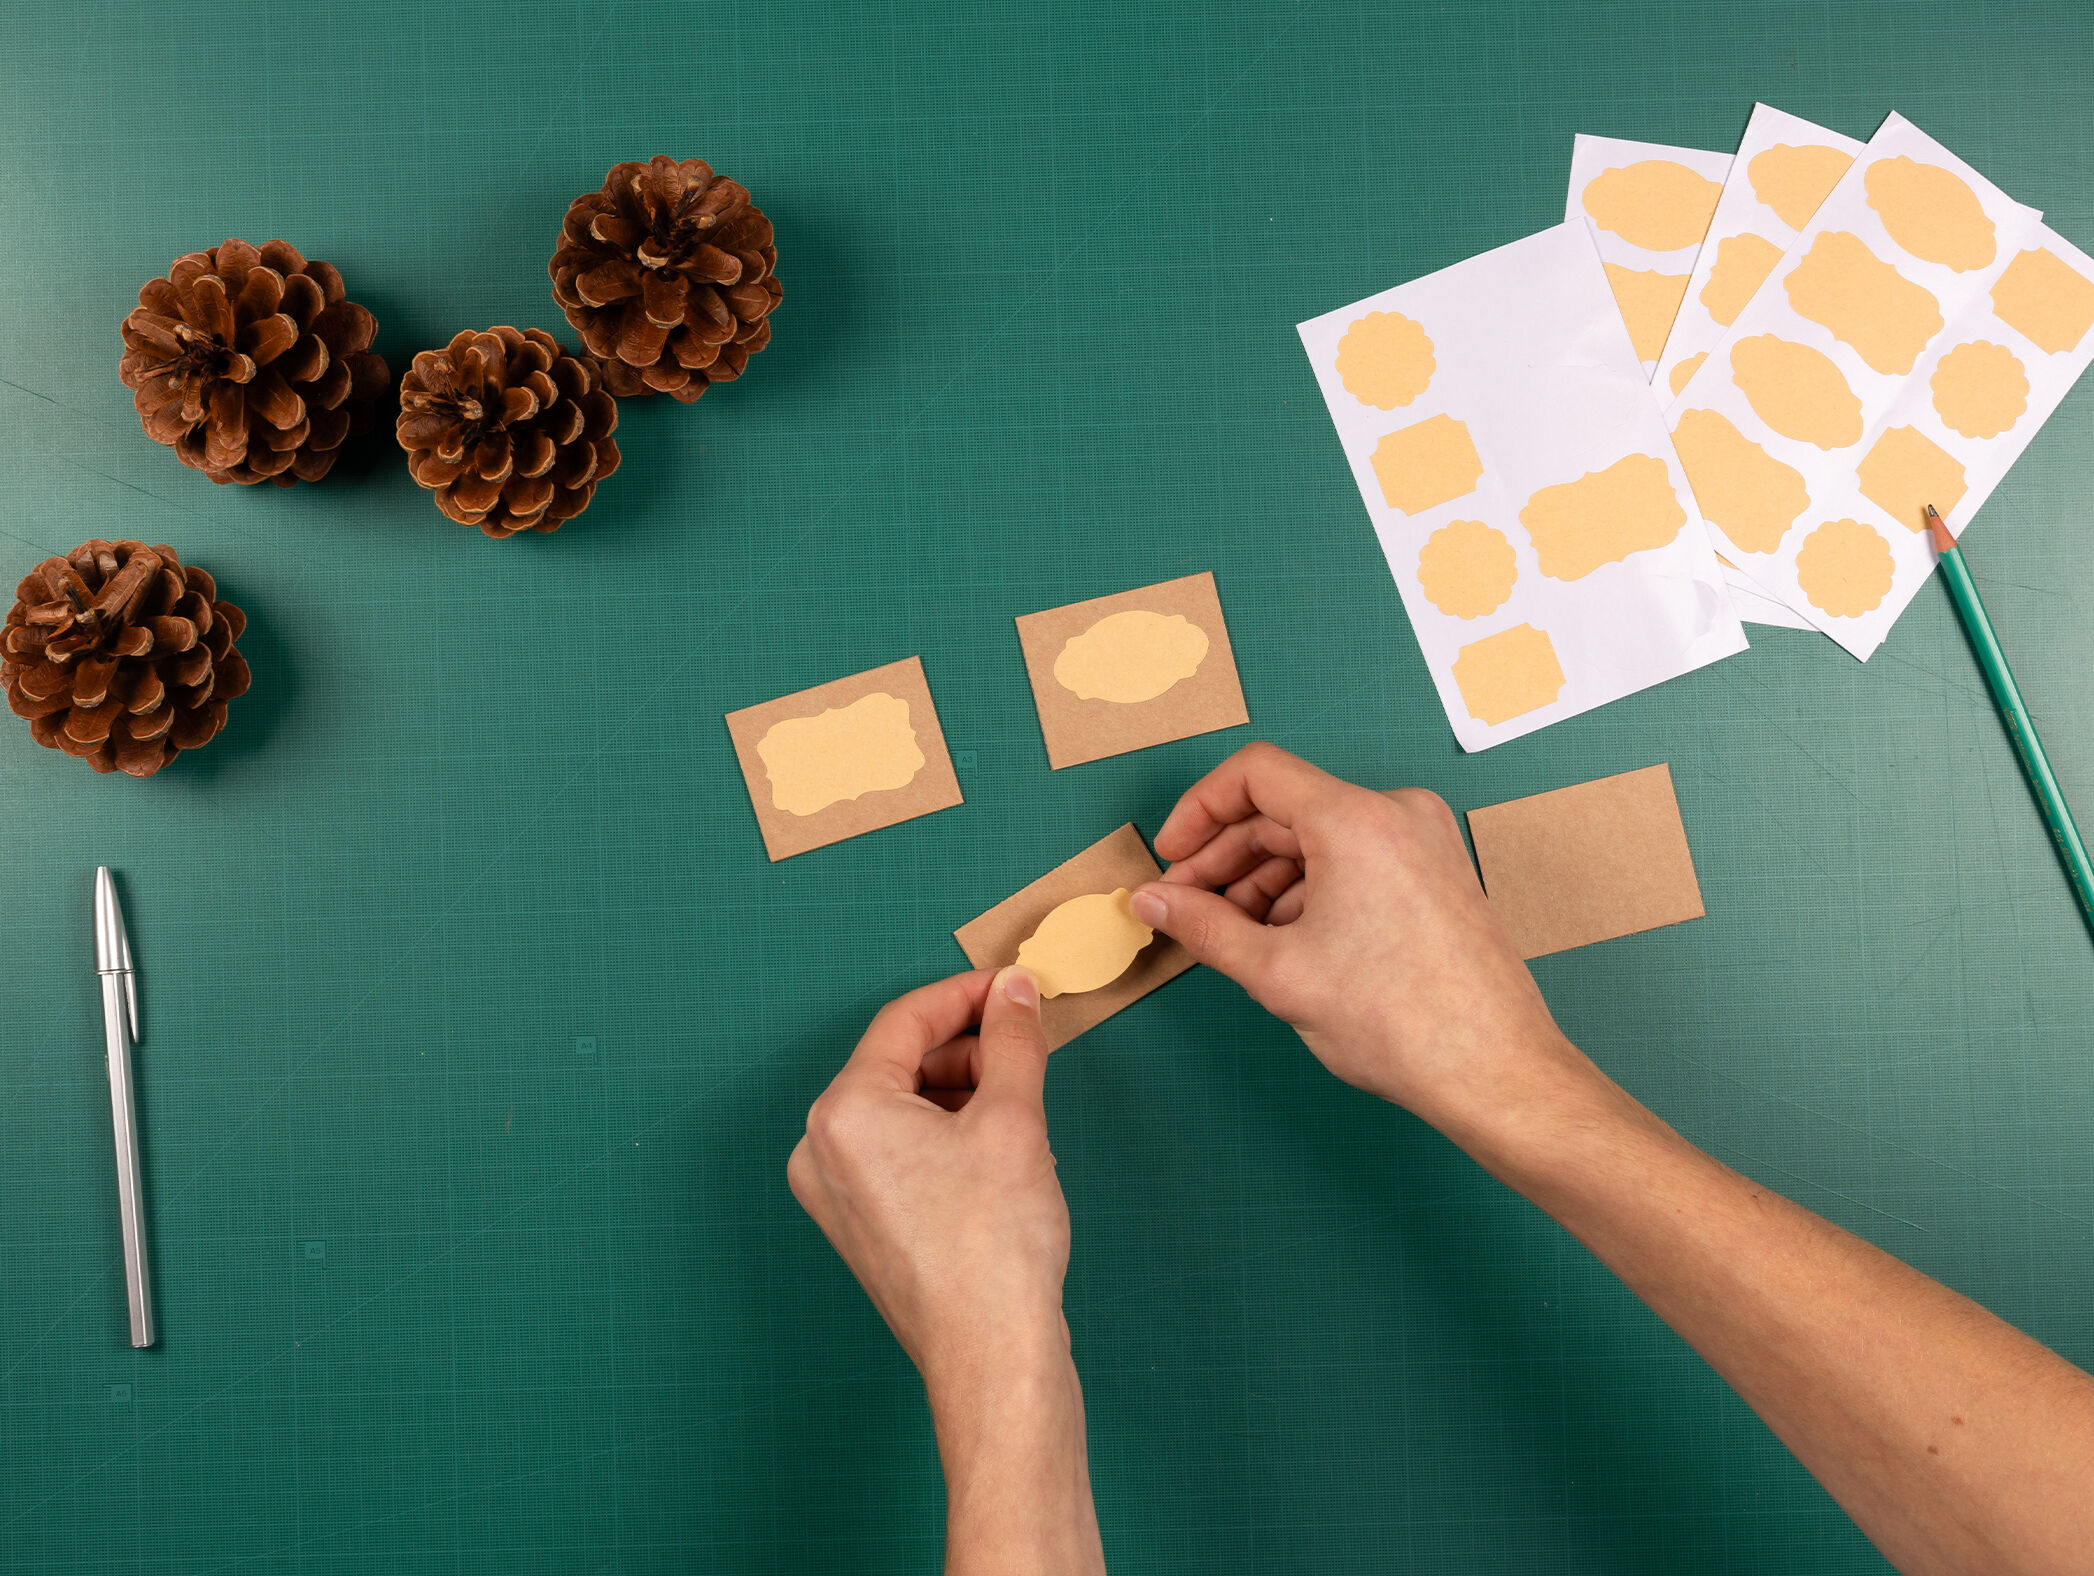
2) Position a sticky label on each rectangle, then stick down once you're happy with the placement.
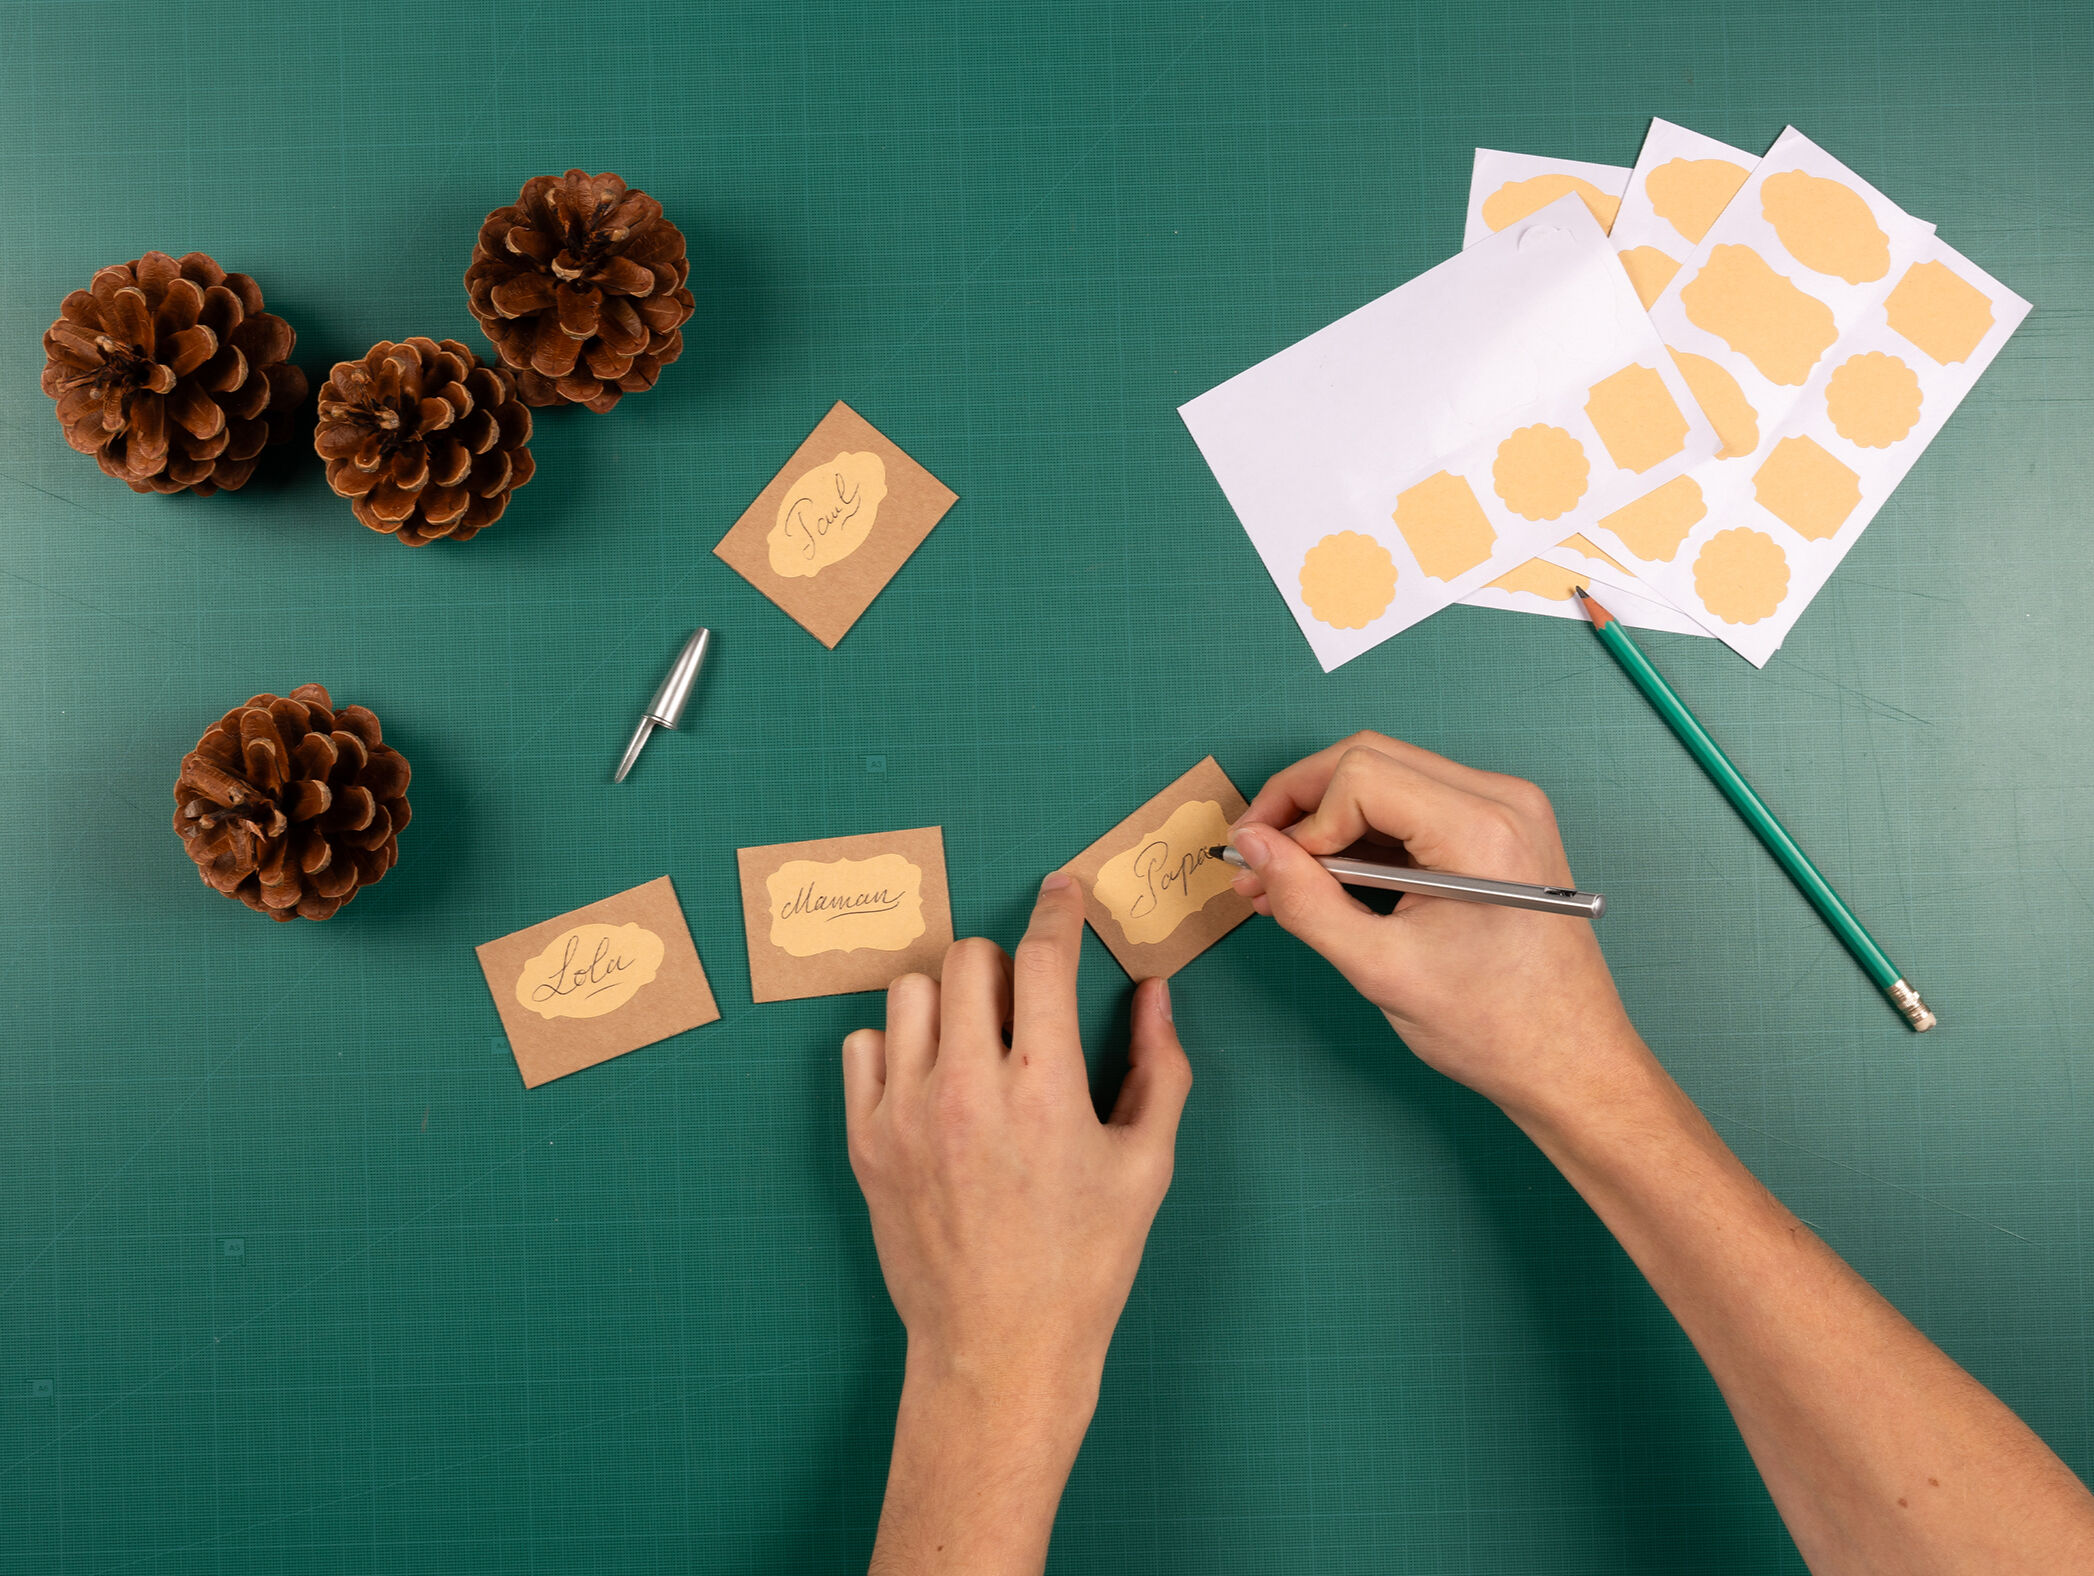
3) Write the name of the guest on the label.
4) Insert the cardboard pieces into the pinecones by sliding them between the scales so they stay in place.

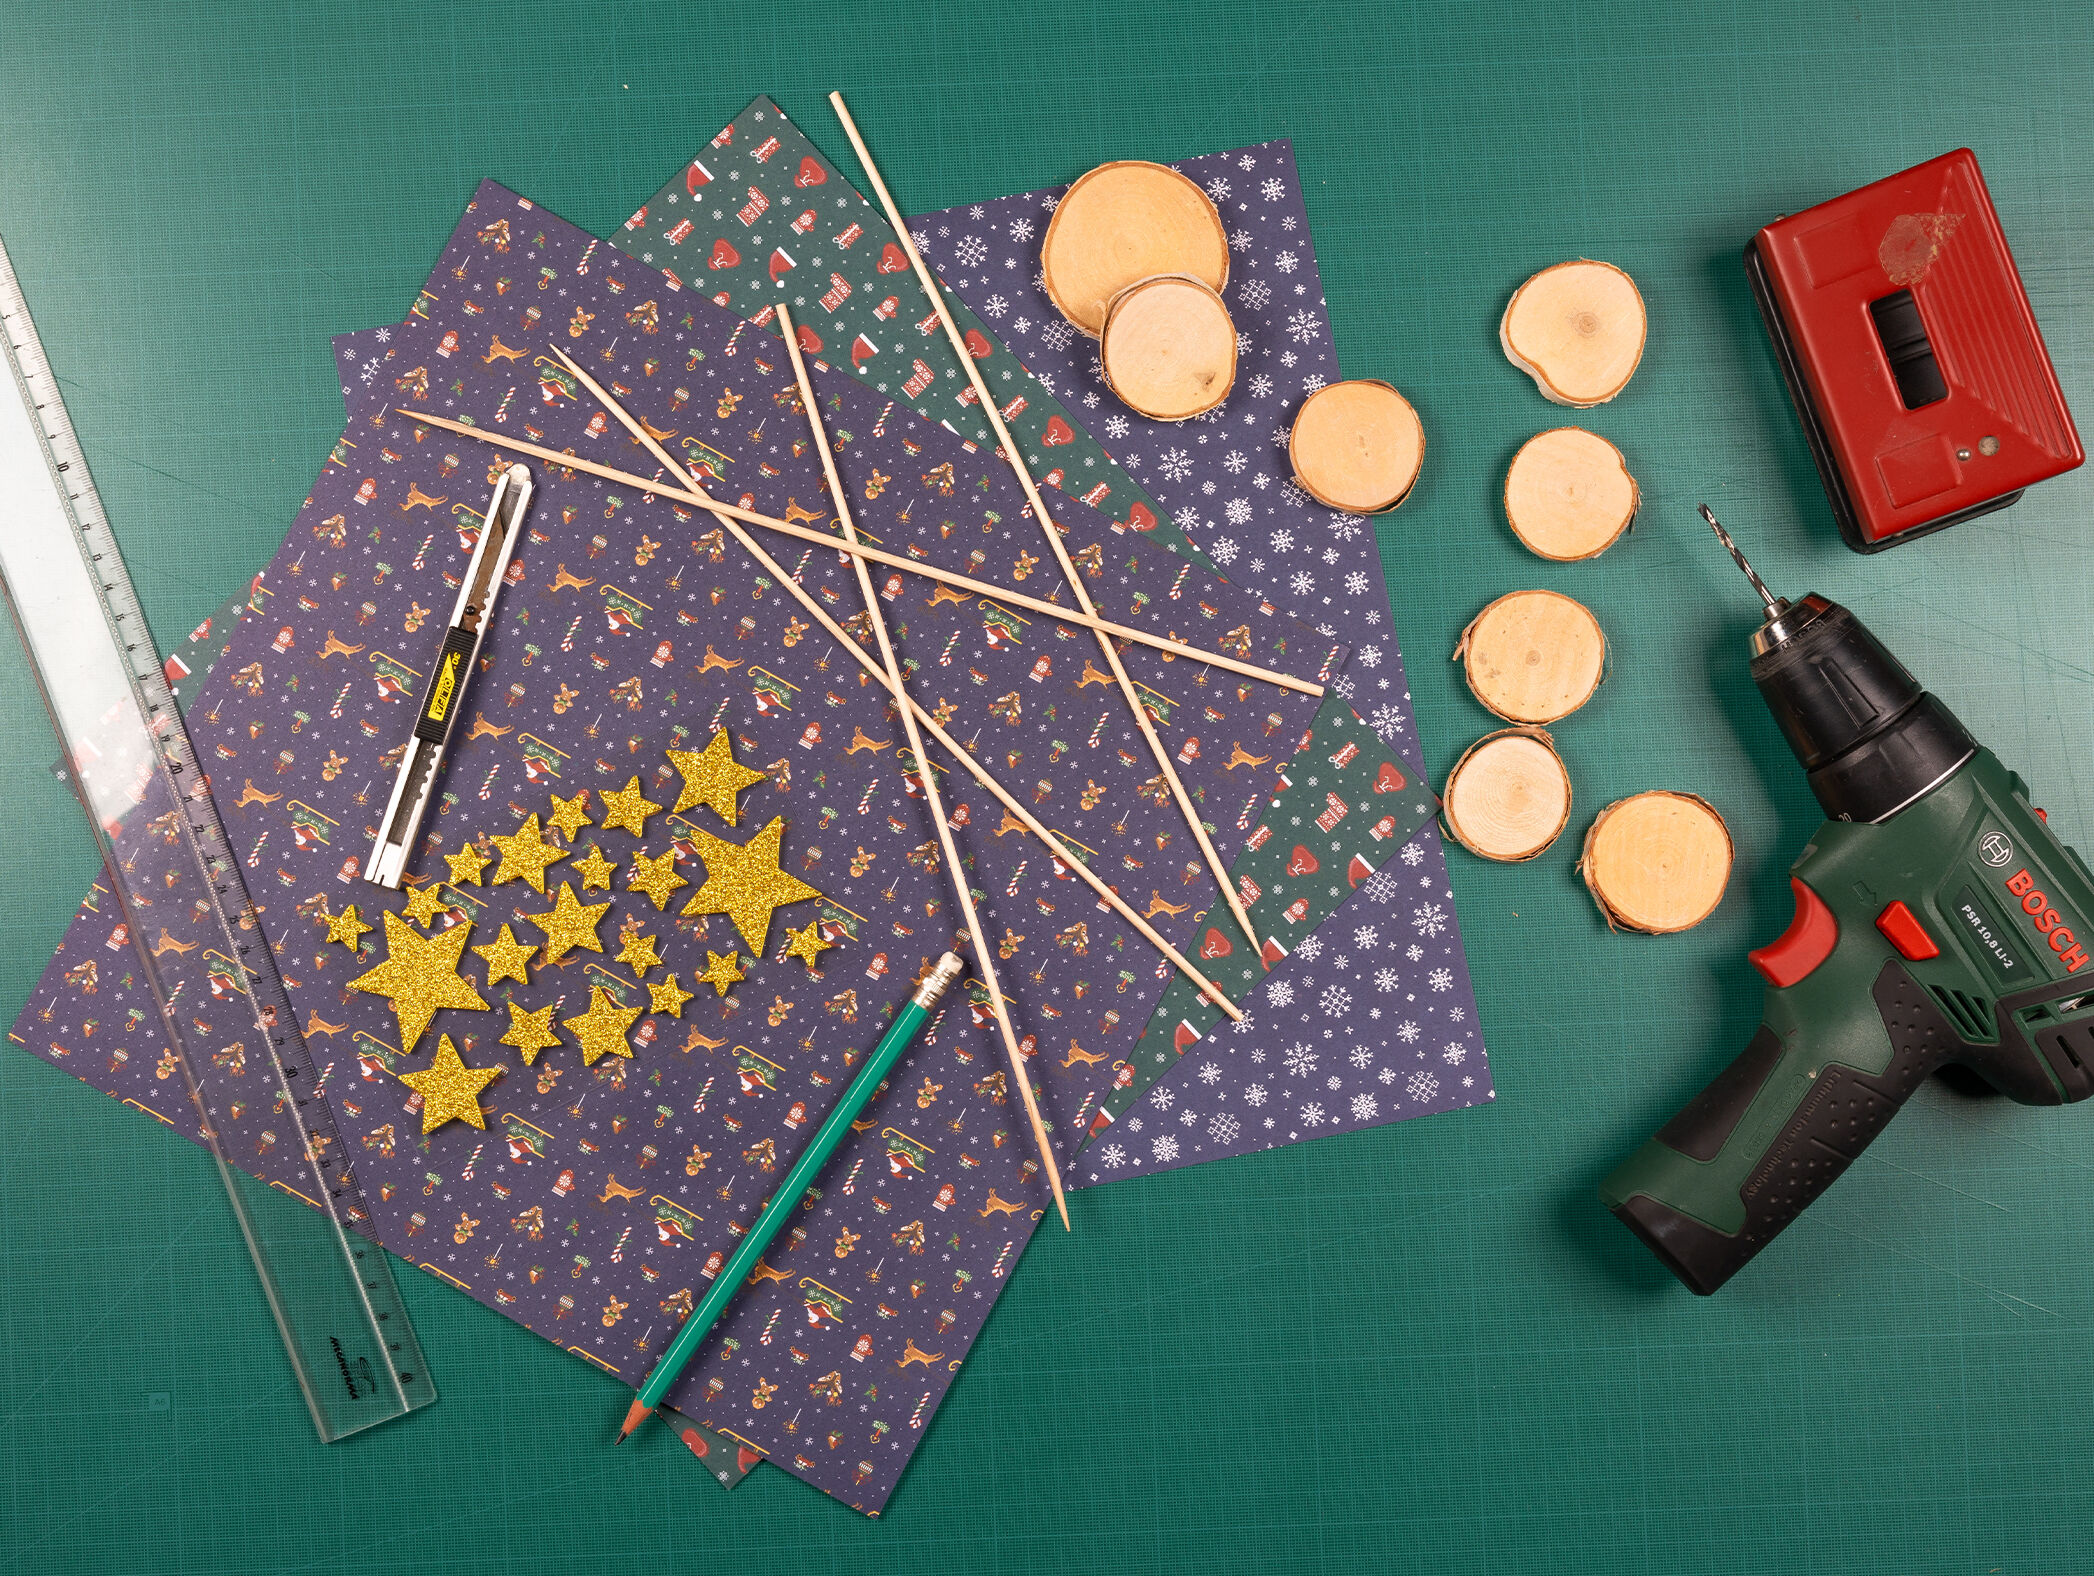
DIY Paper Christmas trees make a great centerpiece for your dinner table, especially in blue, red and green
Top tip before you start: If you don't have pre-made wooden discs at home, you can make your own using a small hand saw. Using a branch with a diameter of around 5 cm, cut disks that are around 1 cm thick.
What you'll need:
• Wooden skewers
• Patterned wrapping paper (the more Christmassy, the better!)
• A ruler
• A craft knife
• A pencil
• A hole punch
• Wooden discs
• A drill and a 3 mm wood bit
• Adhesive stars
How to make your paper trees:
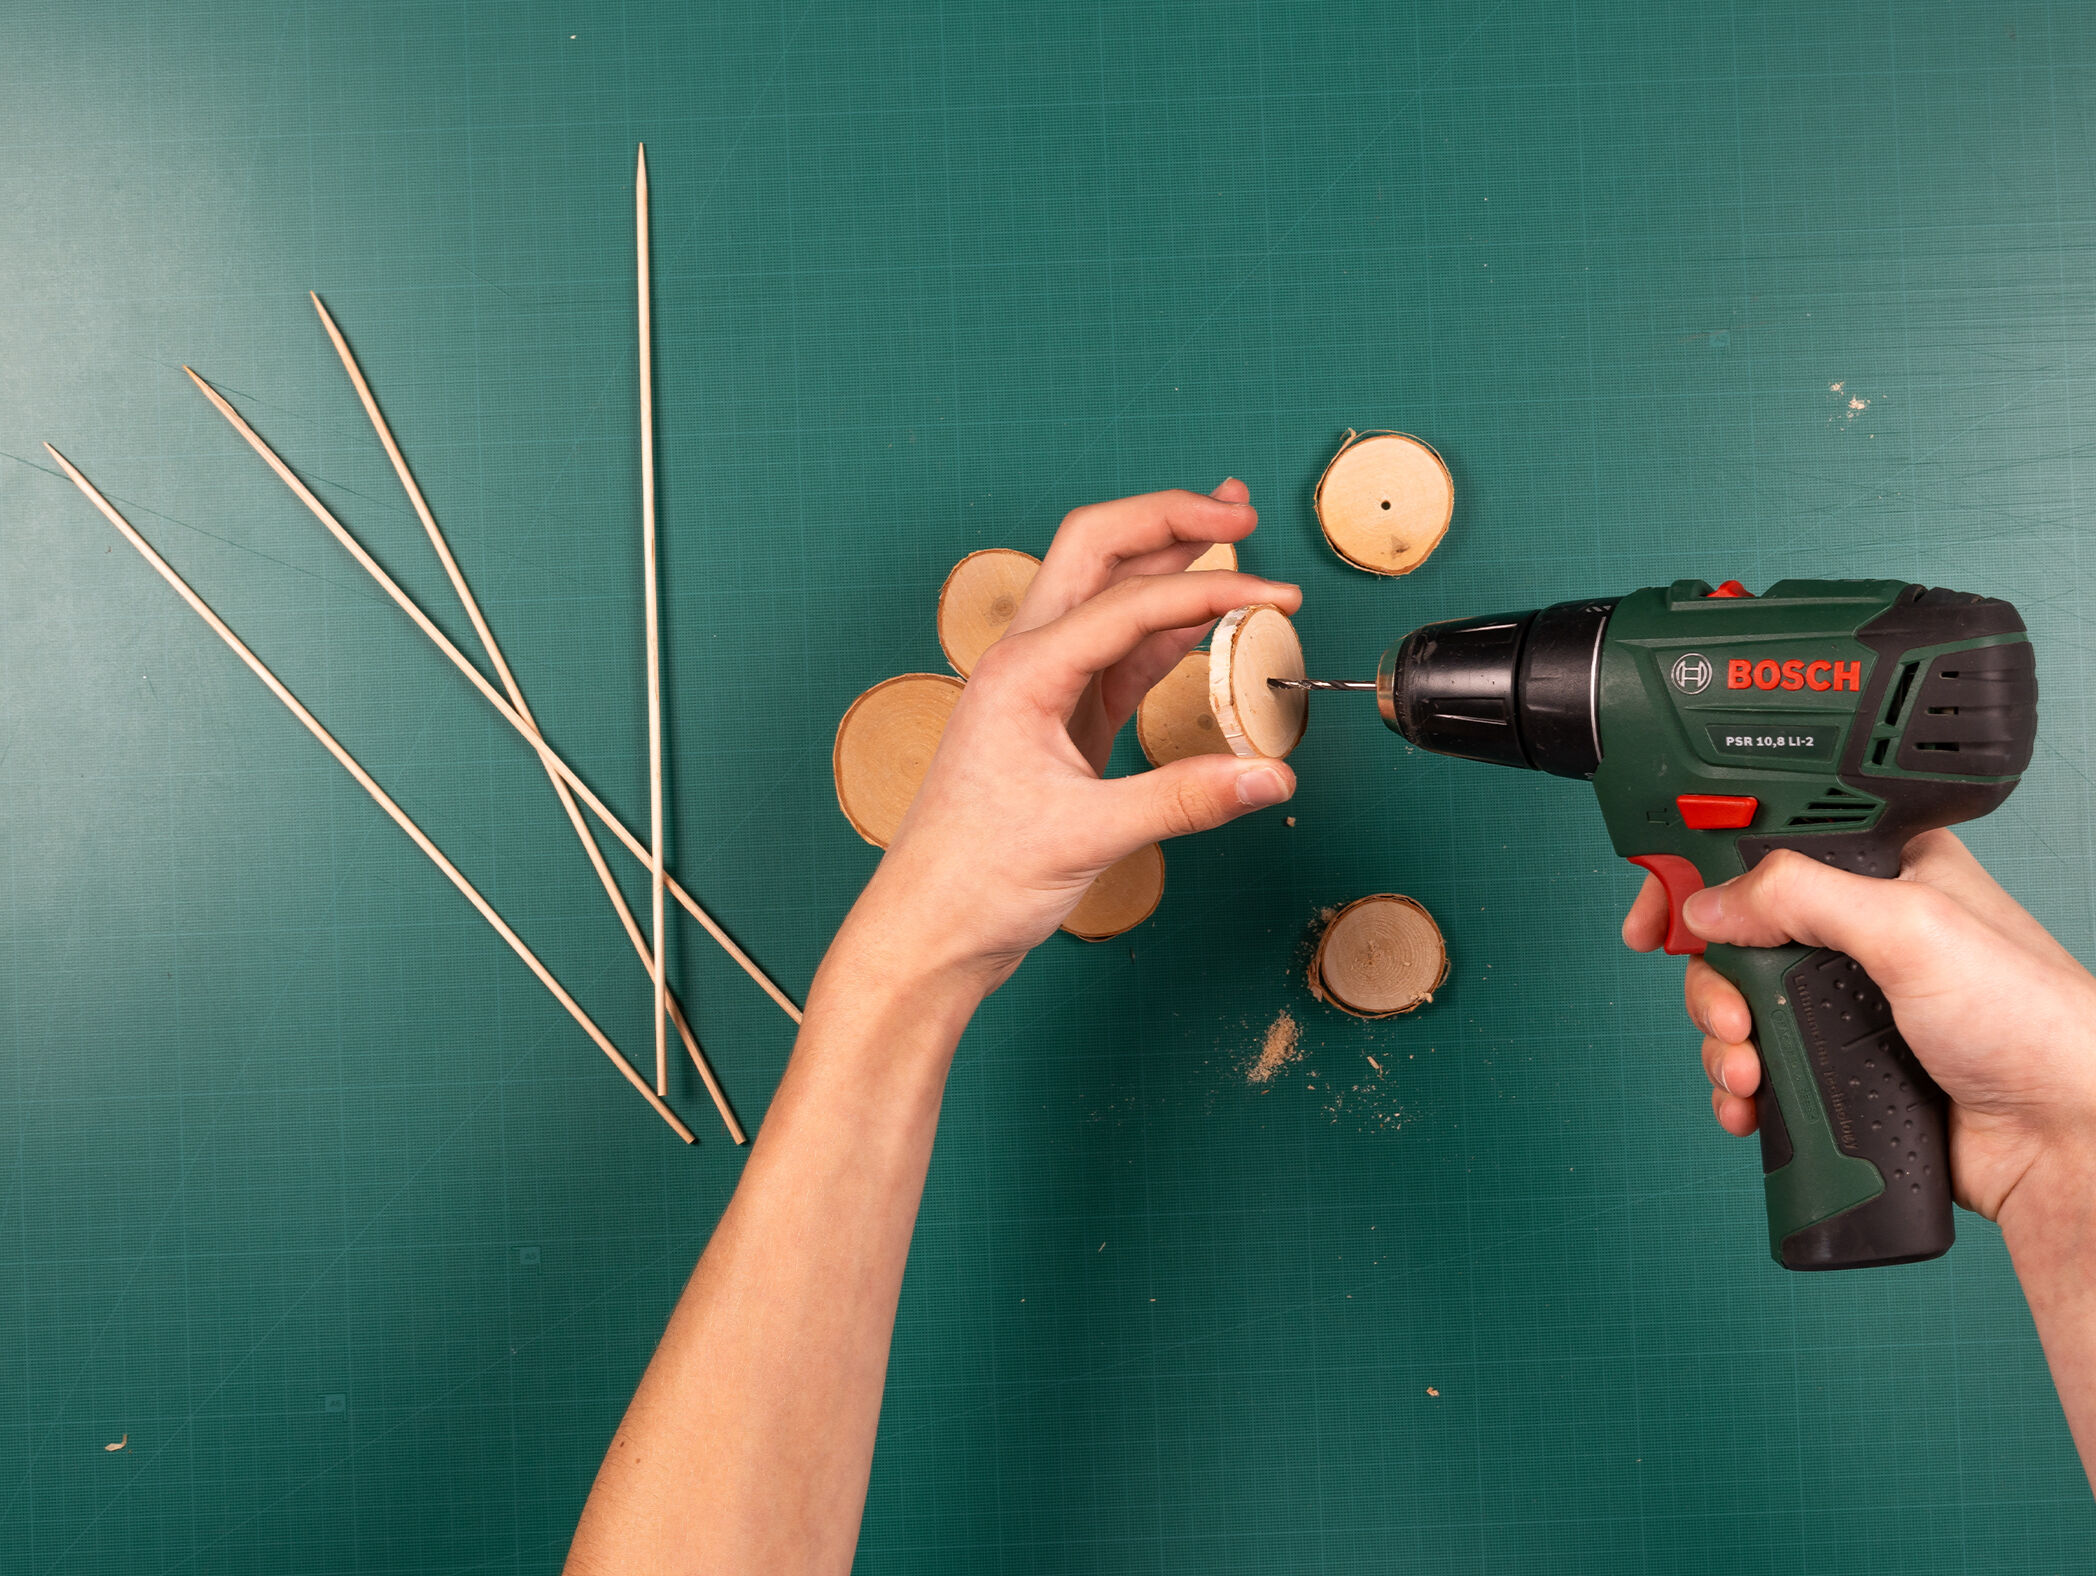
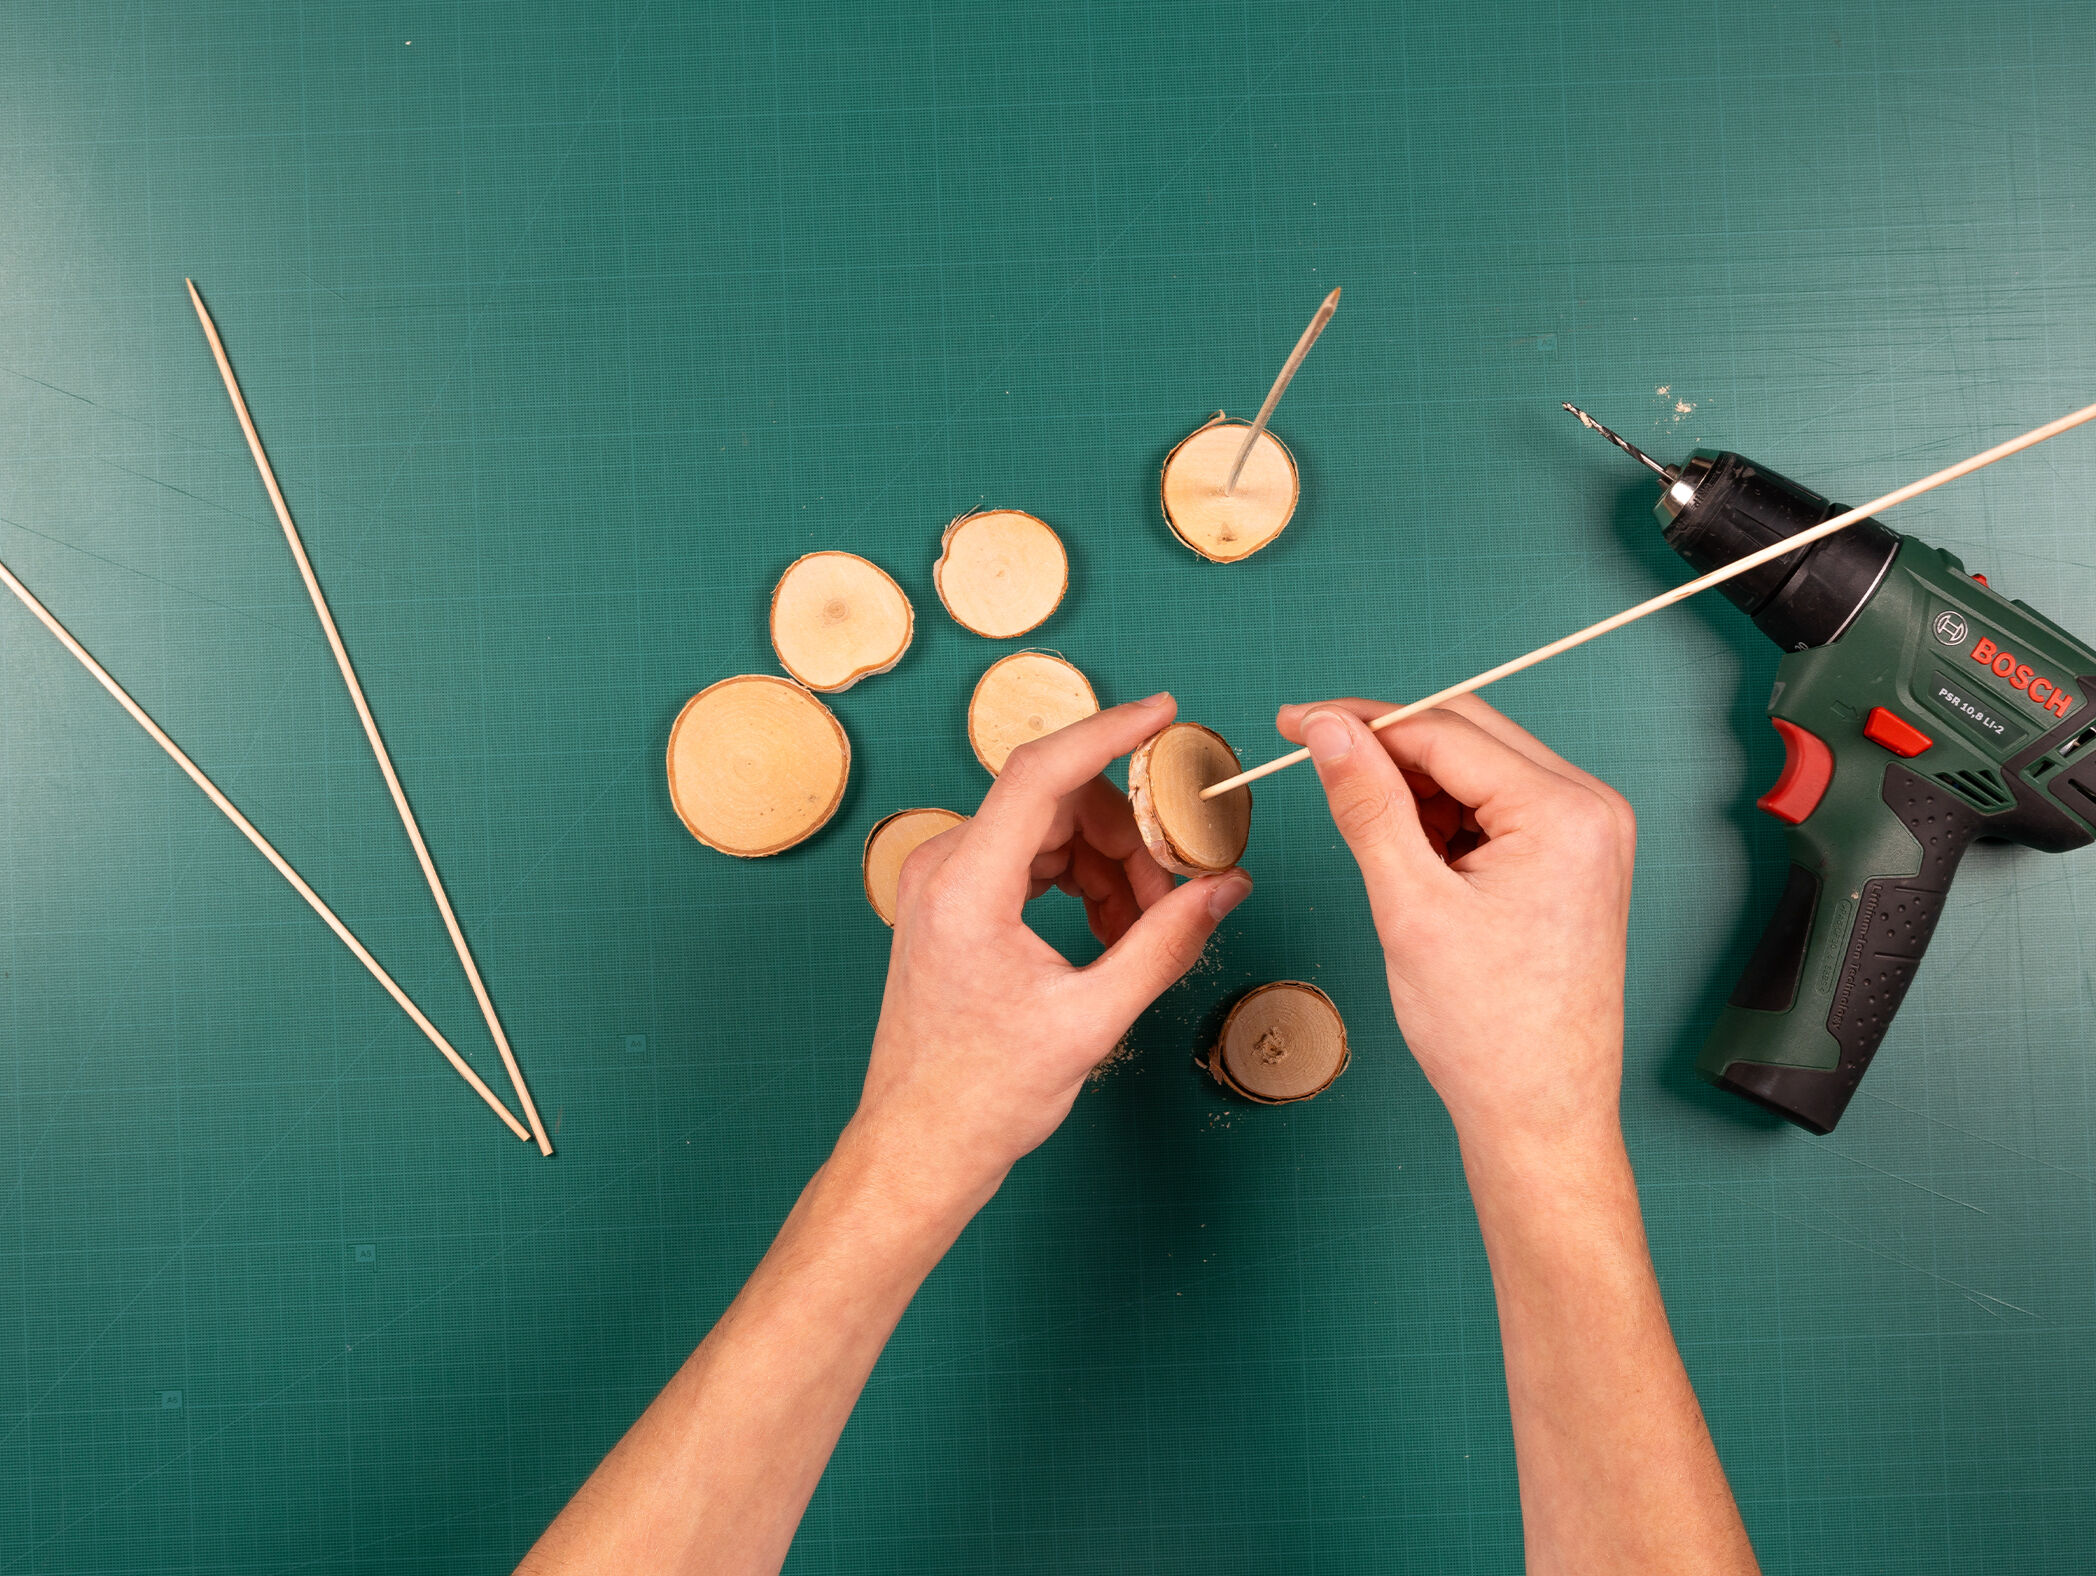
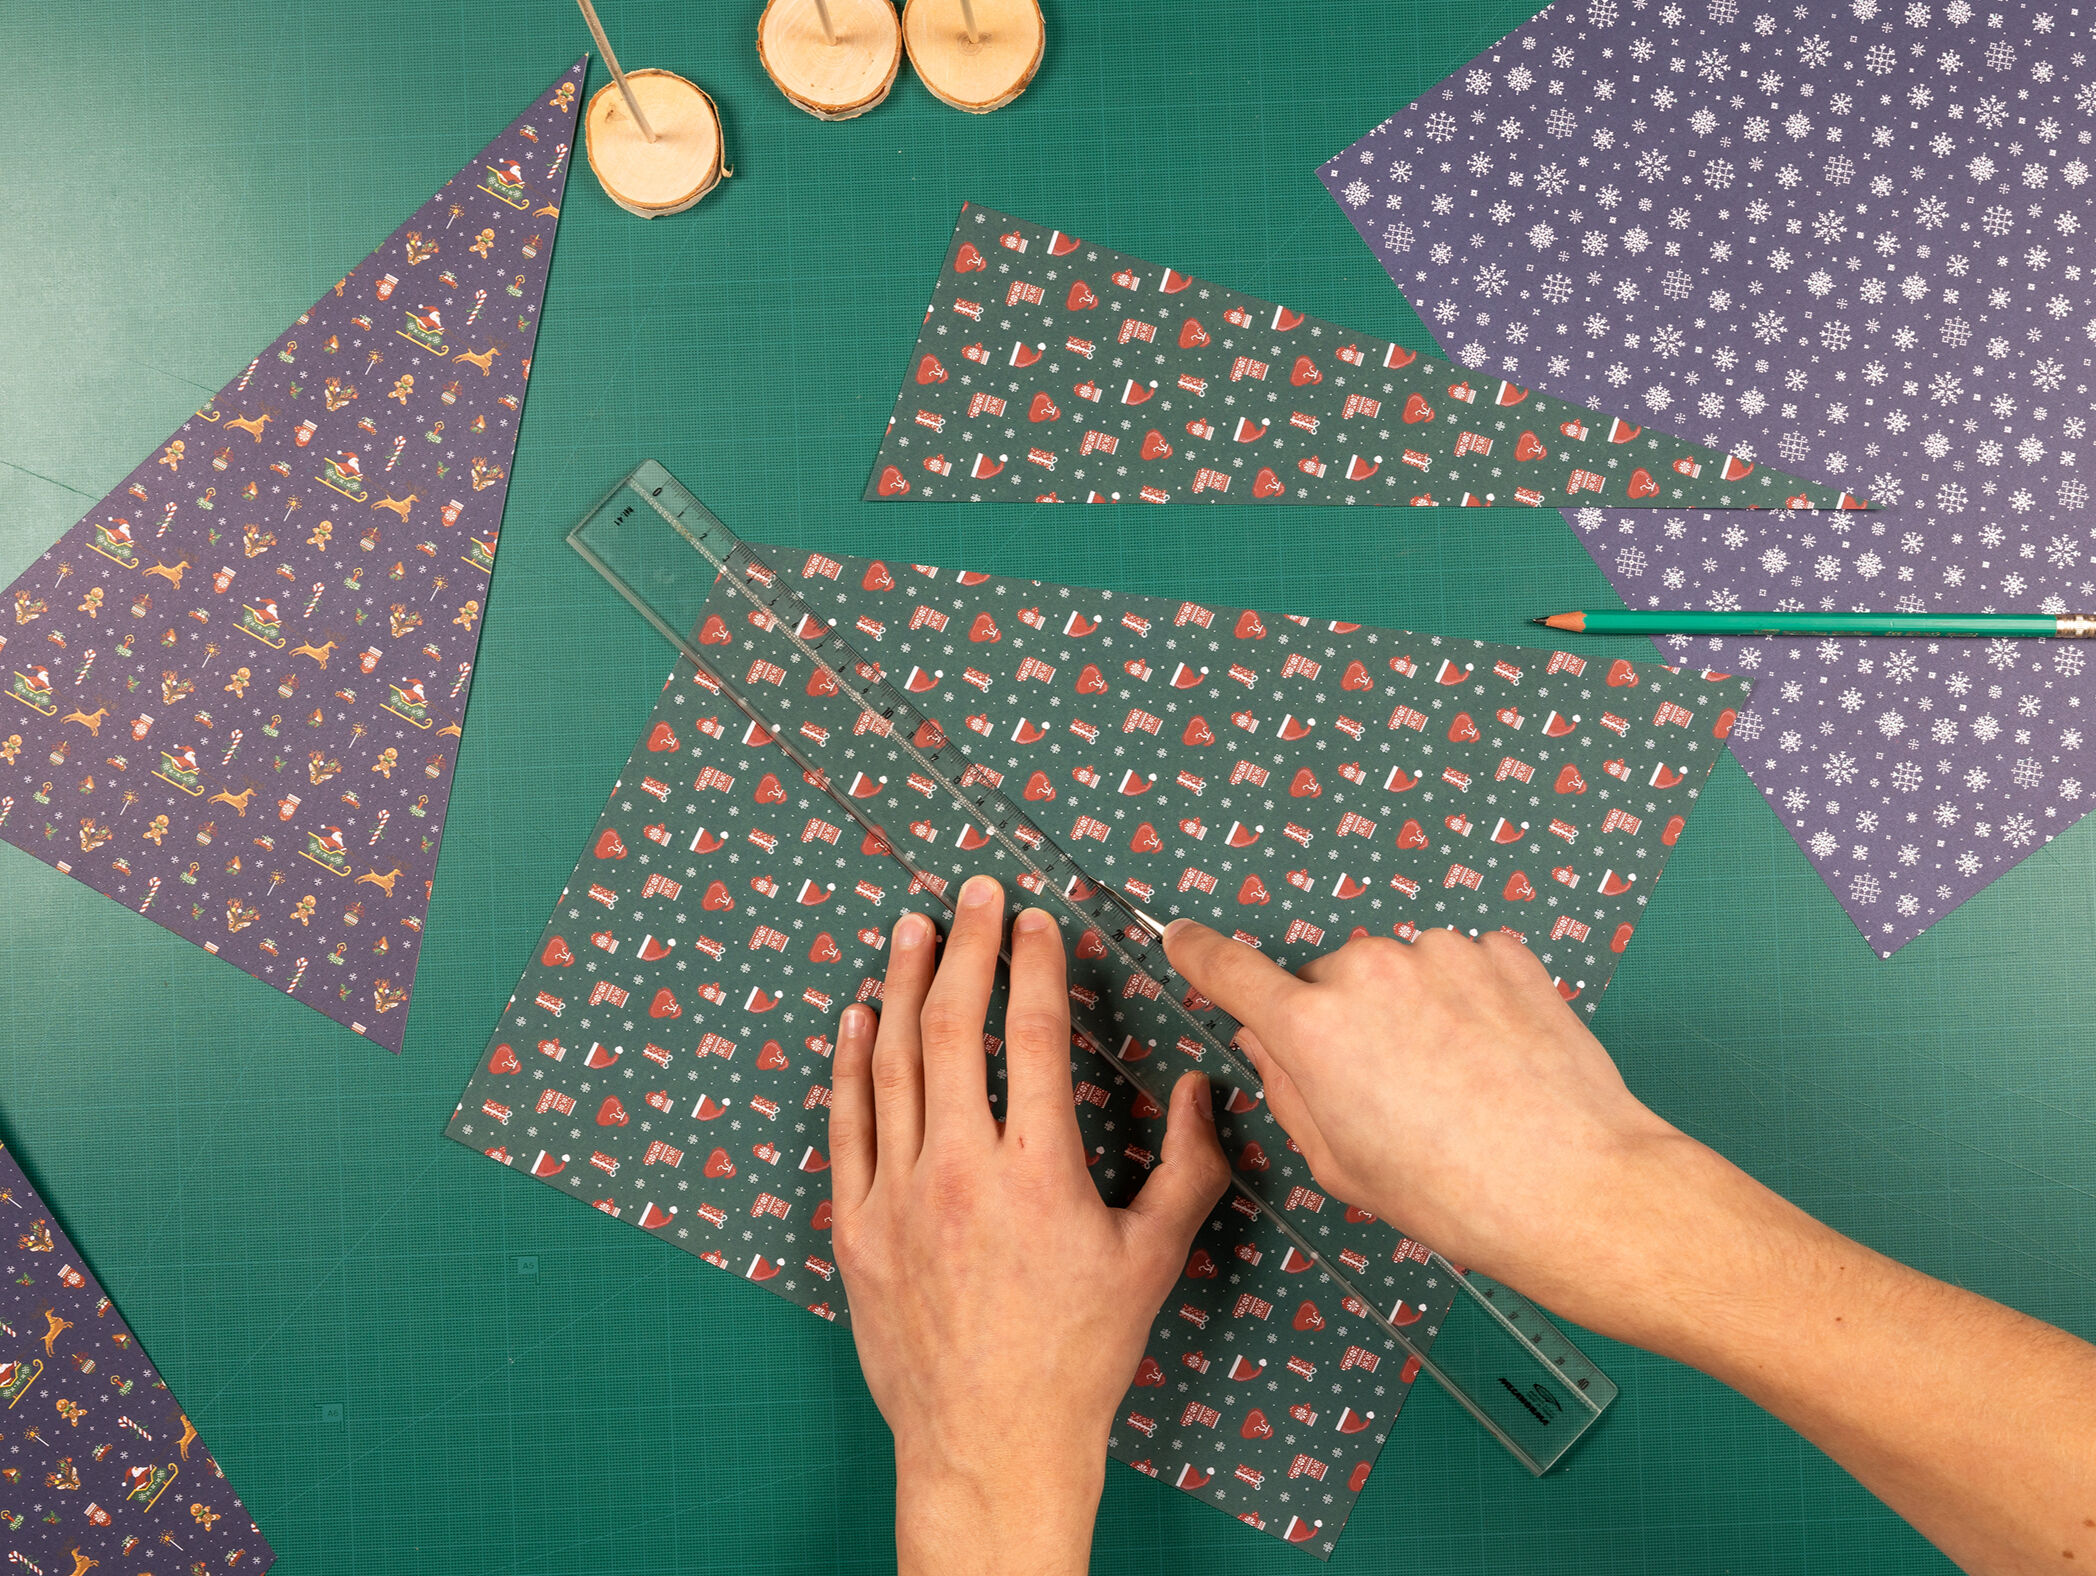
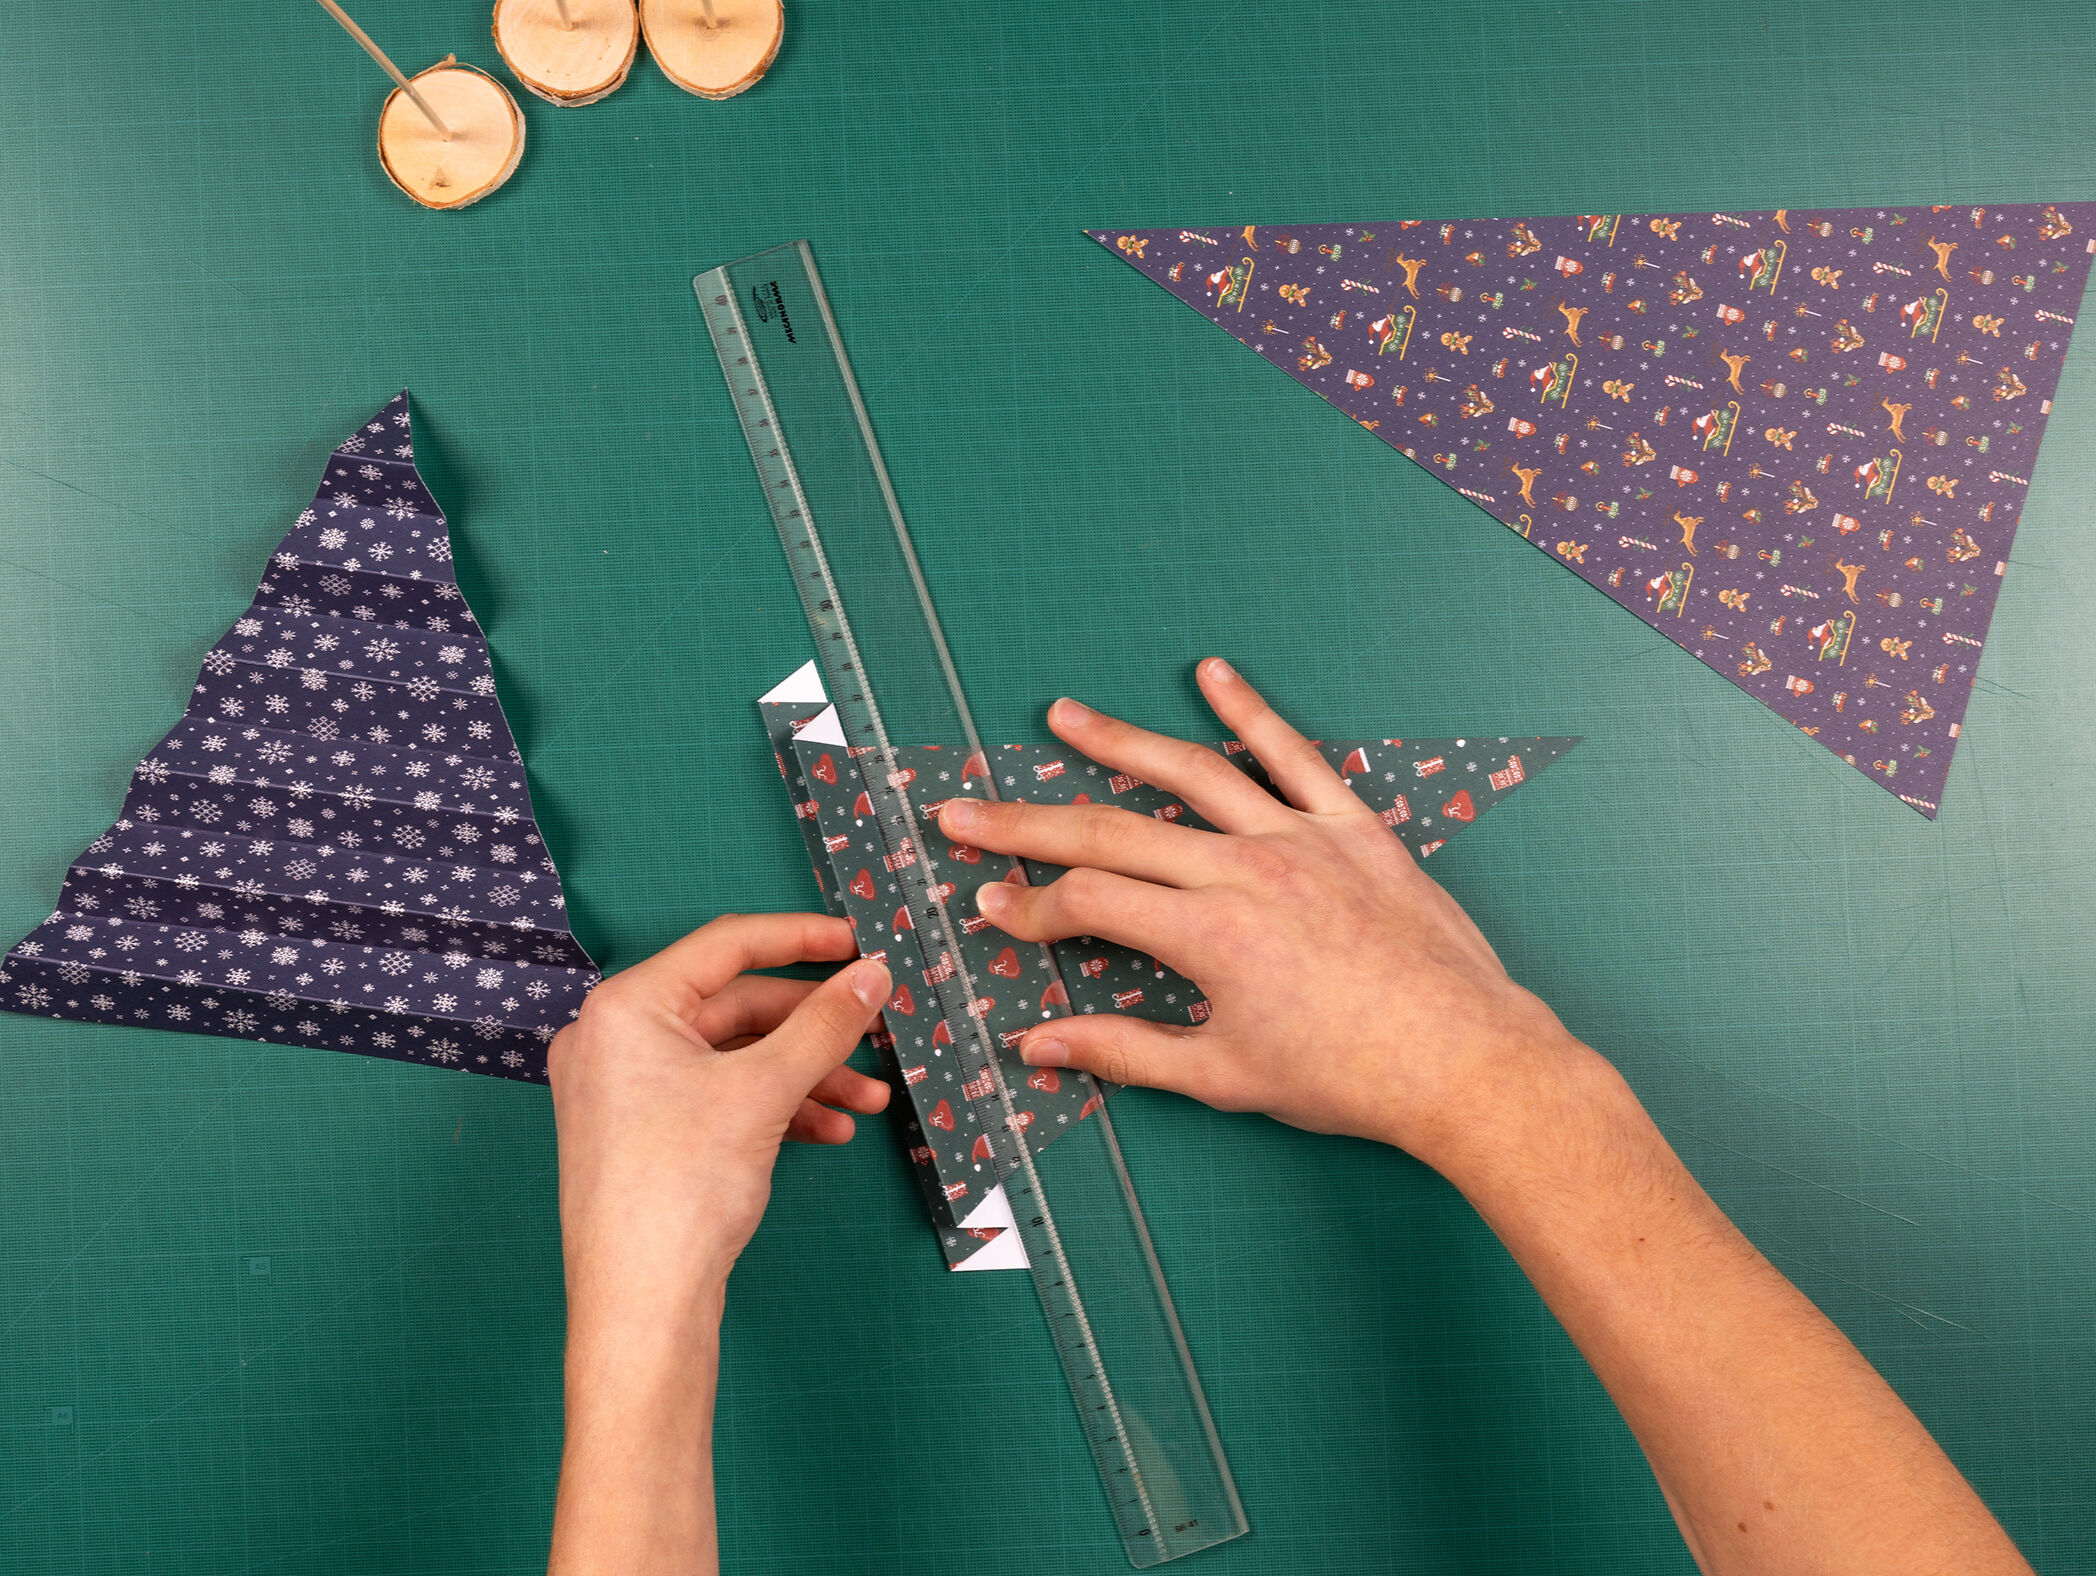
1) Prepare the bases: using the drill, make a hole in the center of each wooden disc.
2) Insert the flat end of a wooden skewer into the hole of each disc.
3) Prepare the tree bodies: draw isosceles tree shapes with a base of about 15 cm and a height of about 30 cm (this height is the central axis), then cut them out.
4) Using the ruler, fold the triangles horizontally in an accordion style, starting from the base.
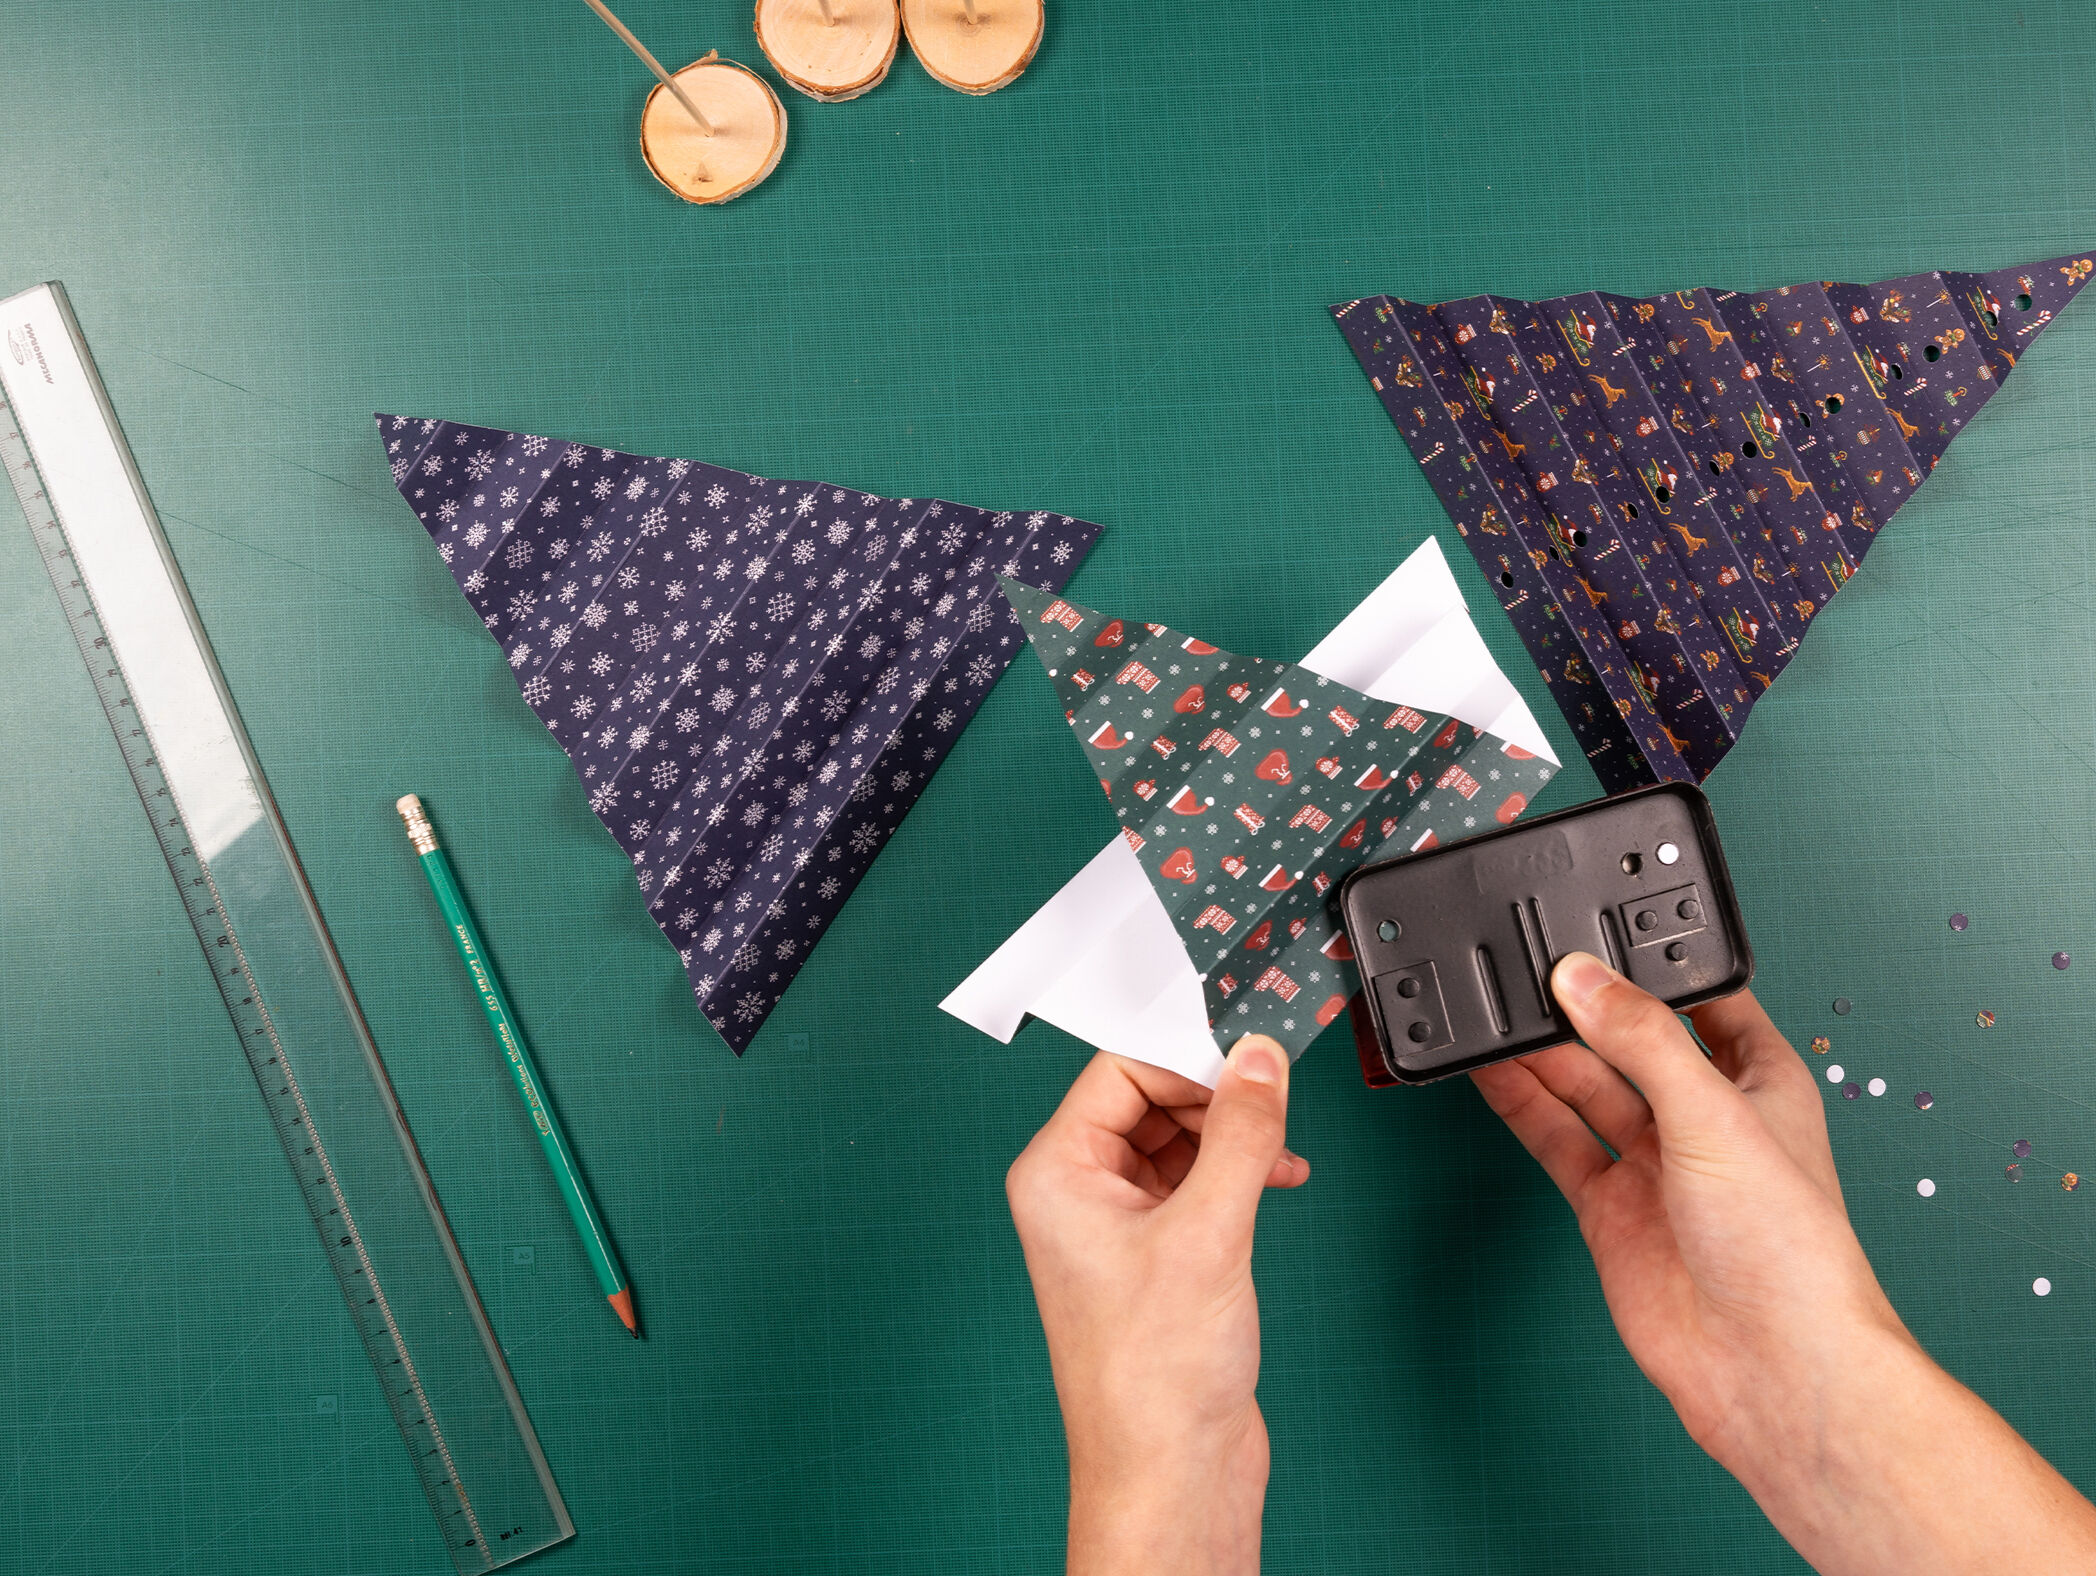
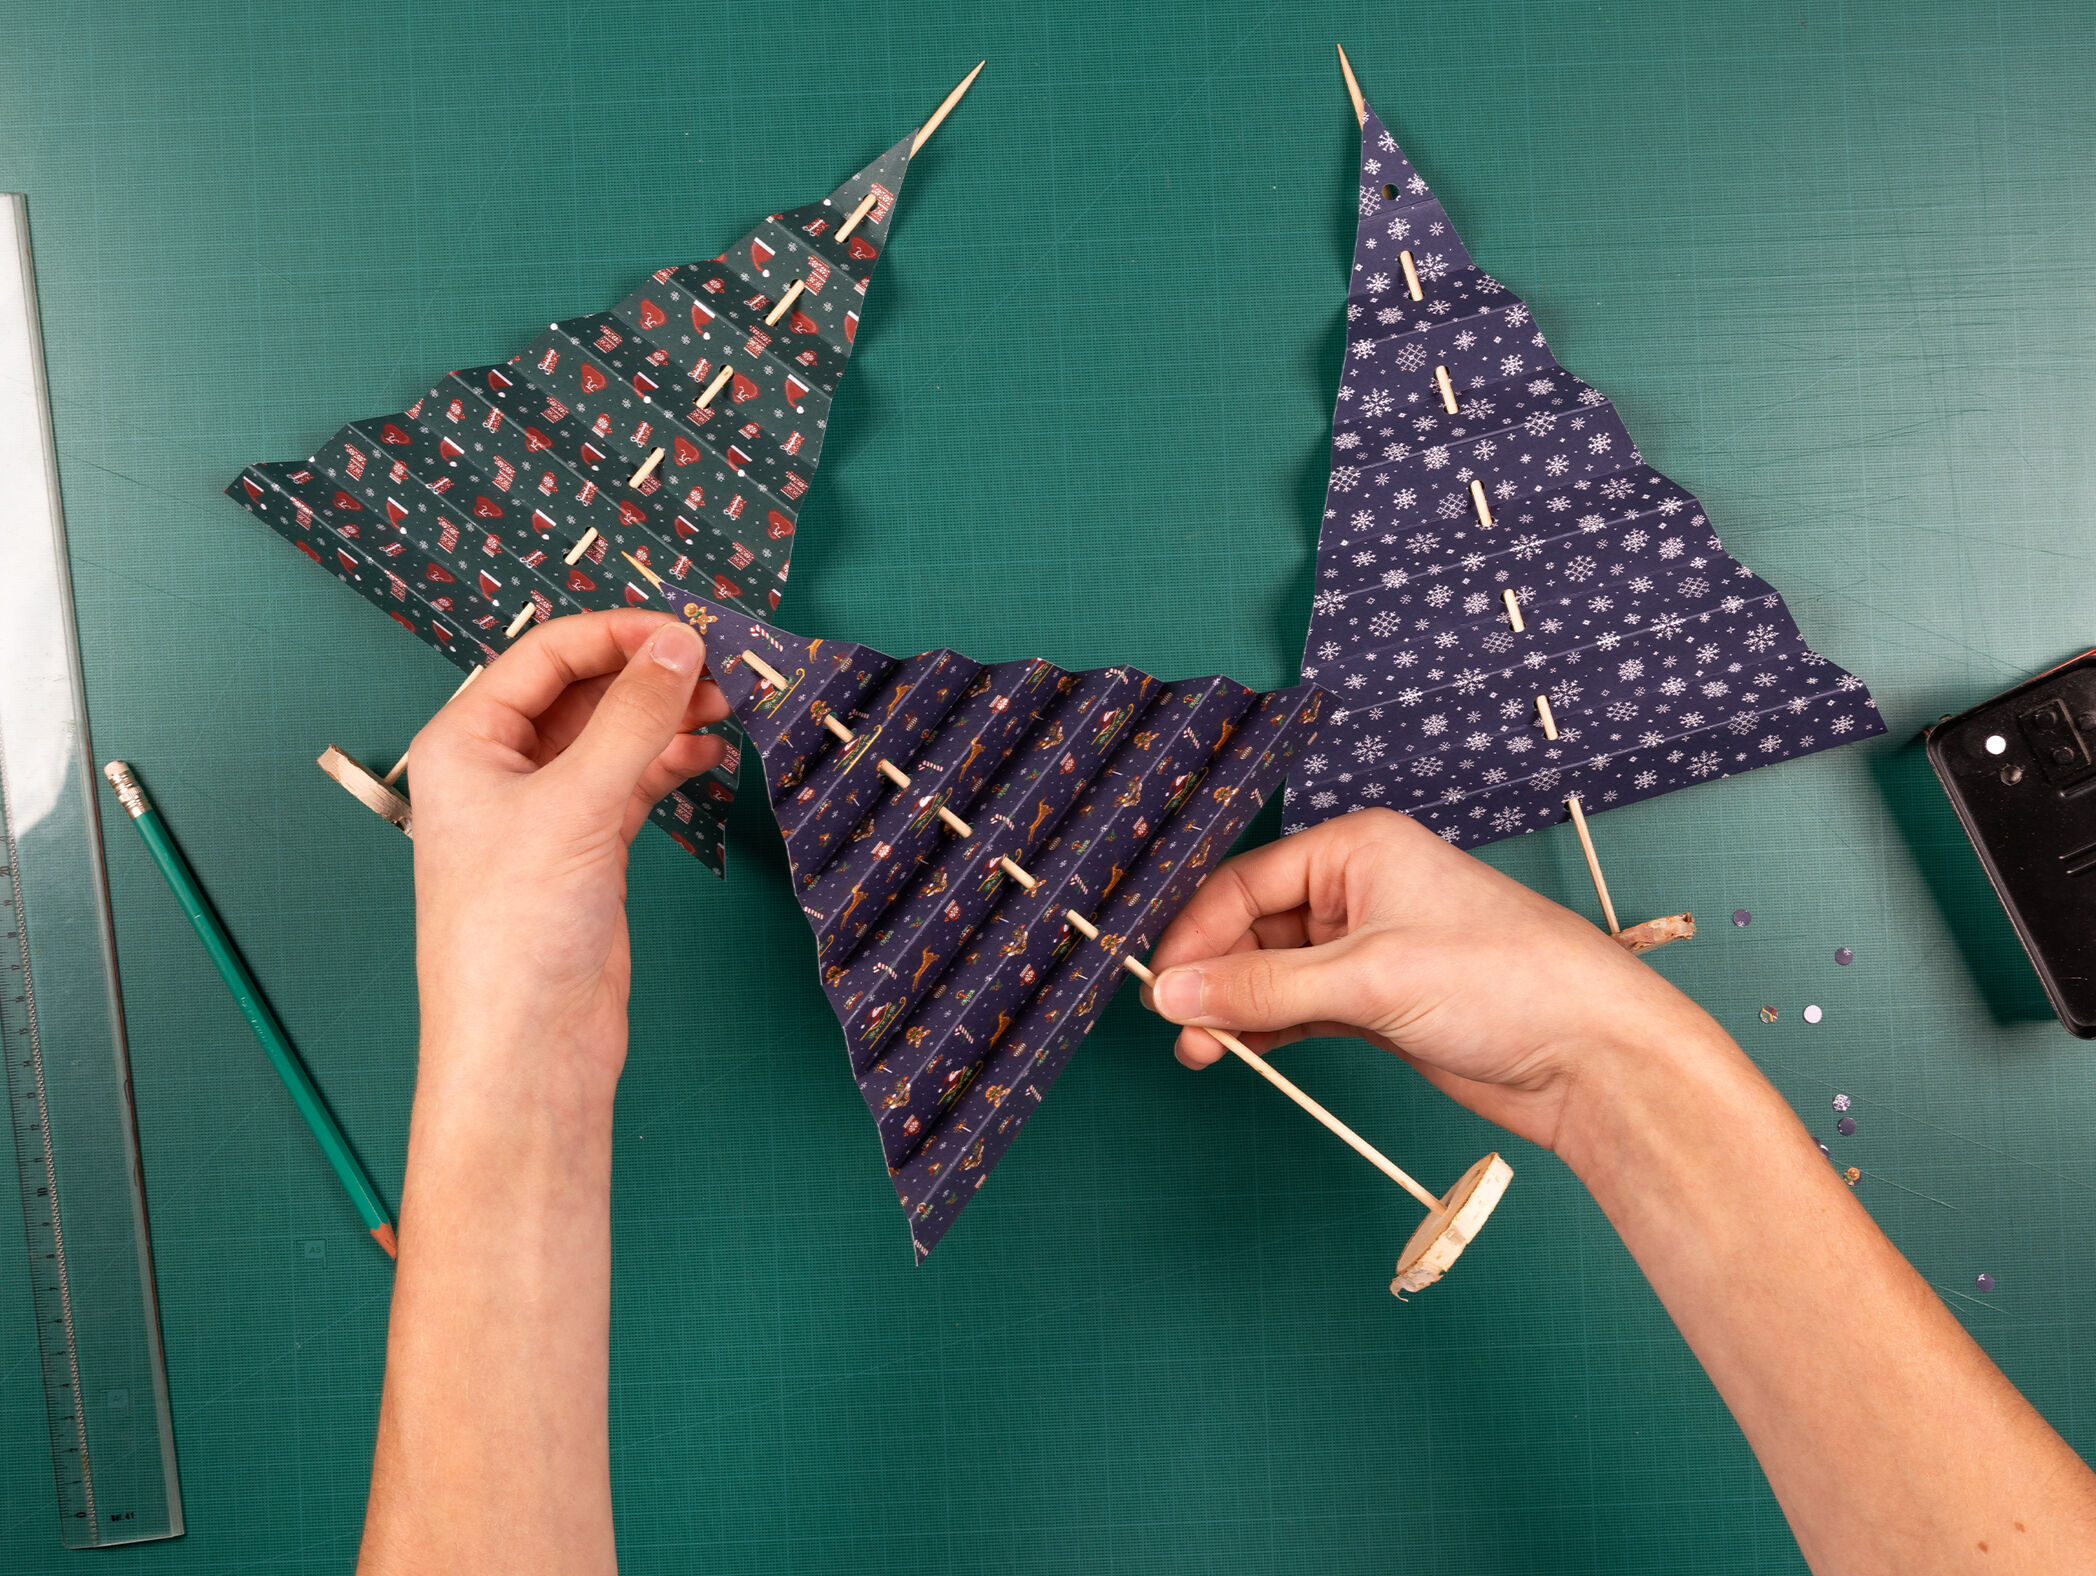

5) Use the hole punch to make a hole along the central axis of each folded tree. If the paper is too thick, punch a few layers at a time, making sure the holes line up.
6) Slide a skewer through each folded tree.
7) Add the finishing touch by sticking a star on top of each tree!

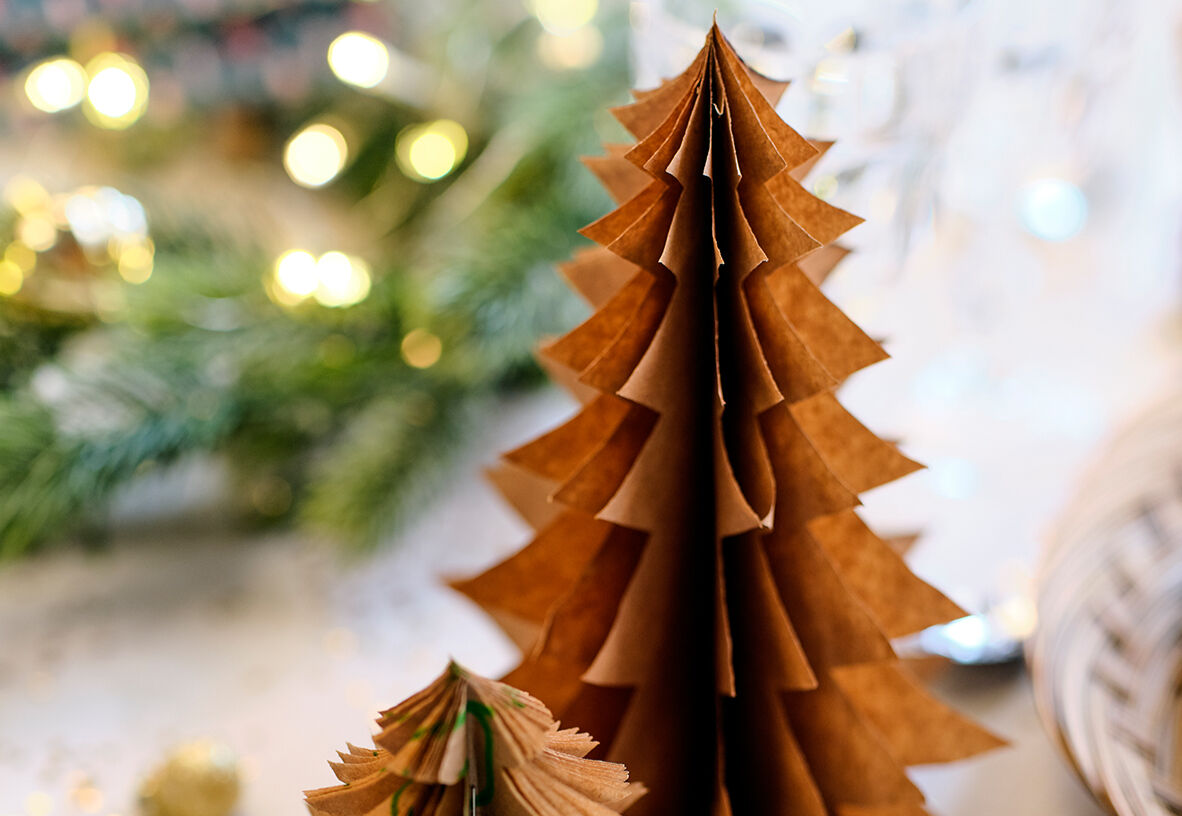
Mini 3D Christmas trees scattered across the table will add the finishing touch to your dining room table settings!
Top tip before you start: For fuller trees, use more paper rectangles. You’ll need a sturdy stapler to fasten thicker stacks. We recommend making trees in different sizes to decorate your table!
What you need:
• Paper bags
• A pair of scissors
• A pencil
• 2 binder clips
• A stapler
How to make your 3D paper trees:
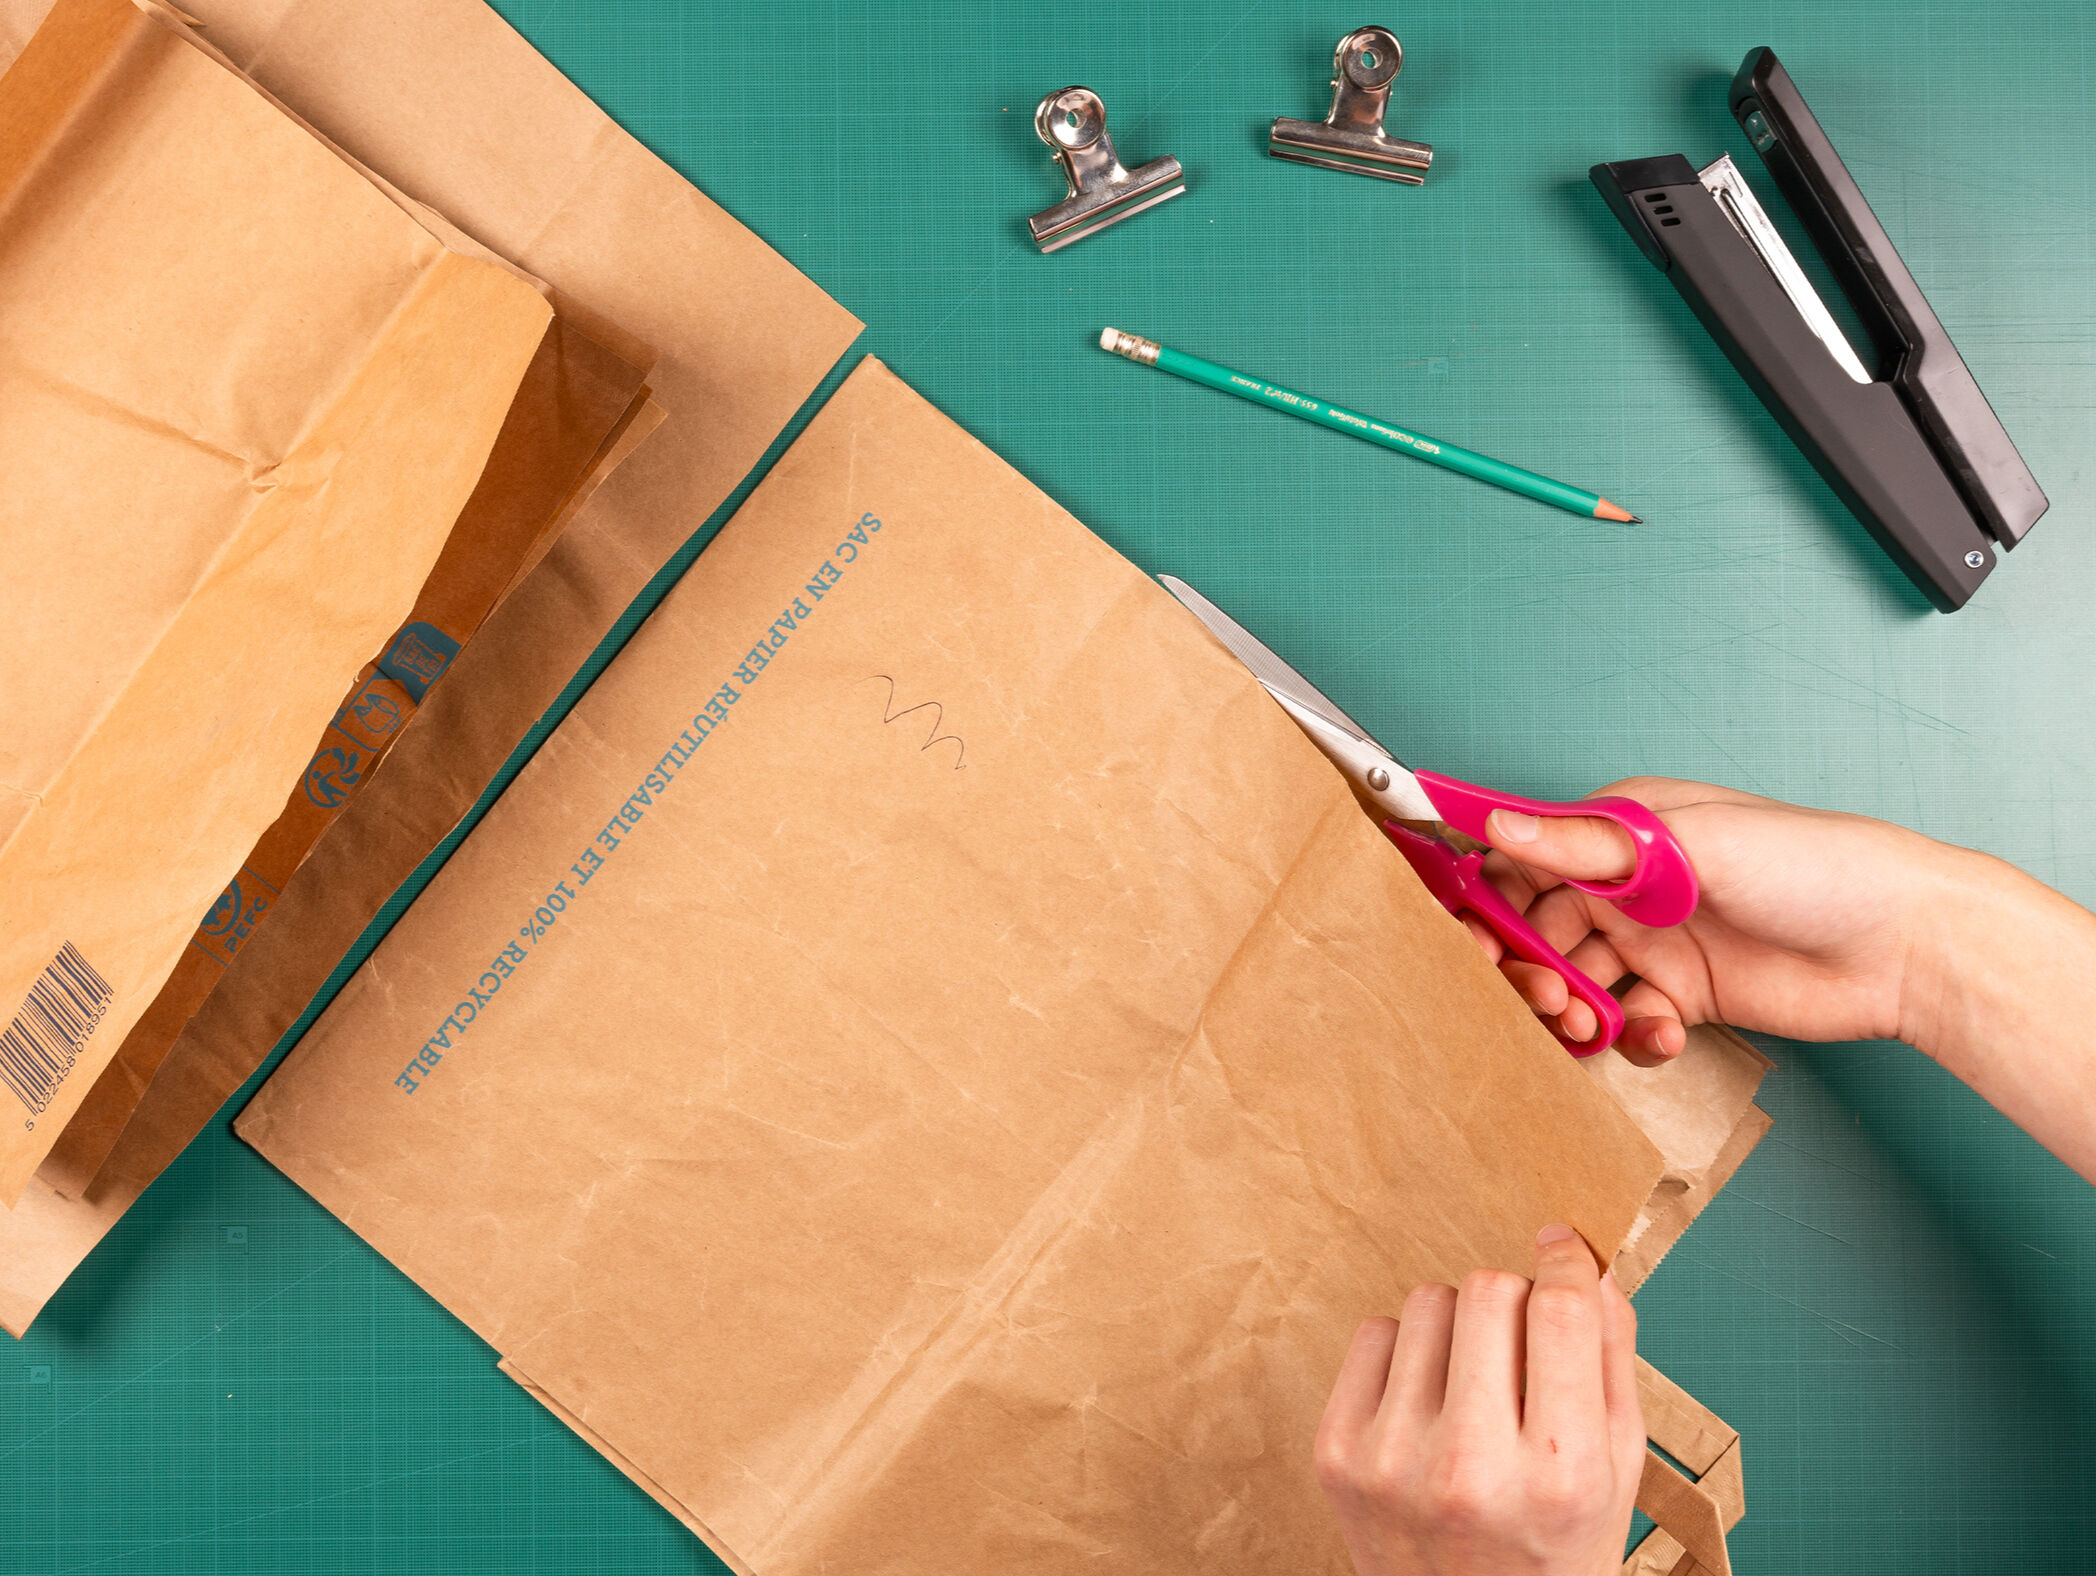


1) Using your paper bag, cut out rectangle shapes. Cut around 6-10 sheets, depending on how thick your paper bags are (the thicker your paper bag, the less sheets you'll need).
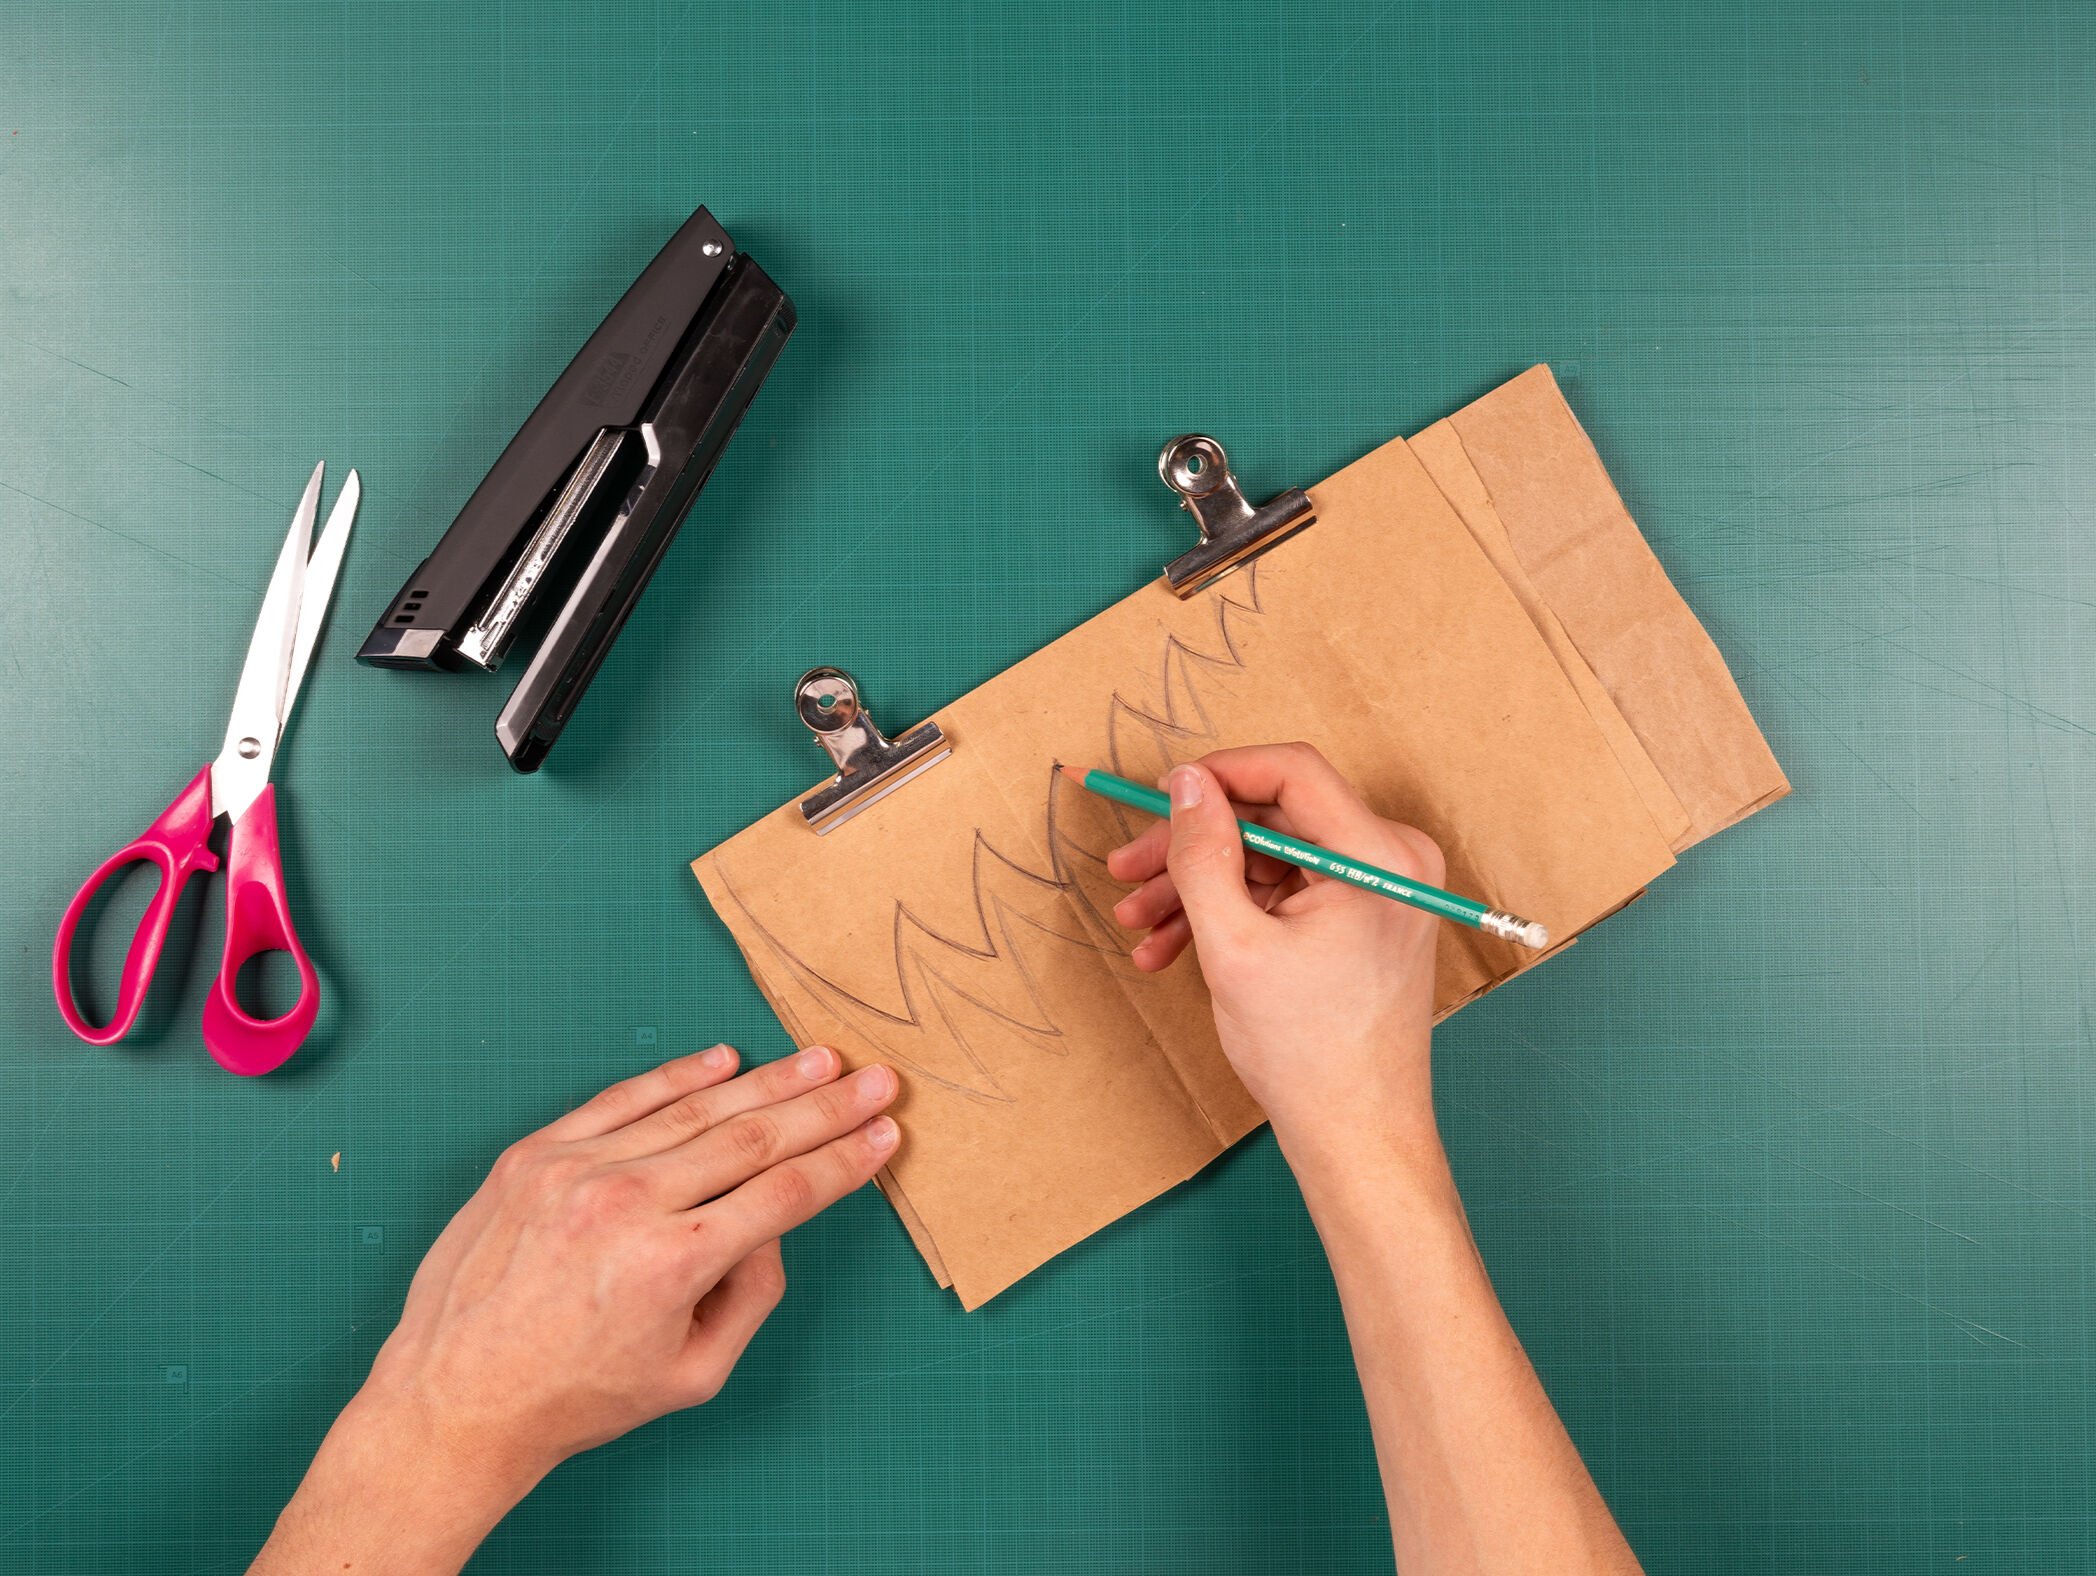
2) Stack the rectangles and fold the stack in half lengthwise.
3) Attach the binder clips along the fold.
4) Using a pencil, trace the shape of half a Christmas tree along the folded edge.
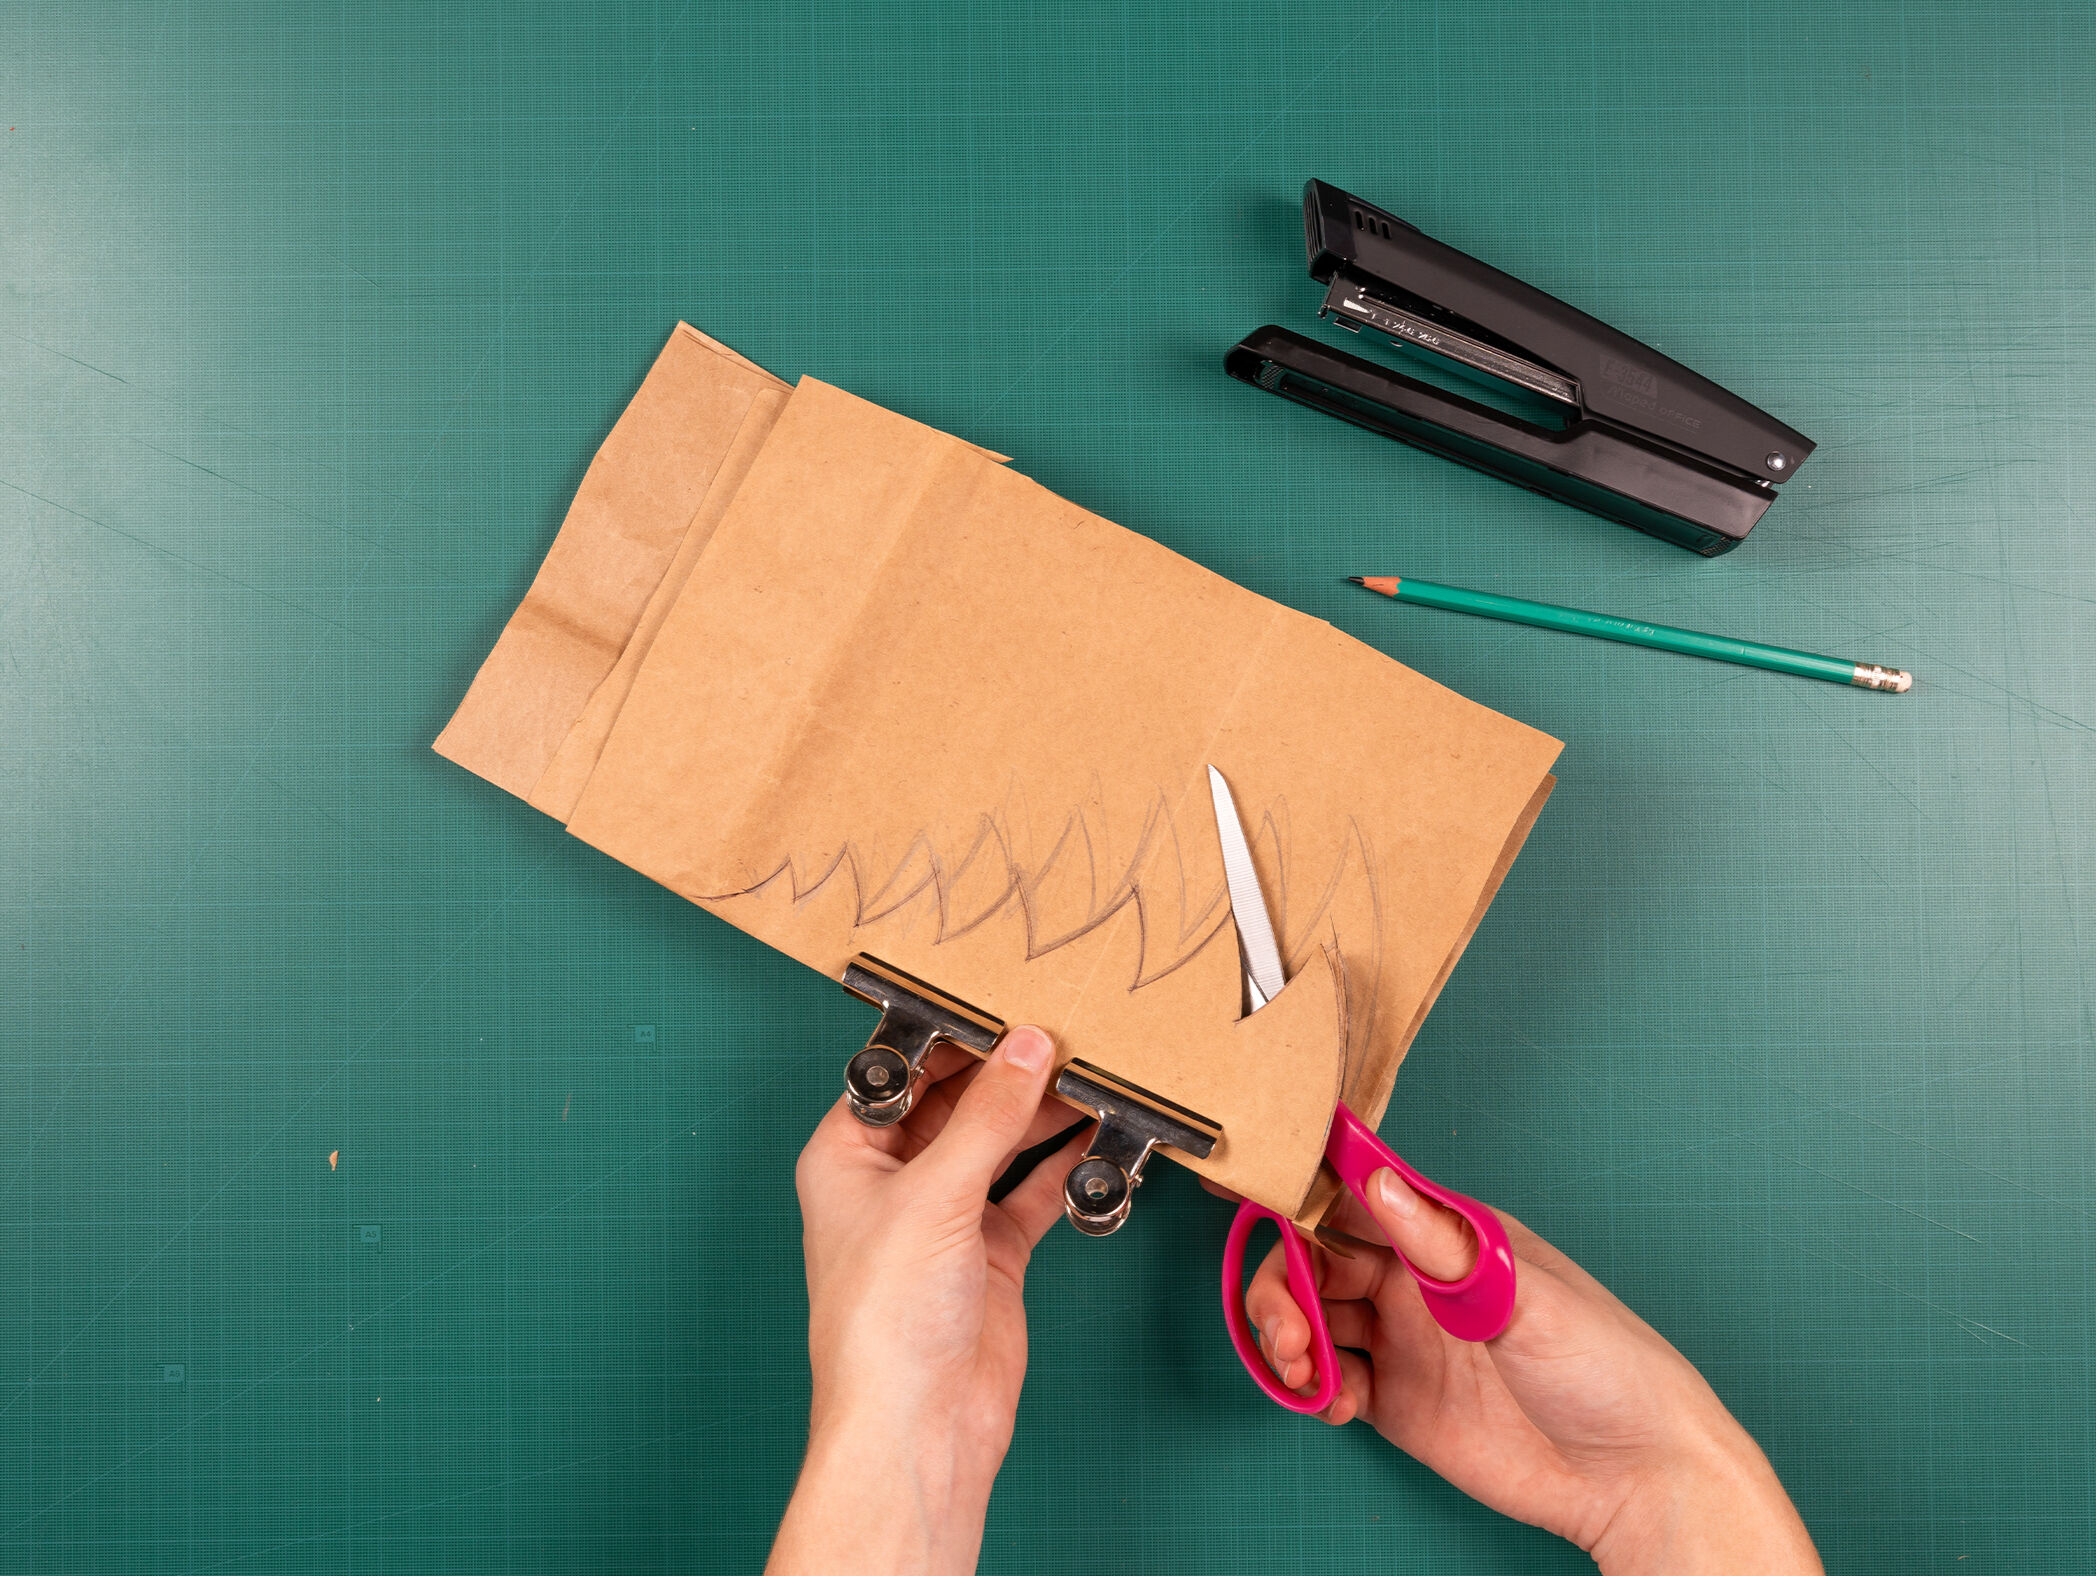
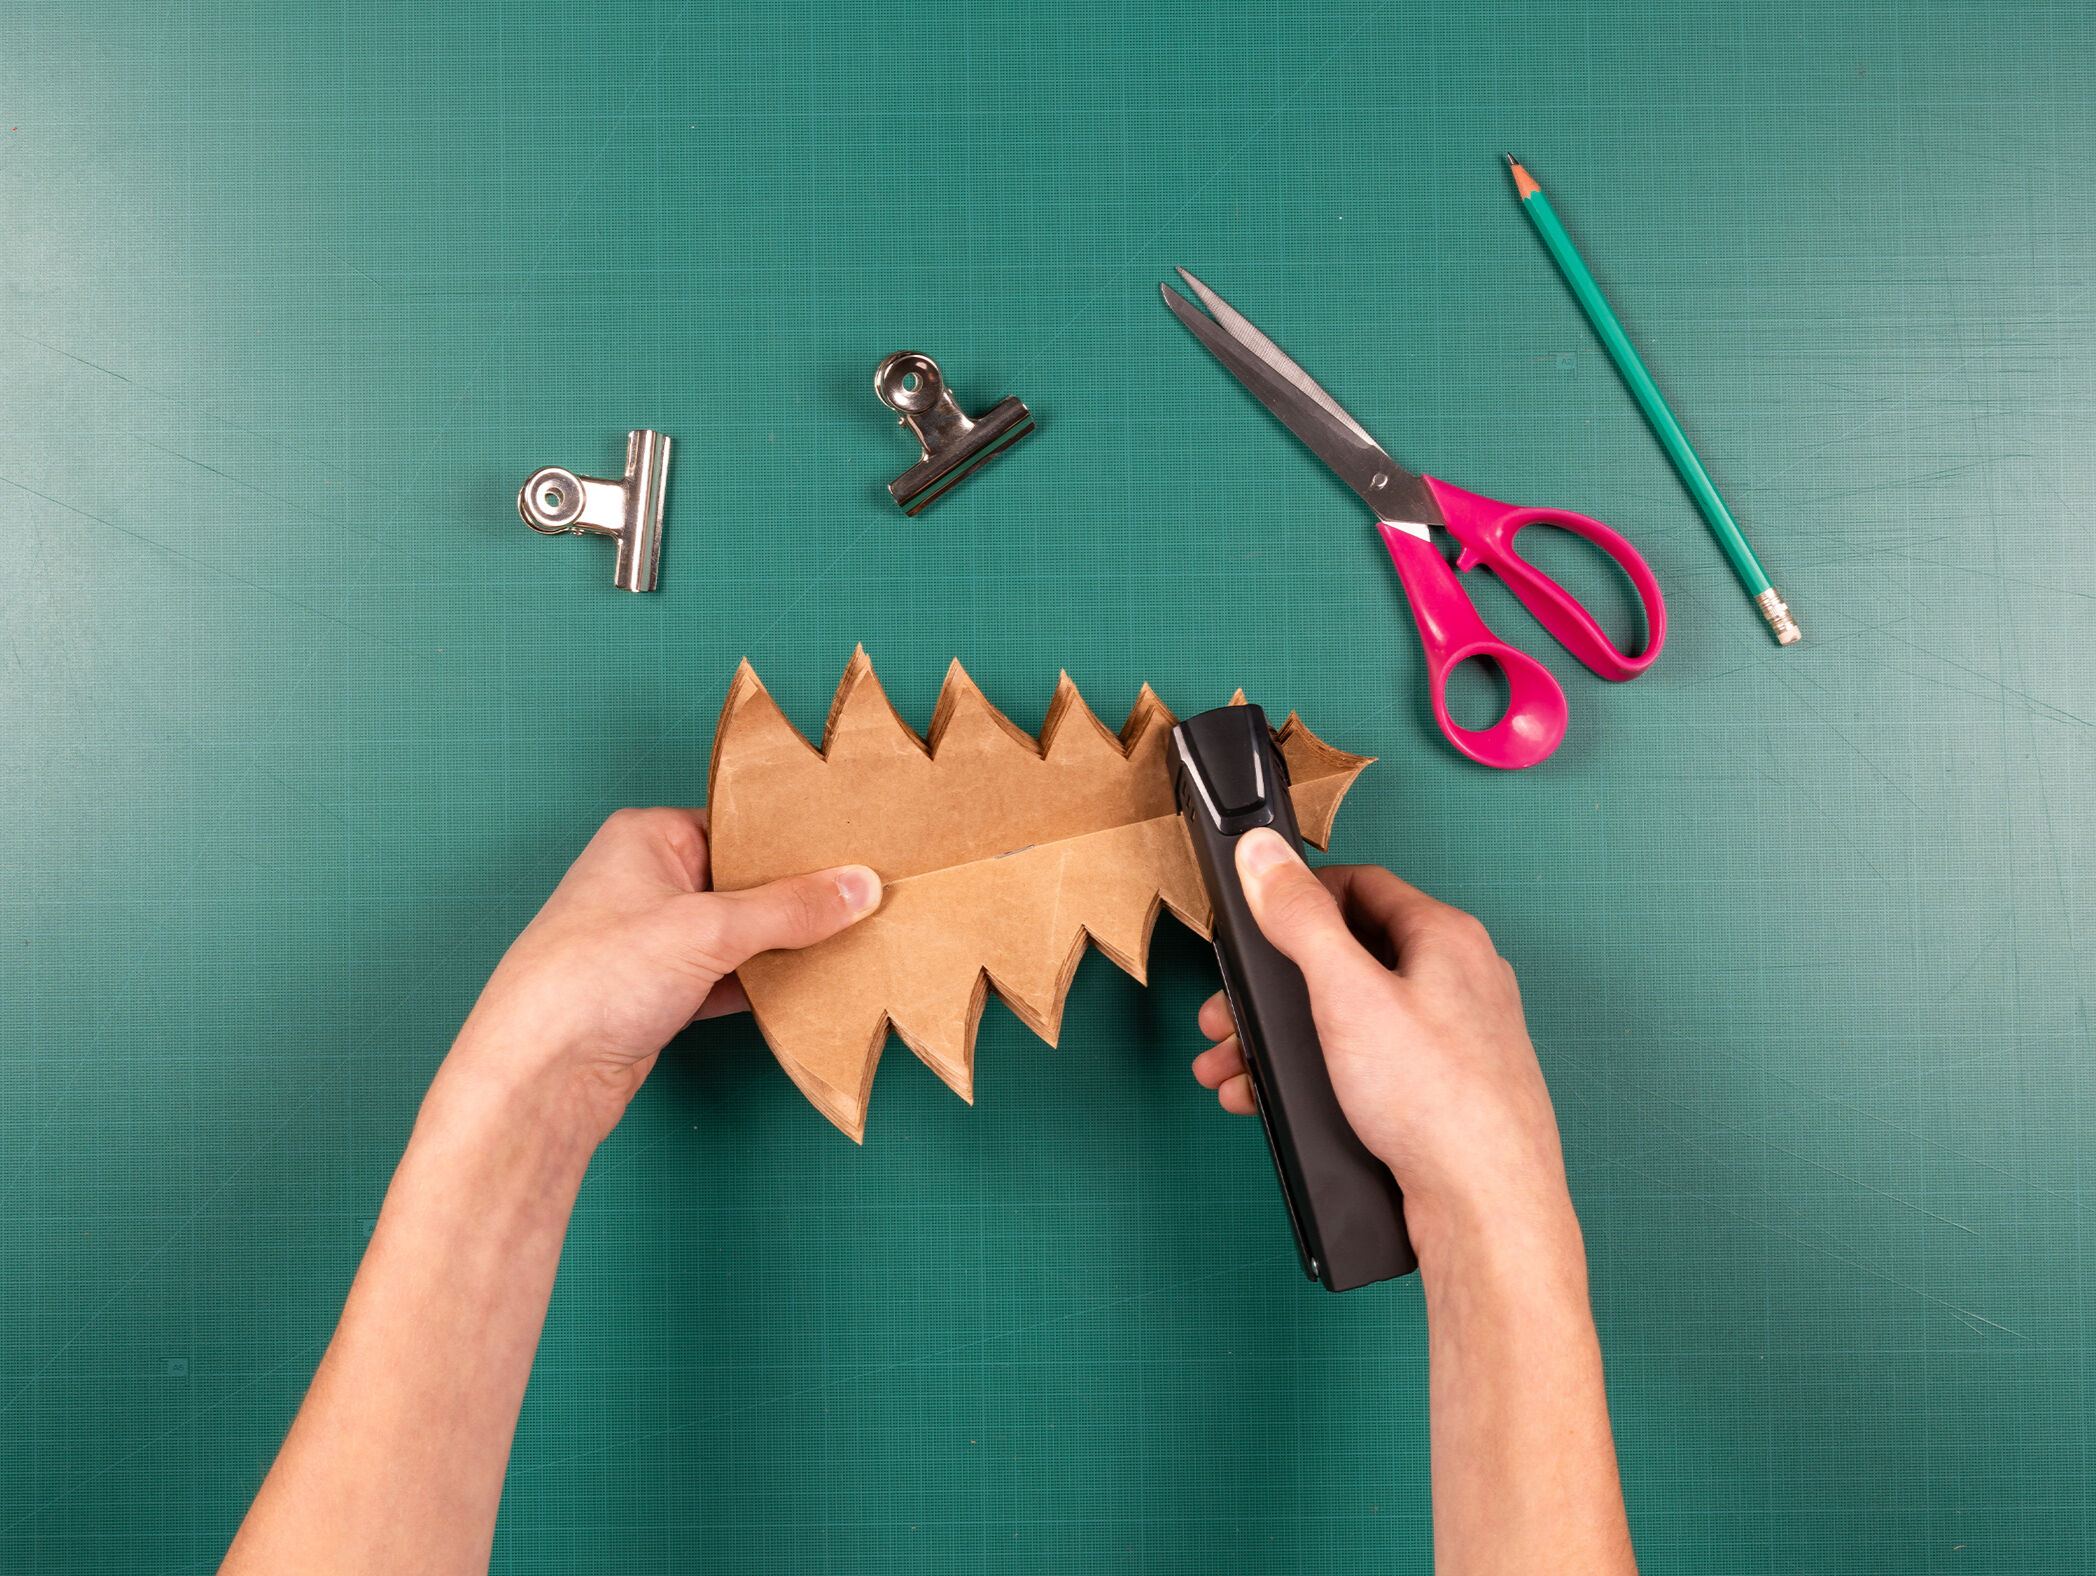
5) Cut along the traced line with your scissors.
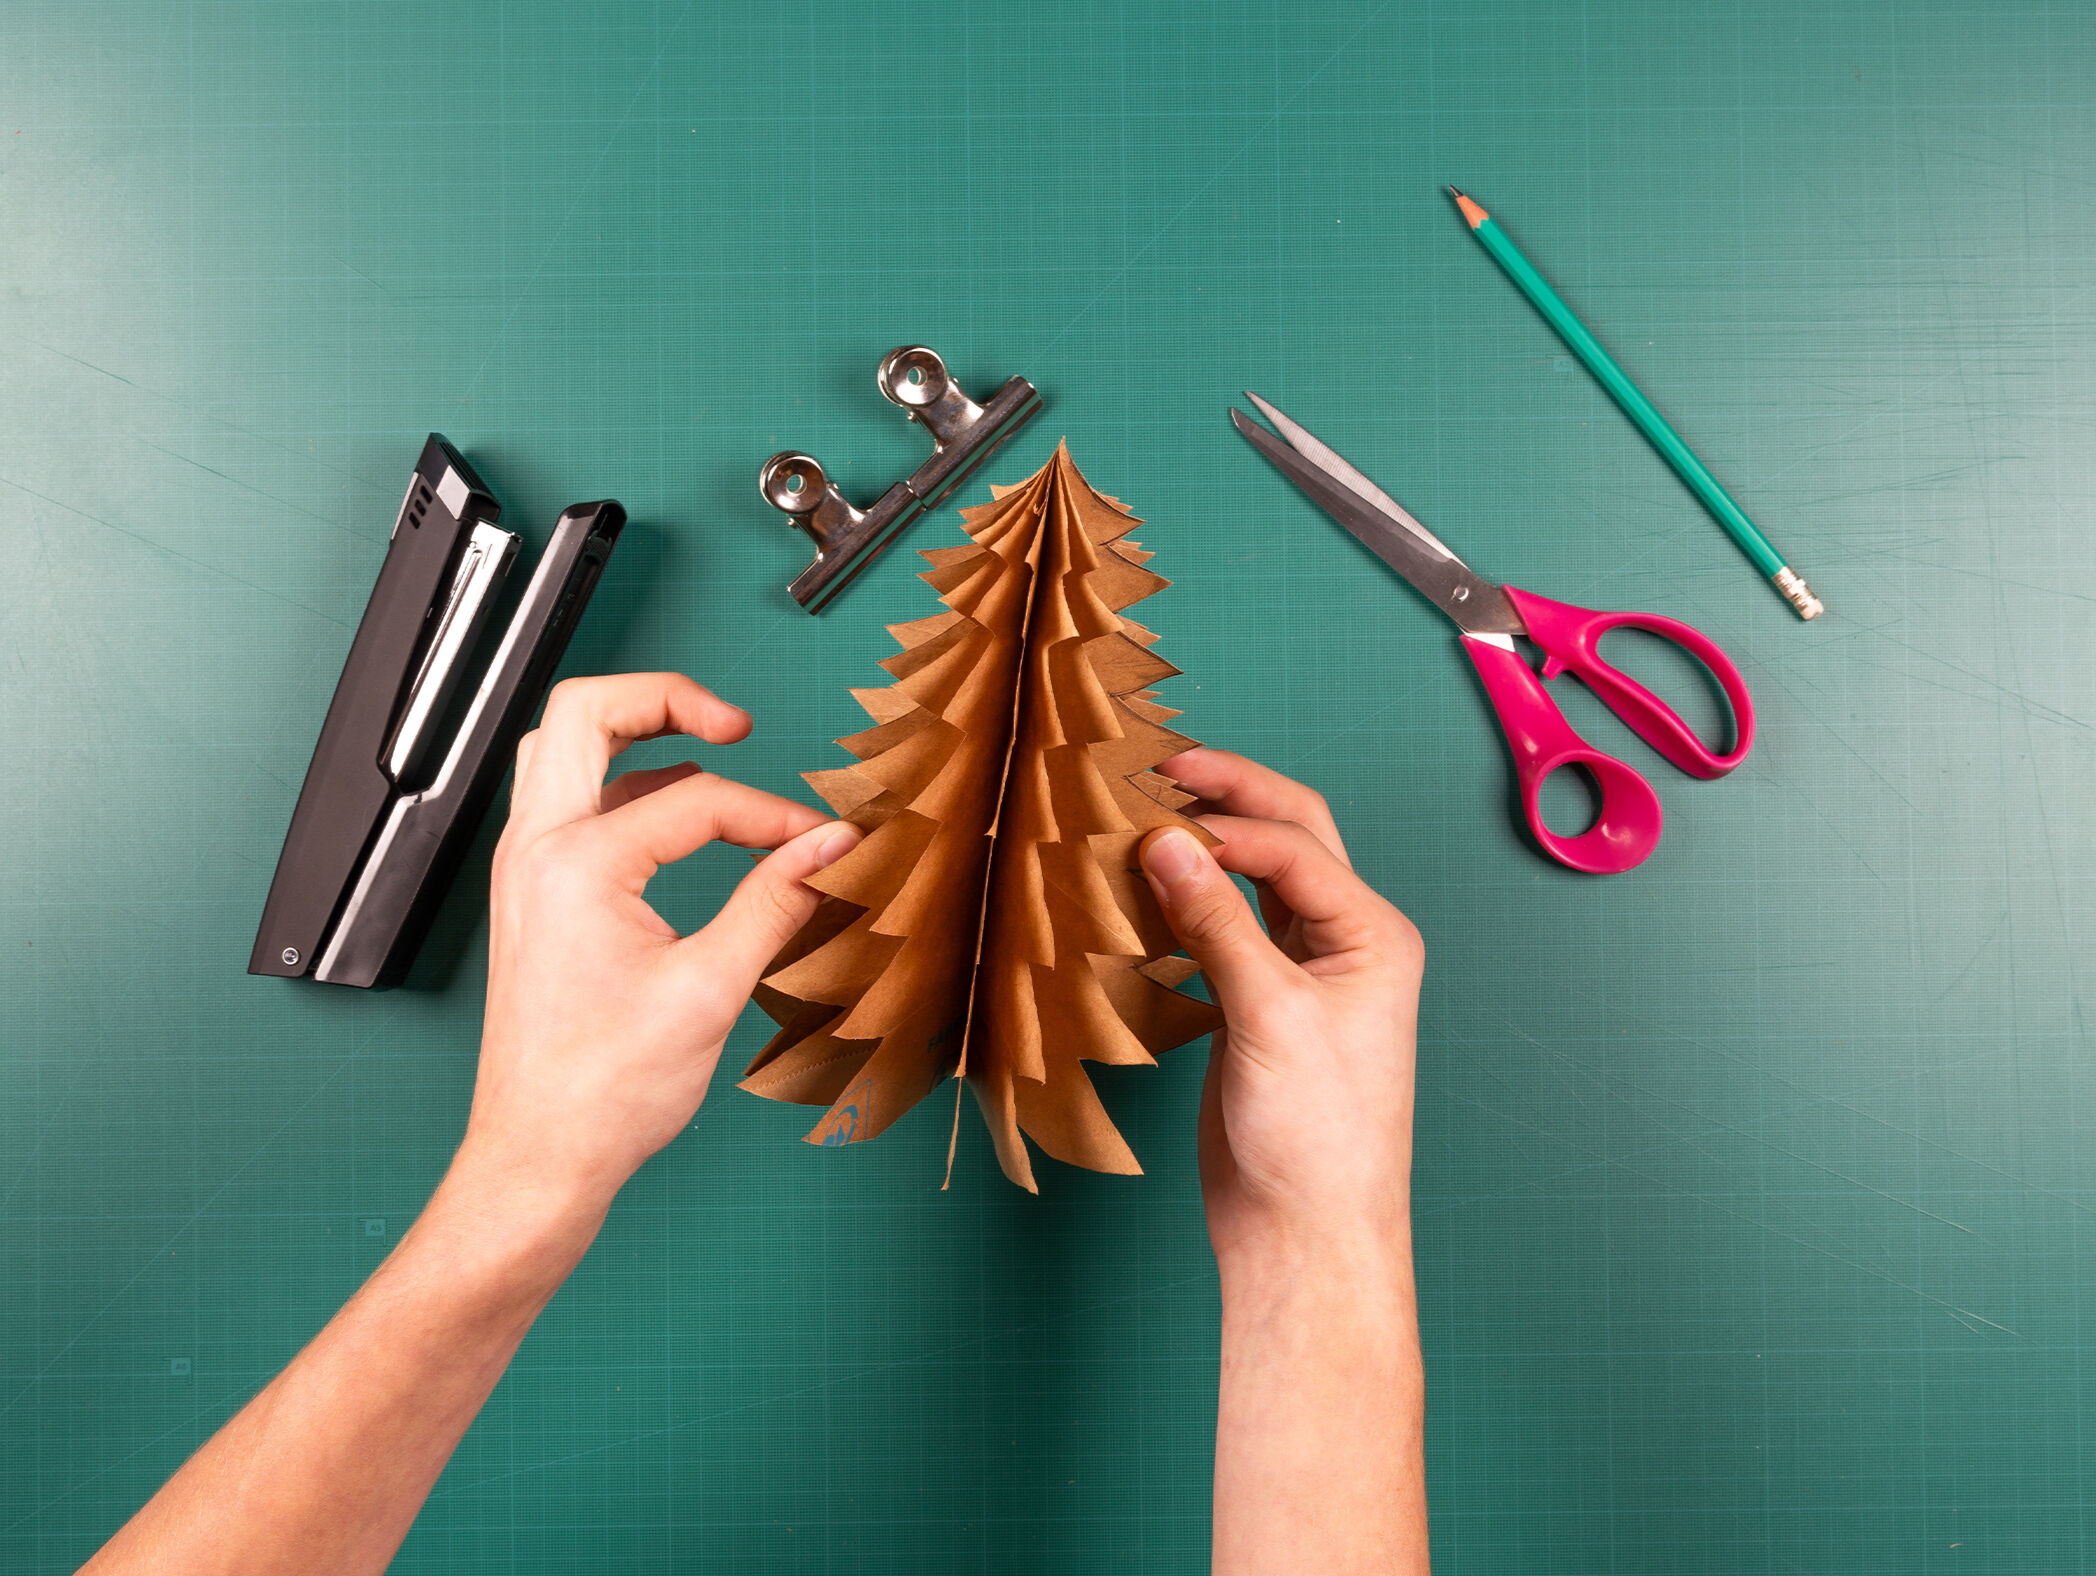
6) Open the sheets and staple them down the middle, along the fold.
7) Unfold the tree and watch it take it's shape!
The perfect dining room decor!
There you have it, 3 super-quick and easy ways to decorate your dining room table this Christmas season! And if you're looking for more DIY Christmas decorations, why not check out our guide to making your own Christmas garlands?